Best Impact Screen Materials for Picture Quality
Posted in Golf Impact Screens
Every full-feature indoor golf simulator needs an impact screen. In the age of 4K projection and incredible realism offered by GS Pro, you need an impact screen that delivers crisp images.
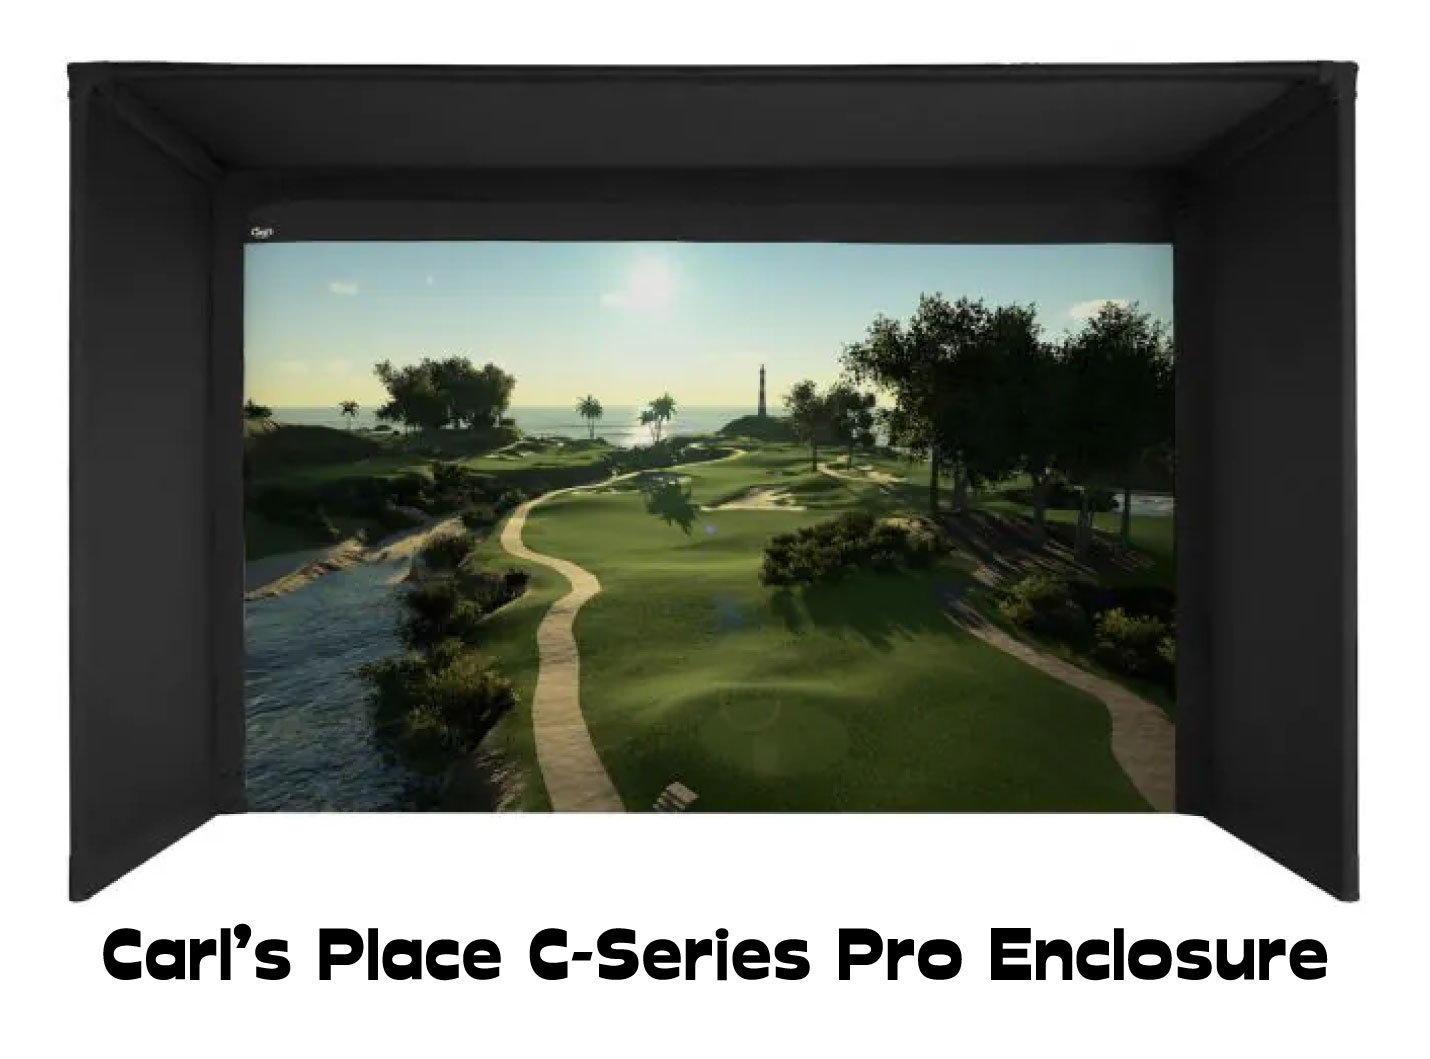
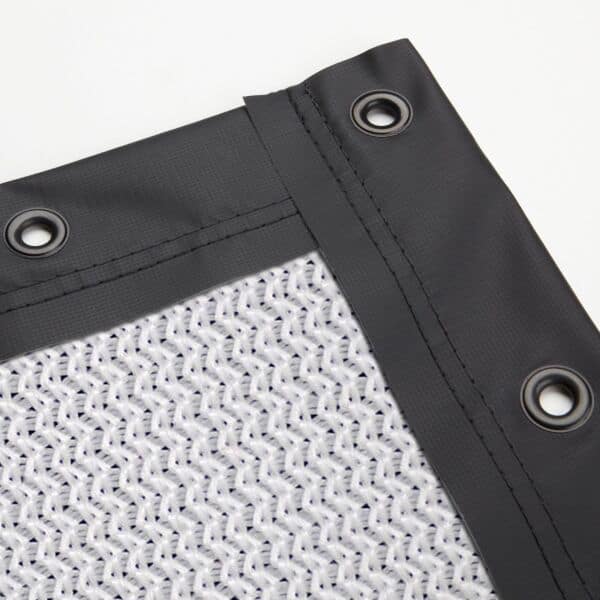
Carl’s Premium Golf Impact Screen material is the best golf impact screen available when it comes to picture quality, featuring a bright white surface with ultra-tight weaves, enhancing image detail and quality. A central cushioning layer allows a reduction in light bleed, bounceback, and noise.
Carl's Place Premium Impact Screen
- High-Quality Images: Tightly woven, multilayer screen for a smoother, crisper image up to 4K.
- Durability: Designed to withstand direct impact from golf balls traveling up to 250 MPH.
- Custom and Standard Sizes: Available in various sizes to fit different room dimensions.
- Material Quality: Made of three layers of heavy-duty, tight-knit, impact-resistant polyester.
- Noise Reduction: Features a cushioned center layer to quiet noise from the golf ball hitting the screen.
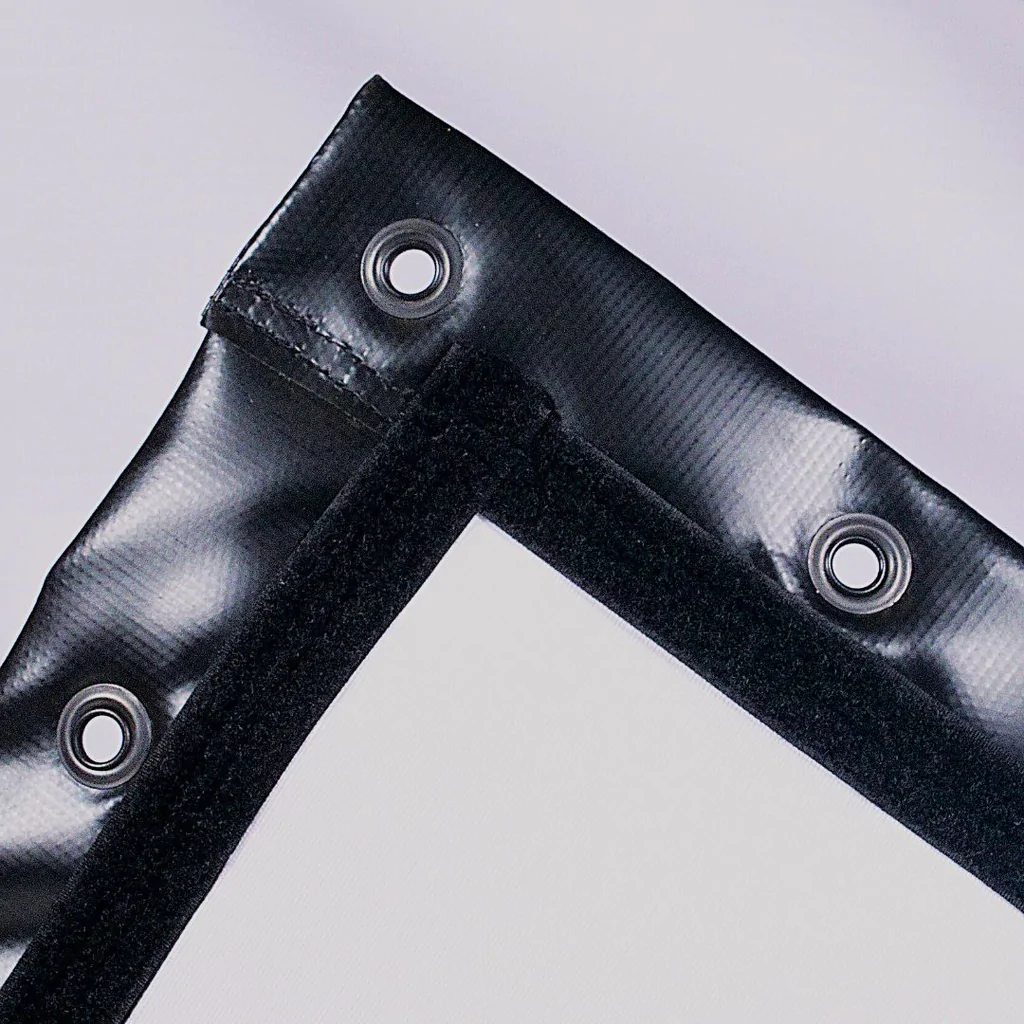
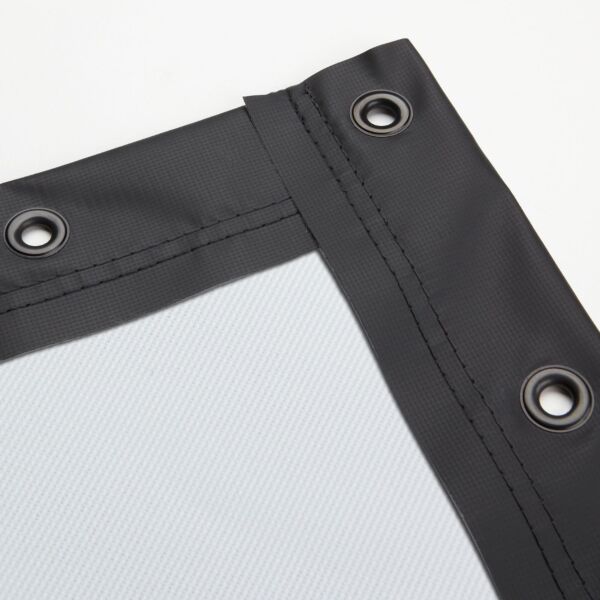
- Versatile Finishing Styles: Options for edge finishing to suit installation needs.
- Compatibility: Can be attached to different frames, used with golf enclosures, or as part of a DIY golf simulator.
Carl’s Premium Golf Simulator Screen features a bright white surface with ultra-tight weaves, enhancing image detail and quality. There is a central cushioning layer that allows a reduction in light bleed, bounceback, and noise.
- Excellent Image Quality: Realistic golf simulation experience.
- High Durability: Suitable for intense use with high-speed impacts.
- Customizable Size and Finish: Tailored to specific room sizes and design preferences.
- Noise Reduction: Less noise disturbance during play.
- Versatile Installation Options: Flexible setup or integration into existing setups.
- Few - more expensive than budget screens, but this screen is worth it in my opinion
However, there are other options if you have a tighter budget that can offer a decent picture quality in the right circumstances. Here’s what you need to know.
What Are Golf Impact Screens Made Of?
Golf impact screens are the backbone of any simulator setup — they’re both your projector surface and the protective barrier that absorbs golf ball strikes at speeds of 150+ mph. Modern screen technology has evolved rapidly over the past decade, with manufacturers now focusing on materials that balance three critical factors:
- Durability – Withstand hundreds of thousands of strikes without tearing or sagging.
- Image Quality – Deliver a sharp, bright projection surface for HD and 4K projectors.
- Safety & Protection – Absorb impact energy to reduce bounce-back and protect the walls behind the screen.
Today’s best screens typically use multi-layer woven polyester fabrics with very tight weaves. Premium designs (like Carl’s Premium and SIGPRO Premier) add extra layers and noise-dampening technology to reduce sound, minimize bounce-back, and resist visible ball marks.
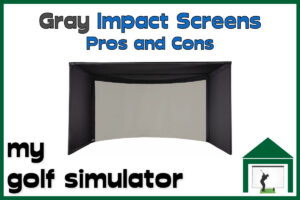
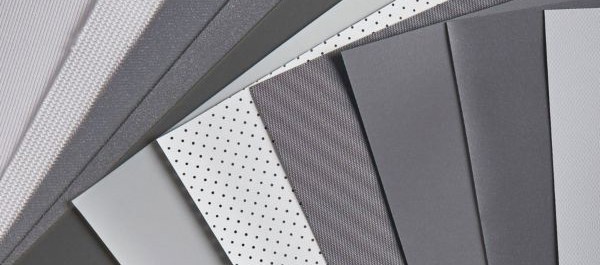
A new development in 2025 is the introduction of gray screen materials (SIGPRO Premier). These absorb ambient light, helping maintain contrast and prevent washed-out images in brighter rooms — something traditional white screens can struggle with.
In short: the best impact screens are those that combine strength, image clarity, and light management, giving you a professional-level simulation experience while protecting your space.
Types of Materials Used for Golf Impact Screens
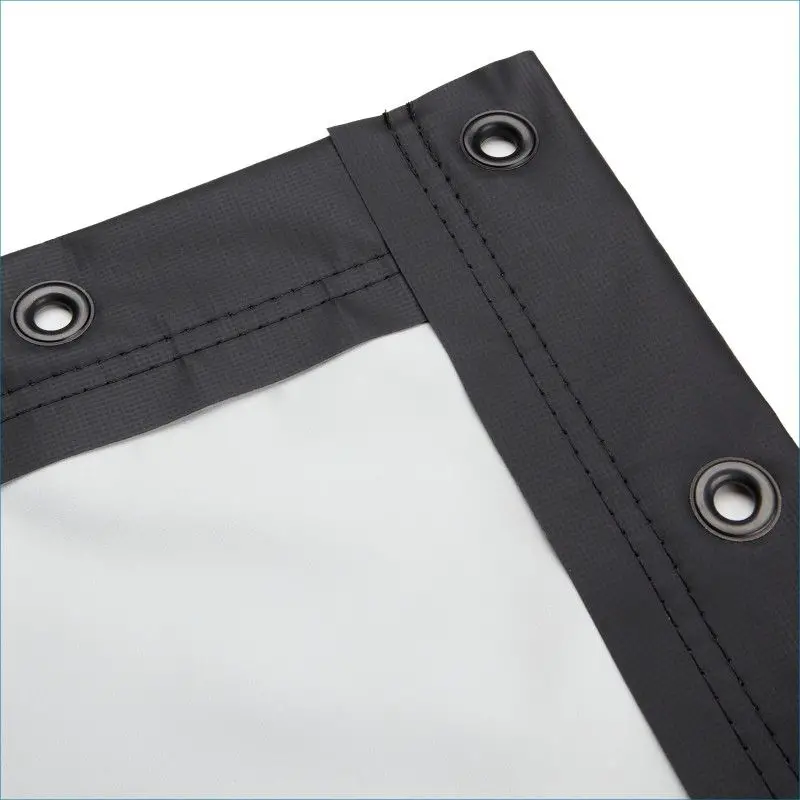
Over the years, manufacturers have tested many fabrics for golf simulator screens. While early setups sometimes used cheaper materials like Supertex or even archery baffle netting, these are now considered outdated. Modern screens use advanced fabrics designed specifically for both durability and picture quality.
1. Polyester Mesh (Most Common)
- Construction: A tightly woven polyester fabric, often in multiple layers.
- Benefits: Durable, relatively affordable, and widely available. The tighter the weave, the sharper the projected image, since less light bleeds through.
- Premium Options: Carl’s Premium uses a multi-layer polyester with the tightest weave for HD and 4K projectors, producing minimal texture and excellent clarity.
2. Nylon / Polyester Blends
- Construction: Some manufacturers blend nylon with polyester for improved strength.
- Benefits: Smoother to the touch and slightly more resistant to stretching than polyester alone.
- Considerations: Cost is higher, and in most setups the visual improvement is minimal compared with a high-quality polyester weave.
3. Multi-Layer Spacer Mesh (Premium Innovation)
- Construction: Found in screens like the SIGPRO Premier and Carl’s Premium, spacer mesh combines multiple woven layers with a damping layer in between.
- Benefits:
- Absorbs impact better, reducing bounce-back.
- Produces sharper images due to minimal surface texture.
- Reduces sound on ball strikes for a quieter simulator experience.
- Resists “puddling” (sagging) over time.
Why Mesh Structure Matters
All impact screens rely on woven fibers that flex slightly to absorb energy, then return to their shape. Cheaper, looser weaves distort faster, leading to image quality loss and visible ball marks. High-end screens use tight, fine meshes that look almost smooth, allowing for clear, sharp projection and longer-lasting performance.
👉 Key takeaway: For a modern golf simulator, skip the older “budget” fabrics like archery baffle or Supertex. Instead, look for multi-layer polyester or spacer mesh designs — these balance durability, image quality, and noise reduction for the best overall experience.
What Color Should My Impact Screen Be?
If you’re projecting an image, screen color has a big impact on picture quality.
White Screens (Traditional Choice)
- Best for: Dark, light-controlled rooms.
- Advantages: Bright, sharp image quality when paired with a good projector.
- Limitations: In rooms with any ambient light, whites can look washed out and contrast suffers.
Gray Screens (New in 2025)
A major recent innovation is the introduction of gray impact screens, led by the SIGPRO Premier (Jan 2025). These are specifically designed to perform better in spaces where light control isn’t perfect.
- Best for: Rooms with ambient light (garages, basements with windows, multipurpose spaces).
- Advantages:
- Absorbs ambient light, keeping blacks deeper and colors richer.
- Maintains contrast and reduces the “washed-out” look.
- Matches the durability and ball-strike resistance of premium white screens.
- Trade-off: In a completely darkened room, white screens may still deliver slightly higher brightness.
Quick Comparison: White vs. Gray
| Factor | White Screen | Gray Screen (e.g. SIGPRO Premier) |
|---|---|---|
| Best in | Dark rooms | Rooms with ambient light |
| Contrast | Can wash out in light | Retains deeper blacks |
| Brightness | Slightly higher peak brightness | Slightly lower peak brightness |
| Durability | Premium multi-layer options available | Premium multi-layer options available |
👉 Key takeaway: If your simulator space has good light control, stick with white. If not, a gray screen is the smarter choice, and a big step forward in 2025 for clearer, more vivid images in bright environments.
What Is Image Bleed?
Image bleed occurs when light from your projector passes through the impact screen instead of reflecting back toward you. The result is a faint version of your image visible on the wall or surface behind the screen, which reduces overall clarity and contrast.
Causes of Image Bleed
- Loose or open weave fabrics allow more light to pass through.
- Single-layer, budget screens (e.g., thin polyester meshes) are most prone to this issue.
How to Reduce Image Bleed
- Choose a multi-layer premium screen: Options like Carl’s Premium and SIGPRO Premier use the tightest weaves and thicker construction, minimizing bleed.
- Install a black backing layer: A blackout curtain or foam backing behind your impact screen absorbs light that passes through, improving image contrast and preventing double-vision effects. Avoid white backing, as this can cause a distracting “ghost image.”
- Optimize projector placement: Ensuring the projector is correctly aligned and matched to the screen’s throw ratio will help reduce hotspots and uneven bleed.
👉 Tip: If you see image bleed, the best long-term fix is upgrading to a premium multi-layer screen designed for high-resolution projection.
What Is Impact Screen Puckering (and How to Prevent It)?
Puckering refers to ripples or wrinkles that form along the edges of a golf impact screen. This happens when the fabric stretches unevenly, often where the screen is hung with bungees or cords.
Why It Matters
- Creates a slightly distorted projected image.
- Can look untidy or distracting.

How to Minimize Puckering
- Balanced tension is key: Ensure each bungee or cord applies equal tension. Even small differences can cause rippling.
- Use adjustable mounting systems: Modern tensioning frames and adjustable hooks allow fine-tuning and prevent uneven stretch.
- Choose thicker, multi-layer screens: Premium options like Carl’s Premium and SIGPRO Premier resist puckering far longer than thinner fabrics.
- Re-tension periodically: All fabrics relax slightly over time. Rebalancing your setup every few months keeps the screen smooth.
👉 Key takeaway: Puckering can’t be eliminated entirely, but with a heavy-duty screen and a properly tensioned mounting system, it can be reduced to a point where it’s barely noticeable.
While you can’t eliminate this problem entirely, you can reduce it. You will need to rebalance and rehang the screen using the adjustable cords on the bungees.
You will also find that the more heavy-duty and premium the material you use, the longer it takes to start showing signs of screen puckering.
Carl’s Premium screen puckers less than competitors due to it’s heavy-duty design, but puckering is also a feature of how the screen has been hung. You need balanced tension in all of the fixings or bungees in order to minimise puckering.
|
Does Size Matter for Impact Screen Quality?
Yes — screen size has a direct impact on both picture quality and simulator realism.
- Buy the correct size from the start: Impact screens are extremely tough, making them difficult to cut or resize without damaging the fabric. Always measure your space carefully before ordering.
- Fit to your simulator area: Consider ceiling height, room width, and safe buffer zones around the screen.
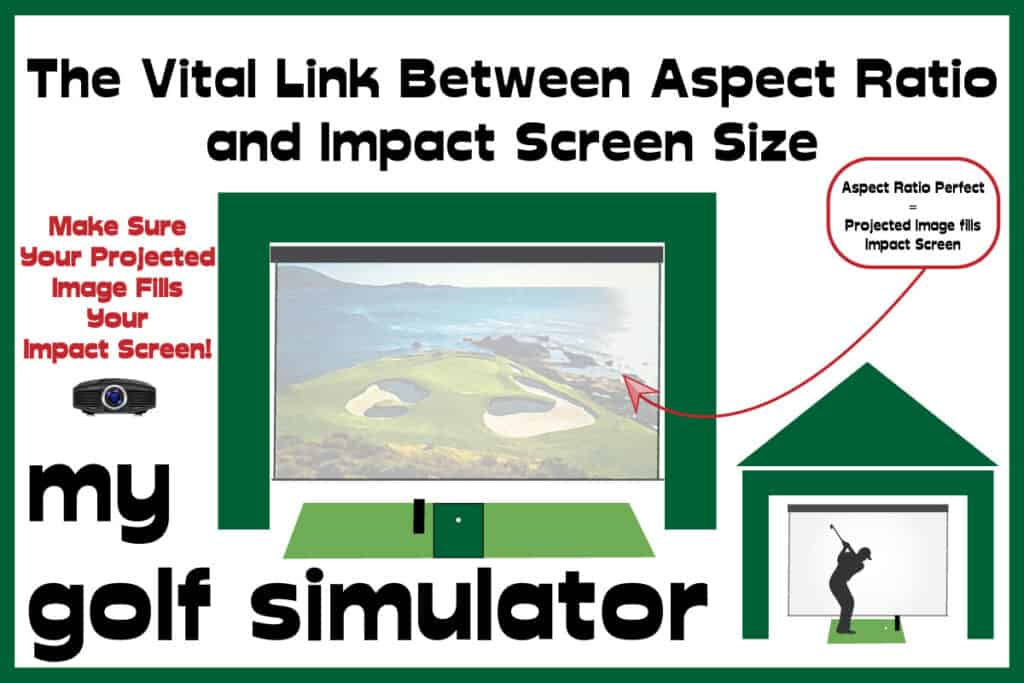
- Match screen size to image size: A screen that doesn’t match your projector’s output can lead to wasted blank areas or a stretched/distorted image.
👉 Tip: Bigger isn’t always better if your projector or space can’t support it. The sharpest image comes when your screen size, projector, and aspect ratio all align.
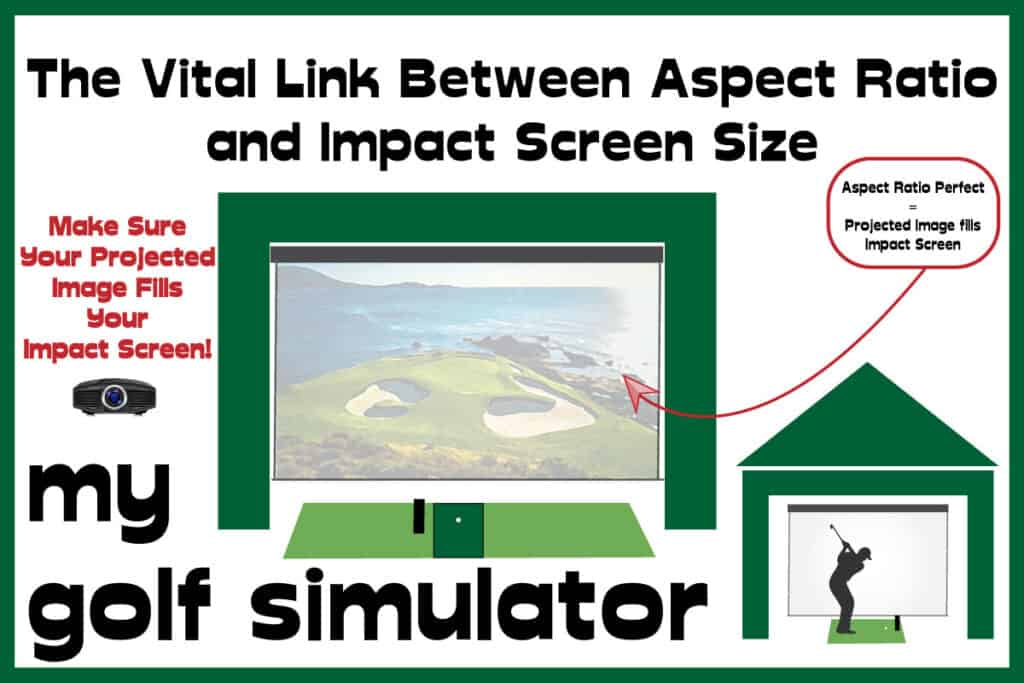
Aspect Ratio and Why It Matters
Aspect ratio is the ratio of image width to height, and it determines how your projected picture fits the screen. Choosing the right one ensures a full, immersive image with no wasted space.
- 16:9 (Widescreen): The most common for modern projectors, HDTV, and most simulator software.
- 4:3 (Standard): Matches older projectors and iPads but looks less cinematic.
- 21:9 (Ultra-wide): A niche choice for advanced setups, offering a panoramic view but requiring specific projector support.
If your screen and projector use mismatched aspect ratios, the image will either be stretched or leave unused black bars on the sides/top.
Don’t Forget Throw Ratio
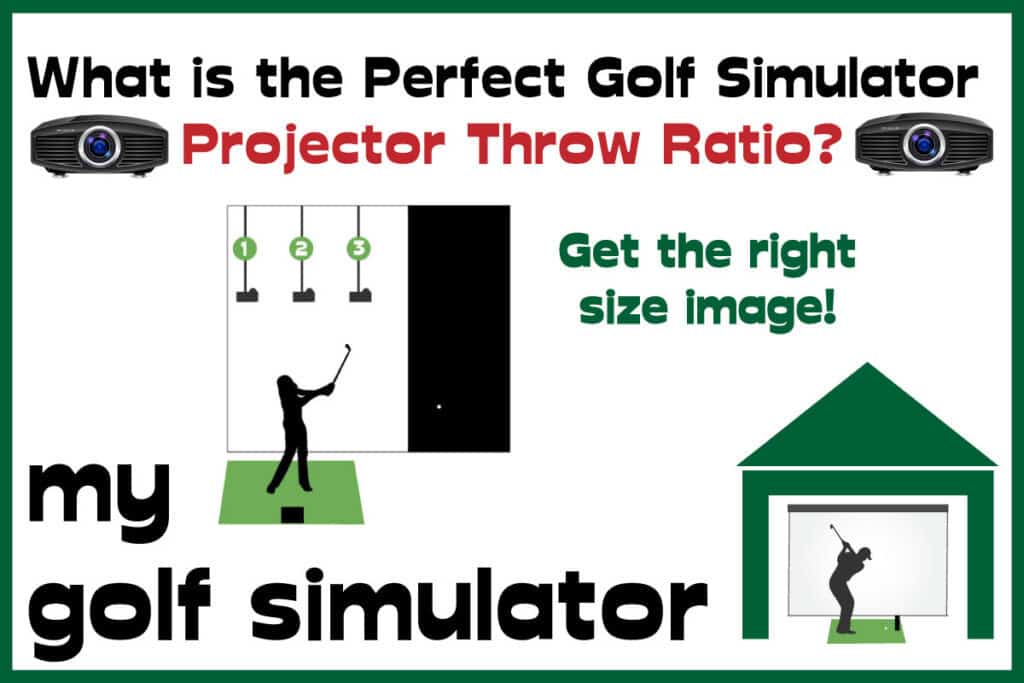
Your projector’s throw ratio determines how far back it needs to be placed to fill the screen. For golf simulators, short-throw projectors are often best, as they allow for large images in smaller spaces while reducing shadows.
- Example: A projector with a 0.5:1 throw ratio needs just 5 feet of distance to fill a 10-foot-wide screen.
Allow Space for Installation
Always account for:
- Fixings & grommets: Leave extra inches around the screen edges for hooks, bungees, or frame mounts.
- Safe hitting distance: Most setups need at least 10–12 feet of depth to comfortably swing and project.
- Ventilation & clearance: Premium screens benefit from a few inches of space behind them to absorb impact and prevent sagging.
👉 Key takeaway: The best golf simulator experience comes when screen size, aspect ratio, projector throw, and room dimensions are all considered together. Plan carefully, and you’ll avoid distortions, blank edges, or costly reorders.
Carl’s Place allows you to easily order the correct size and aspect ratio for your impact screen
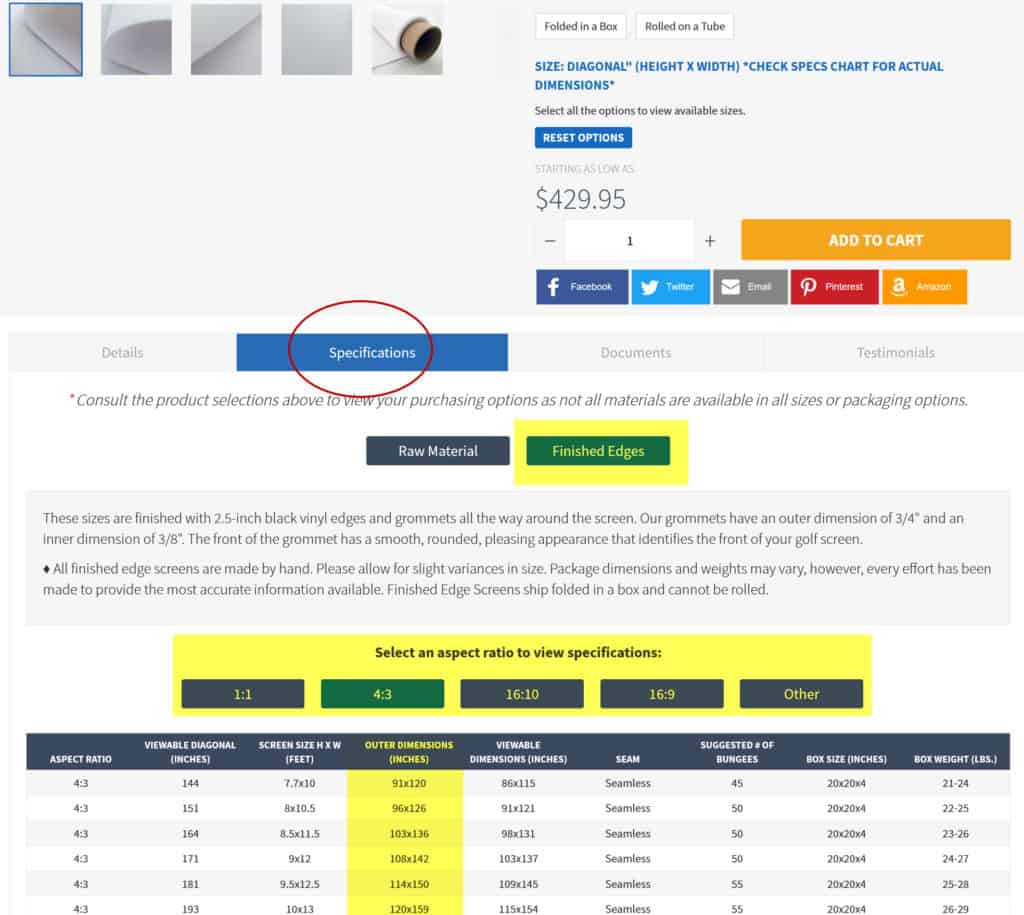
Carl’s Place helps to minimise the stress of matching your impact screen size to the right aspect ratio. You can look at tables of sizes to ensure you get an aspect ratio that matches your projector. Take a look at our dedicated article on impact screen aspect ratios here.

What other Impact Screen Features to consider as well as Image Quality?
Impact Screen Bounceback?
Other Impact Screen Features to Consider
When choosing a golf simulator screen, image quality isn’t the only factor that matters. Two other key performance features are bounce-back control and noise reduction.
Impact Screen Bounce-Back
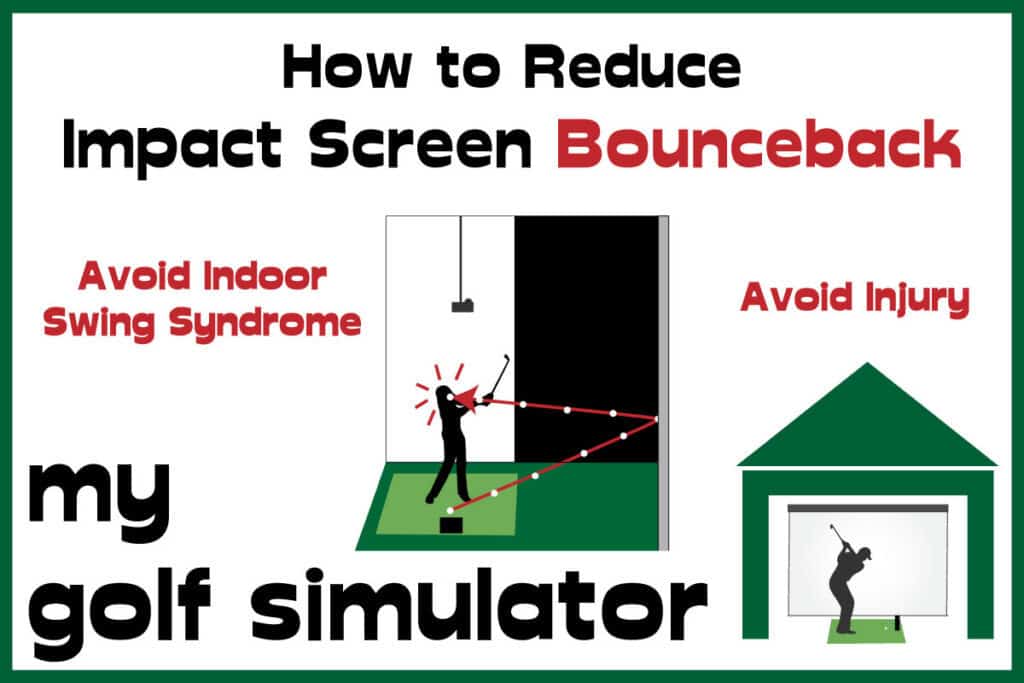
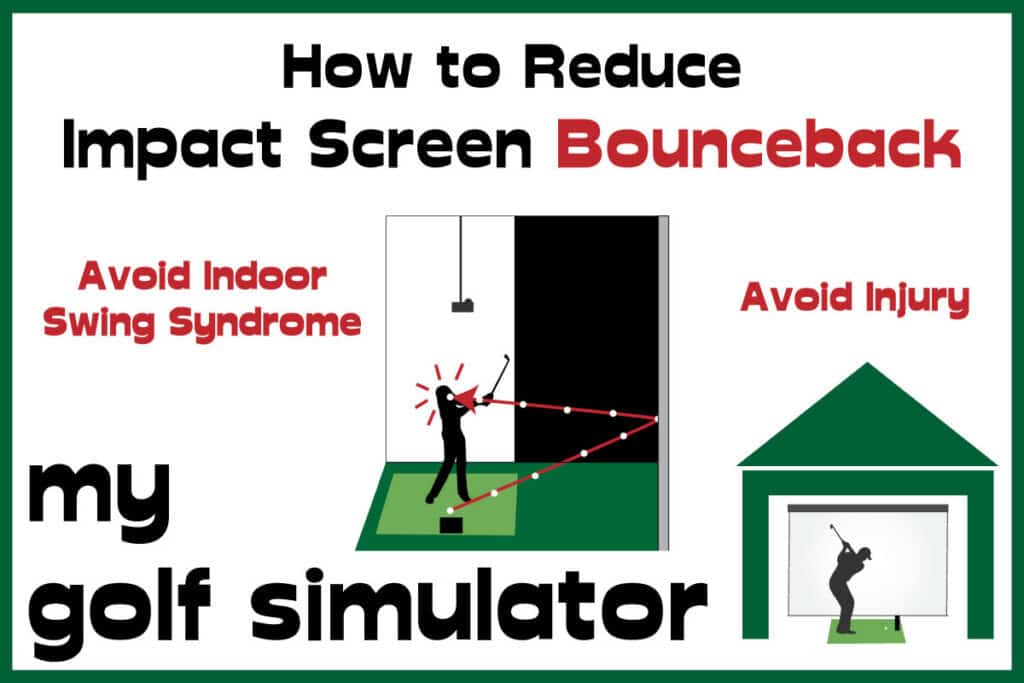
Bounce-back happens when the ball rebounds directly toward you after hitting the screen. This can be surprising at best — and dangerous at worst.
How to reduce bounce-back:
- Choose a multi-layer screen: Premium options like Carl’s Premium and SIGPRO Premier use heavy-duty spacer mesh that absorbs energy more effectively.
- Maintain proper distance: Stand at least 10–12 feet away from the screen to give the ball time to lose energy.
- Allow space behind the screen: A gap of 6–12 inches behind the screen gives it room to flex and absorb impact.
- Add cushioning layers: Blackout curtains or foam panels behind the screen can further reduce rebound and improve safety.
👉 Key takeaway: Premium three-layer designs drastically cut bounce-back compared to budget single-layer fabrics.
Check out my full article on bounceback here. You may also want to spend some time thinking about how you will place the screen and what materials you’d want to put behind the screen to help reduce the problem even more.
|
Noise Reduction
Golf balls striking an impact screen can be surprisingly loud, especially in garages or basements where sound echoes.
Factors that reduce noise:
- Screen thickness: Thicker, multi-layer materials absorb more energy and create less sound.
- Spacer mesh technology: Found in premium screens, this adds a damping layer that lowers sound levels significantly.
- Backing layers: Adding foam or acoustic panels behind the screen helps reduce both bounce-back and noise.
For example, Carl’s Premium includes a cushioned middle layer that dampens impact sound, while the SIGPRO Premier combines multi-layer design with gray material that also improves contrast in bright rooms.
👉 While no impact screen is completely silent, a premium multi-layer screen with proper installation can make your simulator much quieter — something that matters if you’re playing late at night or need to keep peace with family or neighbours.
Do you intend to watch movies and play games on your impact screen?
Golf simulation is not the only use for a premium quality impact screen! You can also project your favourite movies and video games to enjoy them on your very own big screen.
Clearly when you use your impact screen for these purposes, you want the highest quality picture from your impact screen.
Many people spend literally thousands on an amazing projector, even shelling out on 4k projectors (you should know that as of 2020, getting both native 4k resolution and a ‘short’ throw ratio in the same projector is extremely expensive). You’ll never achieve the clarity of a 4k picture though if your screen isn’t up to scratch.
A premium high quality multi-layer screen (such as Carl’s Premium Screen) will be able to show off your 4k picture well. Aim for low ambient light and no bright lights (eg windows) or objects behind the screen too. Then your high resolution image and projector will shine!
Beware of Cheap Impact Screens
It’s tempting to save money on your simulator build, and golf is already an expensive hobby. But when it comes to impact screens, ultra-cheap imports often end up costing you more in the long run.
The Problem With Bargain Screens
- Poor durability: Many budget imports start showing ball marks within the first 50 shots. Regular use quickly leads to holes or tears.
- Weak fabric quality: Looser weaves and thinner materials can’t handle ball speeds of 150+ mph. Some fail after just a few practice sessions.
- No warranty support: Unlike reputable brands, low-cost imports rarely come with meaningful guarantees or replacement options.
Why Premium Screens Are Worth It
- Proven longevity: Premium options like Carl’s Premium and SIGPRO Premier are rated for 200,000+ strikes and backed by manufacturer warranties.
- Better image quality: Tight weaves and multi-layer construction give a sharper, more vibrant picture.
- Added features: Noise reduction, reduced bounce-back, and resistance to puckering are built into higher-end screens.
👉 Rule of thumb: If a screen looks too cheap to be true, it almost always is. A failed screen doesn’t just ruin the image quality — it puts your walls, windows, or even people at risk.
Prioritise Your Impact Screen (and Mat)
When budgeting your golf simulator, focus your investment on the two most critical pieces of hardware:
- Impact Screen – the core of your simulator experience and safety.
- Golf Mat – determines strike feel, shot data accuracy, and injury prevention.
Other parts of your setup (enclosure, projector mount, even DIY frames) can be customised or built more cheaply. But a high-quality screen and mat will pay you back every time you practice.
Conclusion: Choosing the Best Impact Screen for Picture Quality
Your impact screen is more than just a safety barrier — it’s the foundation of your golf simulator’s visual quality and playing experience. The right material, color, and construction can transform your simulator from “functional” to immersive and professional.
In 2025, the best choices balance durability, image clarity, noise control, and bounce-back reduction. Multi-layer polyester and spacer mesh designs dominate the premium market, with the SIGPRO Premier’s gray screen technology offering a breakthrough option for bright rooms.
Below is a quick comparison to help you decide:
| Feature | Budget Screens | Carl’s Standard | Carl’s Premium | SIGPRO Premier (2025) |
|---|---|---|---|---|
| Durability | Low – prone to tearing within weeks | Good for light use | Excellent (200,000+ strikes) | Excellent (200,000+ strikes) |
| Image Clarity | Grainy, visible texture | Decent but textured | Sharp, smooth surface for HD/4K | Sharp, high-contrast even in ambient light |
| Bounce-Back | High (unsafe at close range) | Moderate | Very low | Very low |
| Noise Level | Loud | Moderate | Quiet (multi-layer damping) | Quiet (multi-layer damping) |
| Color Options | White or low-quality variants | White only | White, Gray | White, Gray |
| Best For | Temporary DIY setups | Entry-level home use | Dedicated home simulators, coaching, commercial use | Bright rooms, multipurpose spaces, premium builds |
👉 Final tip: Don’t cut corners on your impact screen. Along with your hitting mat, it’s the single most important piece of your golf simulator. A premium screen not only gives you a sharper, more realistic image — it also lasts longer, keeps noise down, and makes your simulator safer.
Golf Impact Screen Picture Quality FAQs
Do I need a special impact screen for HD or 4K projectors?
Yes. To get the most out of HD or 4K projection, you’ll need a tight-weave, multi-layer screen. Cheaper single-layer options with more texture can make even a 4K image look soft or grainy. Premium options like Carl’s Premium and SIGPRO Premier are specifically designed for high-resolution projection.
White or gray impact screen — which gives the best image?
- White screens are best for dark, light-controlled rooms, offering maximum brightness.
- Gray screens (new in 2025, e.g. SIGPRO Premier) are better for rooms with ambient light, as they absorb excess light and keep blacks deeper and colors richer.
How can I reduce image bleed?
Image bleed happens when light passes through the screen instead of reflecting back. To reduce it:
- Choose a multi-layer premium screen with a tight weave.
- Add a blackout backing behind the screen.
- Avoid thin or budget fabrics (they’re most prone to bleed).
Why does my projected image look blurry even with a good projector?
Blurriness often comes from the screen’s texture rather than the projector itself. Screens with more surface texture scatter light, softening the picture. Premium, smooth-faced screens preserve sharpness. Also check that your aspect ratio and projector alignment are set correctly.
Do golf impact screens show ball marks?
Yes, all screens eventually show marks, but premium multi-layer fabrics resist them far better. Cheaper screens quickly develop dimples or visible wear, while Carl’s Premium and SIGPRO Premier are designed to minimize visible impact marks even after thousands of shots.
How do I clean an impact screen without damaging picture quality?
- Use a pH-neutral cleaning solution (avoid harsh detergents).
- Apply gently with a microfiber cloth.
- Allow to dry with forced air circulation rather than air-drying, which can leave water spots.
- Avoid abrasive scrubbing, which can damage the surface texture.
Does screen size affect picture quality?
Yes. A larger screen stretched beyond your projector’s capability can look dim or pixelated. Always match your screen size, aspect ratio, and projector lumens to get the sharpest possible image.
What’s better for picture quality: a better projector or a better screen?
Both matter, but many golfers underestimate the screen’s role. A high-end projector on a budget screen will still look washed out. Conversely, a premium screen can make a mid-range projector look much sharper and more vibrant.
👉 Bottom line: For crisp, bright, and realistic images, invest in a multi-layer, premium impact screen and pair it with a projector that matches your space and lighting.
Check Out Our Related Articles
Alex’s Expertise and Experience with Golf Impact Screens
I am to provide clear, detailed, and specific information on golf impact screens within the broader context of golf simulators. I understand the critical role that a high-quality impact screen occupies in the overall experience and strive to guide my readers through the complexities of choosing and installing the perfect screen for their needs.

- My Specialized Knowledge in Golf Impact Screens: Since starting mygolfsimulator.com, I’ve honed my expertise specifically in the area of golf impact screens. My extensive research and writing have been centered on understanding every nuance of impact screen technology and its application in golf simulator builds.
- My Deep Dive into Impact Screen Quality: I’ve dedicated significant time to exploring the intricacies of impact screen picture quality. Understanding the importance of a clear, sharp image for an immersive golfing experience, I’ve analyzed various screen materials and their impact on image clarity and resolution.
- My Insights on Sizing and Aspect Ratio: Recognizing that the size and aspect ratio of an impact screen are critical for a perfect simulator setup, I’ve delved into the specifics of how to choose the right dimensions. I provide detailed guidance on selecting the right screen size and aspect ratio to ensure a seamless fit within any simulator space, additionally covering issues with the bottom of the impact screen. I have also written in great depth on curved impact screen builds.
- My Experience with Impact Screen Installation: I’ve personally experimented with various methods of attaching impact screens within golf simulators. My hands-on experience allows me to offer practical advice on the best practices for mounting screens, ensuring both safety and optimal visual quality.
- My Focus on Practical Solutions: In my work, I emphasize practical solutions to common issues like minimizing bounceback and noise. I explore different screen tensions and additional cushioning techniques to enhance the safety and comfort of using a golf simulator. I have also compared impact screen simulator builds with alternatives such as golf simulator nets.
- A Detailed Knowledge of Projector Specifications: I have developed strong expertise in selecting the ideal projector and impact screen combination for golf simulators. My knowledge extends to understanding projector specifications in detail, enabling me to recommend the perfect projector for any given space. I ensure the projected image aligns flawlessly with the screen, considering factors like throw ratio, keystone correction, and resolution. This expertise allows me to provide tailored advice, ensuring an immersive and accurate golfing experience for every setup.
- Hands-on Experience Building Enclosure Frames: I have built a variety of golf simulator enclosure frames over the last four years, from fully DIY builds to pre-packaged premium enclosures. I have experience cutting metal conduit pipes to size as well as tinkering with bungees and zip ties to create the perfect impact screen tension.
- Putting it all together: I have amalgamated all of the above in-depth information into a comprehensive impact screen buying guide.
Mevo Gen 2 Space Requirements
Gray Impact Screens – Pros and Cons
ABOUT THE AUTHOR
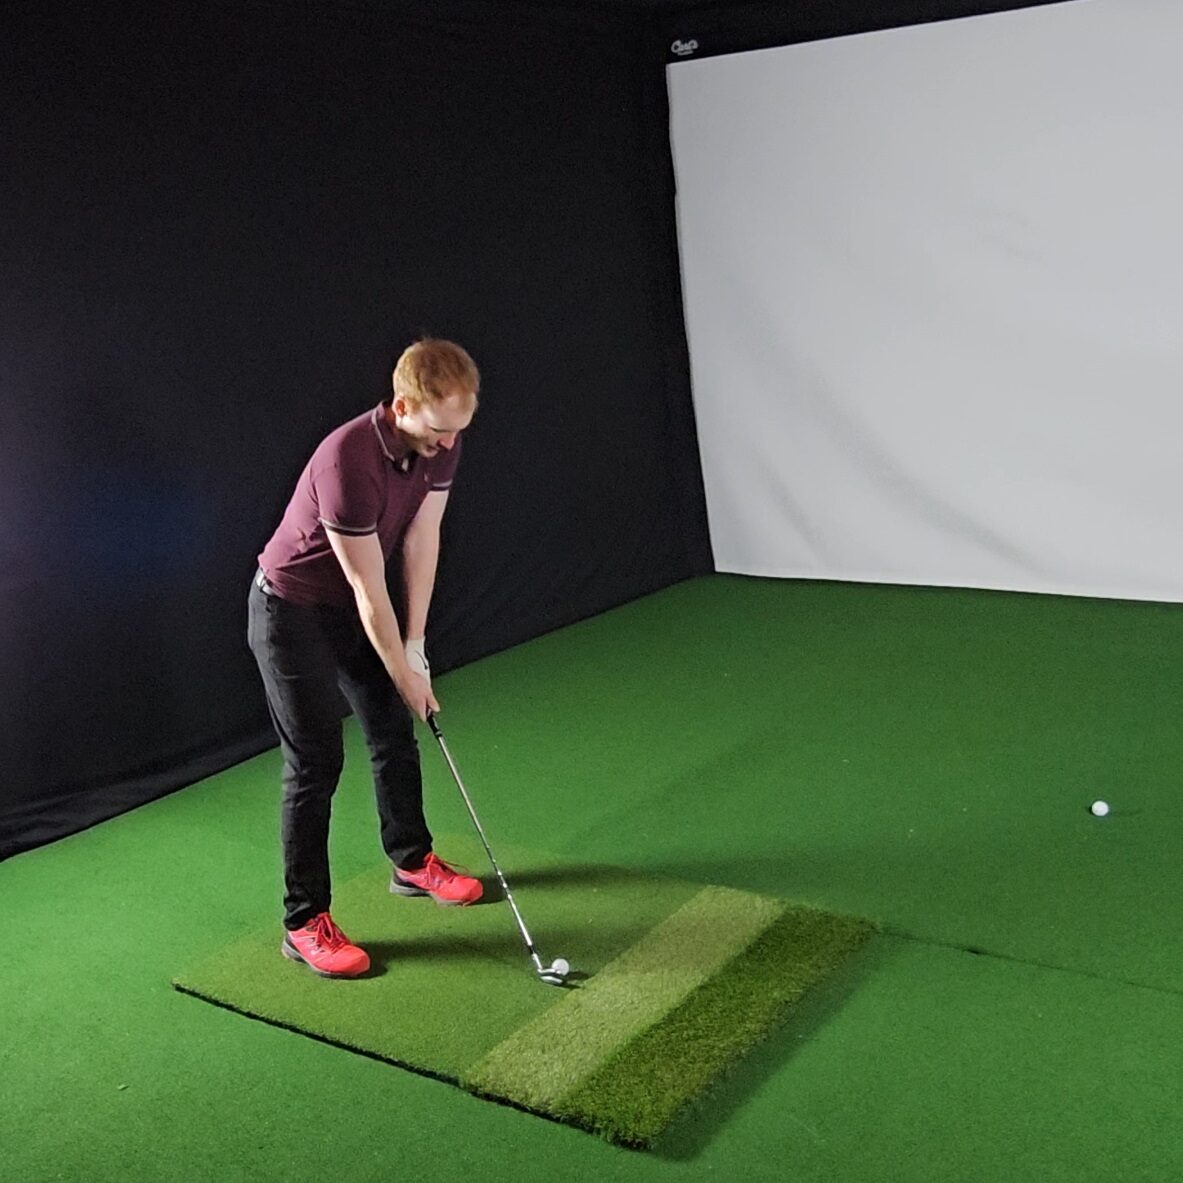
Hello! My name is Alex and it is my mission to bring you all the information you need to build your own home golf simulator! I hope mygolfsimulator.com helps you on your journey to better golf at home!
LEGAL INFORMATION
On this site, you'll find articles on all aspects of building a golf simulator. I will also link to other sites where you can buy some of the simulator components. Some of these links may be affiliate links, which means if you click them I gain a small commission at no extra cost to you. This really helps out me and my site so thank you in advance! mygolfsimulator.com and all related social media accounts are property of Awonline LTD.
