Impact Screen Size Guide – Find the Perfect Impact Screen Size for your Golf Simulator
SHARE
Posted in Golf Impact Screens
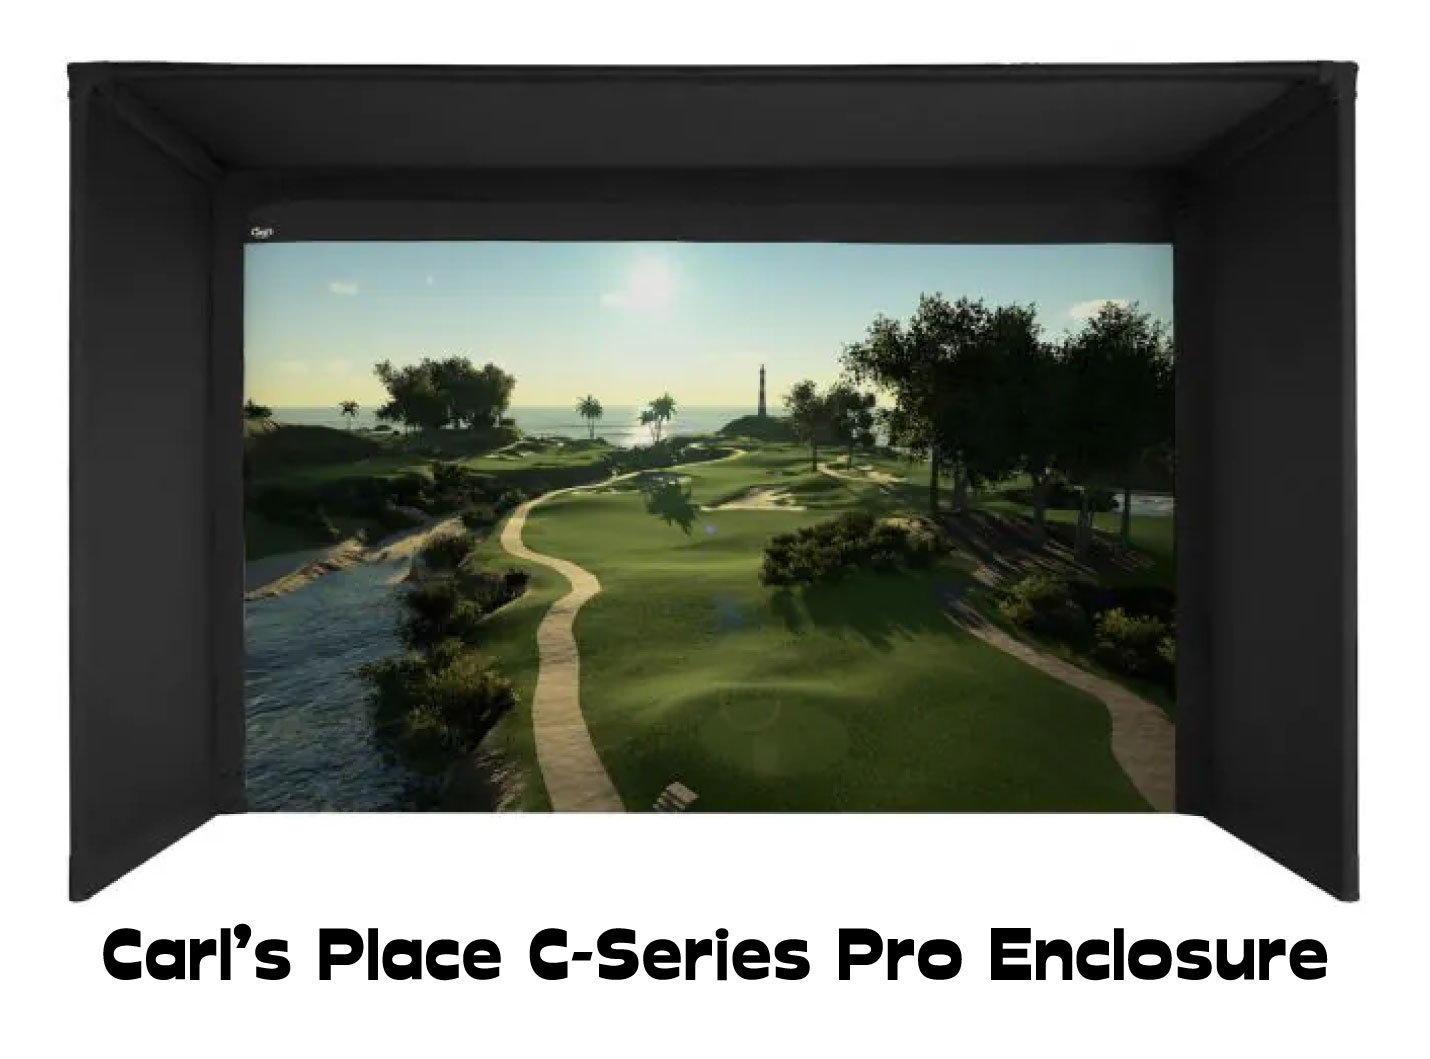
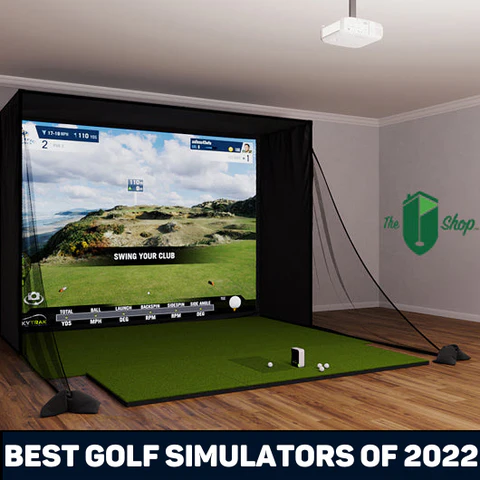
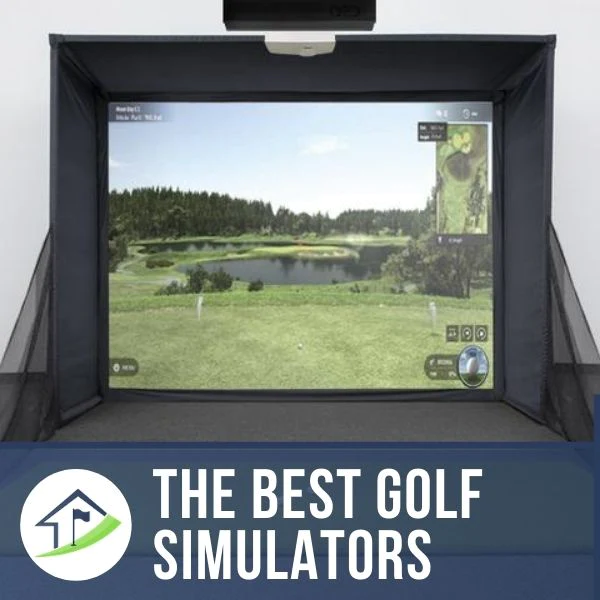
Choosing a golf impact screen that is sized perfectly for your golf simulator space is one of the most important decisions you’ll have to make in the planning of your simulator. The size of the impact screen is very closely related to your choice of projector, enclosure frame, and the actual position from which you’ll hit golf balls.
The correct golf impact screen size is one that fits perfectly within your golf simulator room, maximizing the available space with your projected image. The perfect impact screen size will conform to a common aspect ratio allowing a projected image to fill the screen with no wasted areas.
The best golf simulator setups often feature an impact screen size that conforms to a 16:9 aspect ratio, such as 16ft wide and 9ft high. Impact screen Sizes in 16:9 allow maximum width and a full HD or 4K image to be displayed without distortion.
You will of course need plenty of room width to accommodate a 16ft wide screen, but a setup this wide should mean you can address the ball with your target line parallel to the centre of the screen.
Alex’s Expertise and Experience with Golf Impact Screens
I am to provide clear, detailed, and specific information on golf impact screens within the broader context of golf simulators. I understand the critical role that a high-quality impact screen occupies in the overall experience and strive to guide my readers through the complexities of choosing and installing the perfect screen for their needs.

- My Specialized Knowledge in Golf Impact Screens: Since starting mygolfsimulator.com, I’ve honed my expertise specifically in the area of golf impact screens. My extensive research and writing have been centered on understanding every nuance of impact screen technology and its application in golf simulator builds.
- My Deep Dive into Impact Screen Quality: I’ve dedicated significant time to exploring the intricacies of impact screen picture quality. Understanding the importance of a clear, sharp image for an immersive golfing experience, I’ve analyzed various screen materials and their impact on image clarity and resolution.
- My Insights on Sizing and Aspect Ratio: Recognizing that the size and aspect ratio of an impact screen are critical for a perfect simulator setup, I’ve delved into the specifics of how to choose the right dimensions. I provide detailed guidance on selecting the right screen size and aspect ratio to ensure a seamless fit within any simulator space, additionally covering issues with the bottom of the impact screen. I have also written in great depth on curved impact screen builds.
- My Experience with Impact Screen Installation: I’ve personally experimented with various methods of attaching impact screens within golf simulators. My hands-on experience allows me to offer practical advice on the best practices for mounting screens, ensuring both safety and optimal visual quality.
- My Focus on Practical Solutions: In my work, I emphasize practical solutions to common issues like minimizing bounceback and noise. I explore different screen tensions and additional cushioning techniques to enhance the safety and comfort of using a golf simulator. I have also compared impact screen simulator builds with alternatives such as golf simulator nets.
- A Detailed Knowledge of Projector Specifications: I have developed strong expertise in selecting the ideal projector and impact screen combination for golf simulators. My knowledge extends to understanding projector specifications in detail, enabling me to recommend the perfect projector for any given space. I ensure the projected image aligns flawlessly with the screen, considering factors like throw ratio, keystone correction, and resolution. This expertise allows me to provide tailored advice, ensuring an immersive and accurate golfing experience for every setup.
- Hands-on Experience Building Enclosure Frames: I have built a variety of golf simulator enclosure frames over the last four years, from fully DIY builds to pre-packaged premium enclosures. I have experience cutting metal conduit pipes to size as well as tinkering with bungees and zip ties to create the perfect impact screen tension.
- Putting it all together: I have amalgamated all of the above in-depth information into a comprehensive impact screen buying guide.
Total vs Viewable Impact Screen Area
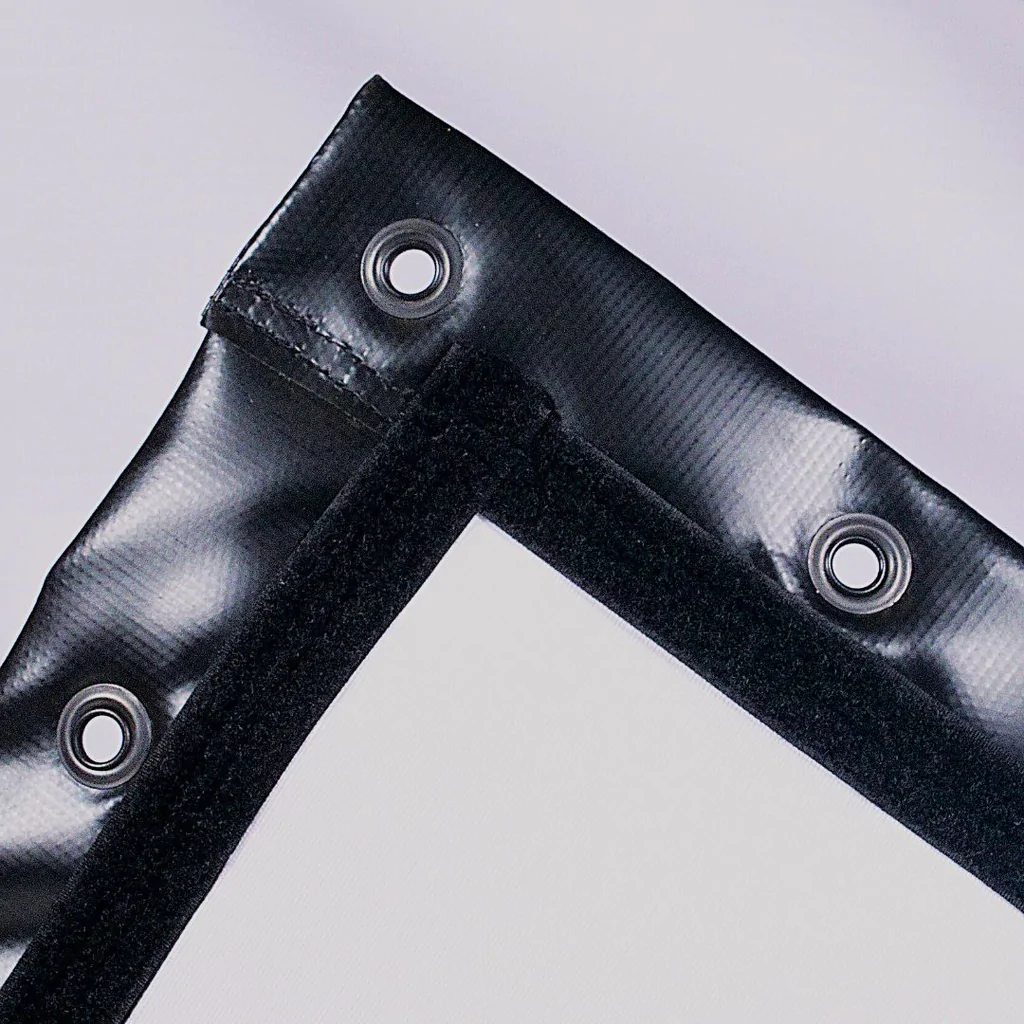
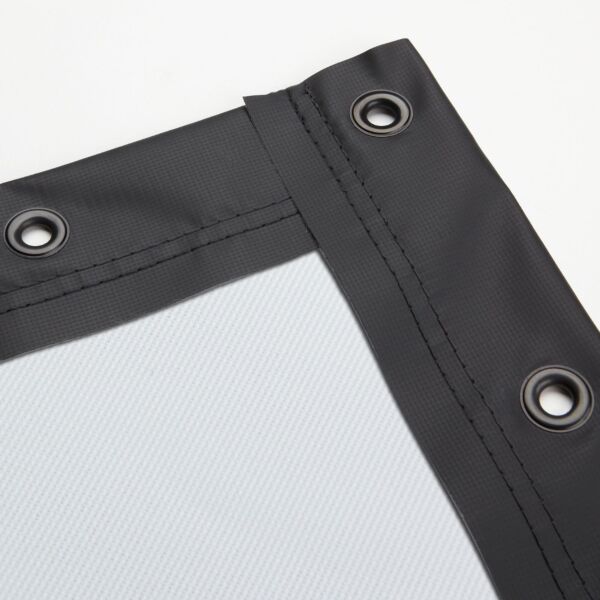
A golf impact screen has both a total area and a viewable area. There will almost always be a border around the screen consisting of the holes, attachments and fixings used to hang the impact screen from the golf simulator enclosure. This is important because your ultimate image size will be smaller than the physical space you have to house the screen.
This is an important point to be aware of because you need to consider the ‘viewable’ portion of your impact screen when planning your hitting position and projector position. Get these things wrong and you will probably end up with some wasted impact screen and an image that doesn’t fill the corners of your screen.
You should also be able to safely house the screen in an enclosure, and it should be set at a safe buffer distance (at least 15 inches) from the back wall.
Golf Impact Screen Sizes with a 16:9 Aspect Ratio
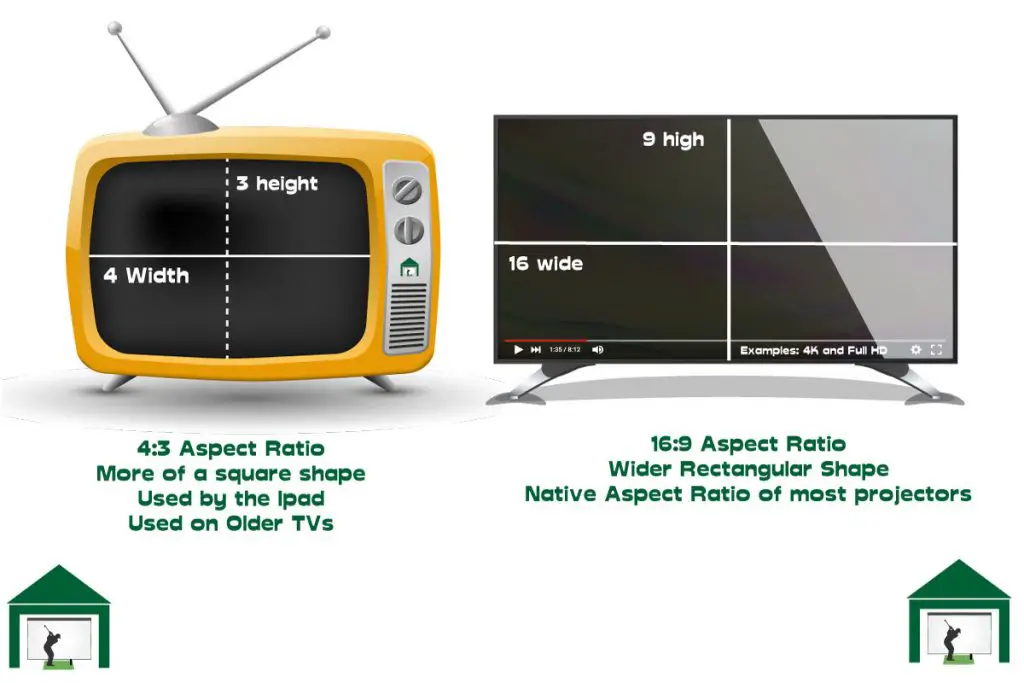
16:9 is the most commonly used aspect ratio for an impact screen and it is the standard aspect ratio used for a Full Hd or 4K display, though it does require more room width than a 4:3 screen.
| ASPECT RATIO | Screen Width (Ft) | Screen Height (Ft) | Outer Dimensions (inches) | Viewable Screen Size (inches) | Viewable Screen Size (Diagonal) |
|---|---|---|---|---|---|
| 16:9 | 13 | 7.7 | 91x159 | 86x154 | 177 |
| 16:9 | 14 | 8 | 96x166 | 91x161 | 185 |
| 16:9 | 15 | 8.5 | 103x180 | 98x175 | 200 |
| 16:9 | 16 | 9 | 108x188 | 103x183 | 210 |
| 16:9 | 17 | 9.5 | 114x198 | 109x193 | 222 |
| 16:9 | 18 | 10 | 120x210 | 115x205 | 236 |
Check out Carl’s Premium (highest quality image, three layer padded screen), Preferred (best combination of price and quality) and Standard (for those on a tighter budget) impact screens, in all of the above sizes.
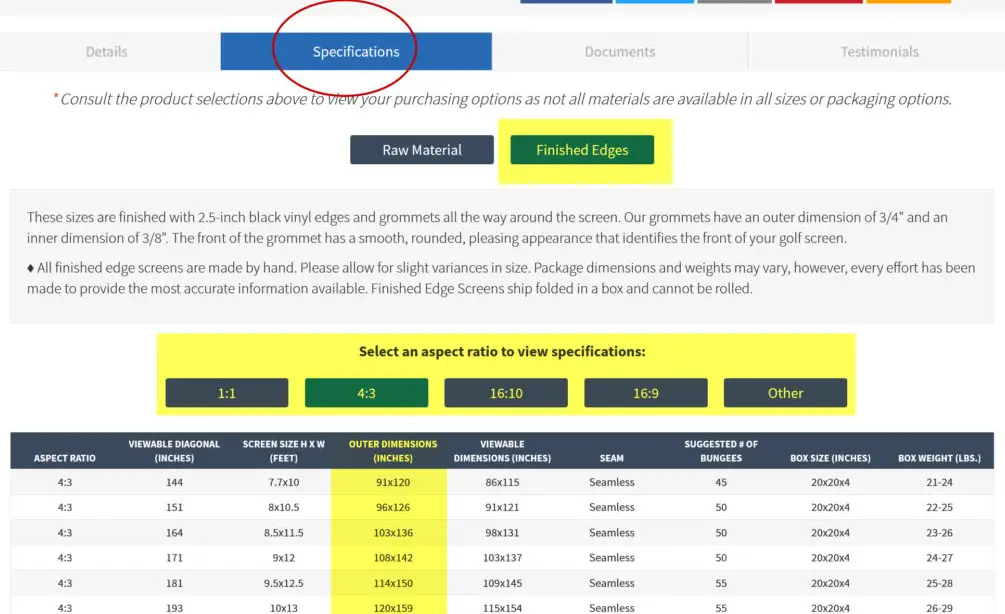
Please note that I’ve included sizes of screens here from Carl’s Place that include grommet holes for fixings, you also have the option of buying the screen in just a raw material version. The raw impact screen material ships in slightly different sizes that you can see on the site.
Golf Impact Screen Sizes with a 4:3 Aspect Ratio
4:3 is a taller aspect ratio which is more square shaped than a widescreen 16:9 screen. These screens are best for golf simulator rooms with limited width.
| ASPECT RATIO | Screen Width (Ft) | Screen Height (Ft) | Outer Dimensions (inches) | Viewable Screen Size (inches) | Viewable Screen Size (Diagonal) |
|---|---|---|---|---|---|
| 4:3 | 10 | 7.7 | 91x120 | 86x115 | 144 |
| 4:3 | 10.5 | 8 | 96x126 | 91x121 | 151 |
| 4:3 | 11.5 | 8.5 | 103x136 | 98x131 | 164 |
| 4:3 | 12 | 9 | 108x142 | 103x137 | 171 |
| 4:3 | 12.5 | 9.5 | 114x150 | 109x145 | 181 |
| 4:3 | 13 | 10 | 120x159 | 115x154 | 193 |
Check out Carl’s Premium (highest quality image, three layer padded screen), Preferred (best combination of price and quality) and Standard (for those on a tighter budget) impact screens, in all of the above sizes.
Golf Impact Screen Sizes with a 16:10 Aspect Ratio
| ASPECT RATIO | Screen Width (Ft) | Screen Height (Ft) | Outer Dimensions (inches) | Viewable Screen Size (inches) | Viewable Screen Size (Diagonal) |
|---|---|---|---|---|---|
| 16:10 | 11.5 | 7.7 | 91x144 | 86x139 | 163 |
| 16:10 | 12 | 8 | 96x151 | 91x146 | 171 |
| 16:10 | 13 | 8.5 | 103x163 | 98x158 | 185 |
| 16:10 | 14 | 9 | 108x170 | 103x165 | 194 |
| 16:10 | 15 | 9.5 | 114x180 | 109x175 | 204 |
| 16:10 | 15.5 | 10 | 120x190 | 115x185 | 218 |
Check out Carl’s Premium (highest quality image, three layer padded screen), Preferred (best combination of price and quality) and Standard (for those on a tighter budget) impact screens, in all of the above sizes.
Golf Impact Screen Sizes with a 1:1 Aspect Ratio
| ASPECT RATIO | Screen Width (Ft) | Screen Height (Ft) | Outer Dimensions (inches) | Viewable Screen Size (inches) | Viewable Screen Size (Diagonal) |
|---|---|---|---|---|---|
| 1:1 | 7.7 | 7.7 | 91x91 | 86x86 | 122 |
| 1:1 | 8 | 8 | 96x96 | 91x91 | 128 |
| 1:1 | 8.5 | 8.5 | 103x103 | 98x98 | 139 |
| 1:1 | 9 | 9 | 108x108 | 103x103 | 145 |
| 1:1 | 9.5 | 9.5 | 114x114 | 109x109 | 154 |
| 1:1 | 10 | 10 | 120x120 | 115x115 | 163 |
Impact Screen Sizes with a Non Standard Aspect Ratio
Some golfers will find that ensuring a screen that fills their space is more important than image quality or filling their screen entirely with their projected image.
Carl’s Place does provide some screens that don’t conform to standard aspect ratios, for those looking for something specific for their space. It is likely in these circumstances that you will have bars of wasted screen above, below or to the sides of your image.
Aspect Ratio is Super Important
Aspect ratio is important in a golf simulator because getting it right allows you to fill your impact screen with your projected image. Golfers who mismatch their screen size, throw distance, and aspect ratio will waste areas of their impact screens with bars of empty space.
What is Aspect Ratio
Aspect Ratio is the ratio of image width to height. A square image would have an aspect ratio of 1:1.
A rectangular screen that is twice as wide as it is tall, would have an aspect ratio of 2:1. This could then be scaled up to any size where the width is twice the height, for example 16ft x 8ft and 14ft x 7ft.
Match your Impact Screen Size with the Aspect Ratio of your Image
The ideal scenario when you’ve fully constructed your simulator and switch on your projector is that the image fills the impact screen. You don’t want excess, unused, wasted screen. Those black bars above, below or to the sides of your screen will annoy you every time you use it!
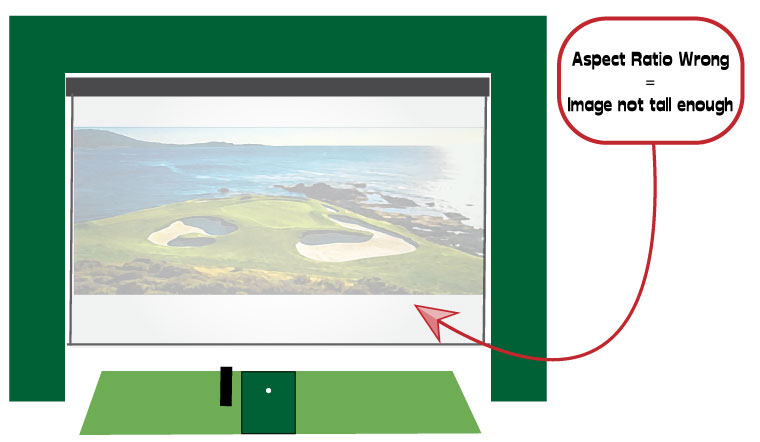
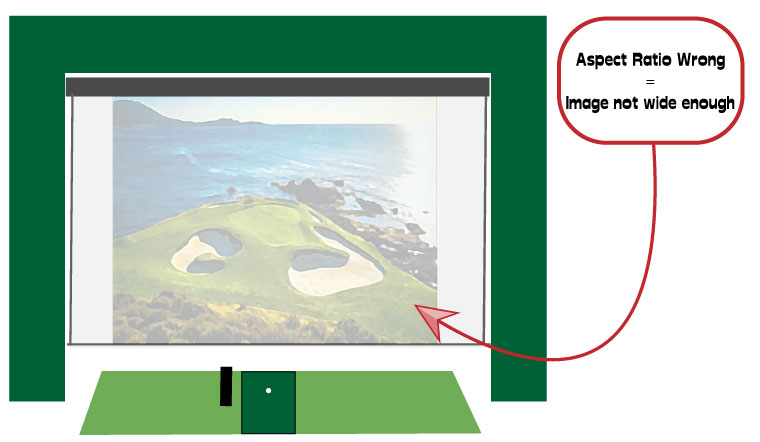
16:9 is the most common aspect ratio used in a golf simulator impact screen setup. This is the standard aspect ratio used in newer television and computer monitors. An impact screen that is 16ft wide by 9ft high viewable area, would be able to show the entirety of a HD 16:9 image without any distortion.
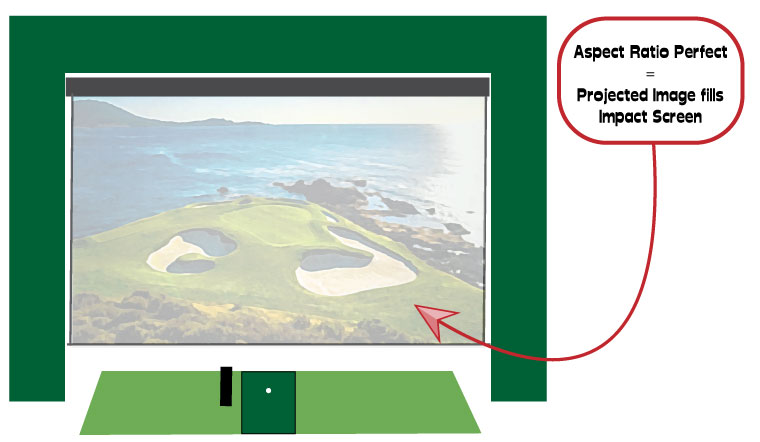
There are other sets of dimensions that fulfil 16:9 aspect ratio, such as 14ft by 8ft. You can view detailed sizing tables at Carl’s Place which show you the total dimensions of the screen as well as the viewable screen size. This is extremely useful when planning your perfect projector position to allow a image that fills your impact screen.
We talk all about this in the next section.

Dont forget, you must consider these four spaces, there is a difference between them!
- The maximum space for your entire golf simulator, including any relief space
- What about the maximum space on the inside of your enclosure, if using one
- The maximum space for your screen, including outer edges, eyelets, fixings
- The maximum screen size onto which you can project an image
Take this into account when planning your simulator and considering low large an impact screen to buy. It’s hard to cut a screen down. You’ll struggle getting a straight edge and you’ll lose the outer edge and eyelets on one side.
Plan your Projector Position alongside your Impact Screen Size Choice
Aspect ratio and impact screen size are not the only things you need to consider in order to fill your impact screen with your projected image, you need to get the projector decisions correct.
Projectors are like any other display device (such as a TV) and will show the image that is sent to them from a second device, in this case usually a computer. Most computers will try to send out an image in a 16:9 aspect ratio because this is the natural ratio between height and width of most HD displays. Both Full HD (1920 x 1080) and 4K (3840 x 2160) have 16:9 aspect ratios because this is the ratio between the two numbers.
You can change the aspect ratio on your PC but I’m not sure you’d want or need to. Golfers who need an impact screen with sizes fitting a 4:3 aspect ratio can still use their PC as normal, with it’s display in a 16:9 setup (full HD or 4K). It’s the projector that will change the aspect ratio of the image for you.
Notably, iPads and similar tablets use a 4:3 aspect ratio naturally, though the projector can change this back to 16:9 too.
Can my Projector change Aspect Ratios?
The vast majority of new short throw projectors can flick between several common aspect ratios (16:9, 4:3 etc). You can also alter your PC display into a different aspect ratio in the settings.
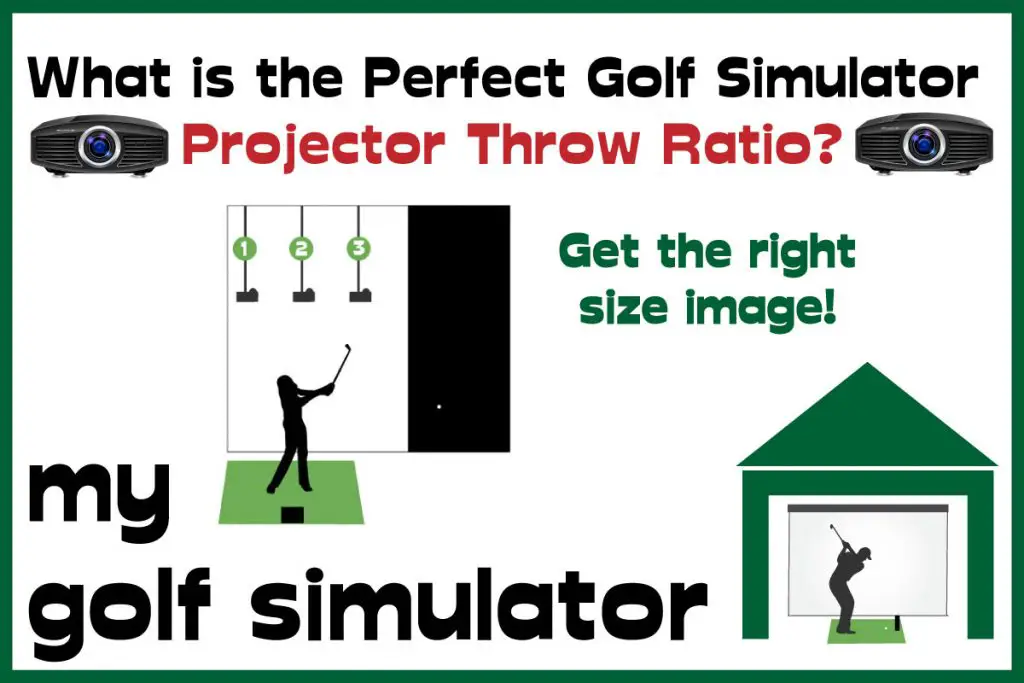
Throw Ratio
The throw ratio is the ratio of throw distance to horizontal image width projected by the projector. The height of the image would be determined by the aspect ratio.
Throw ratio is equal to throw distance divided by horizontal image width.
| Projector Type | Throw Ratio | Example Image Width on Simulator Impact Screen | Required Throw Distance for this Image Width |
|---|---|---|---|
| Standard Throw | more than 1.0 | 14 ft | 14 ft + (21ft for a Throw ratio of 1.5) |
| Short Throw | 0.4 - 1.0 | 14 ft | 7 ft (for a Throw Ratio of 0.5) |
| Ultra Short Throw | 0.4 and below | 14ft | less than 5.6 ft |
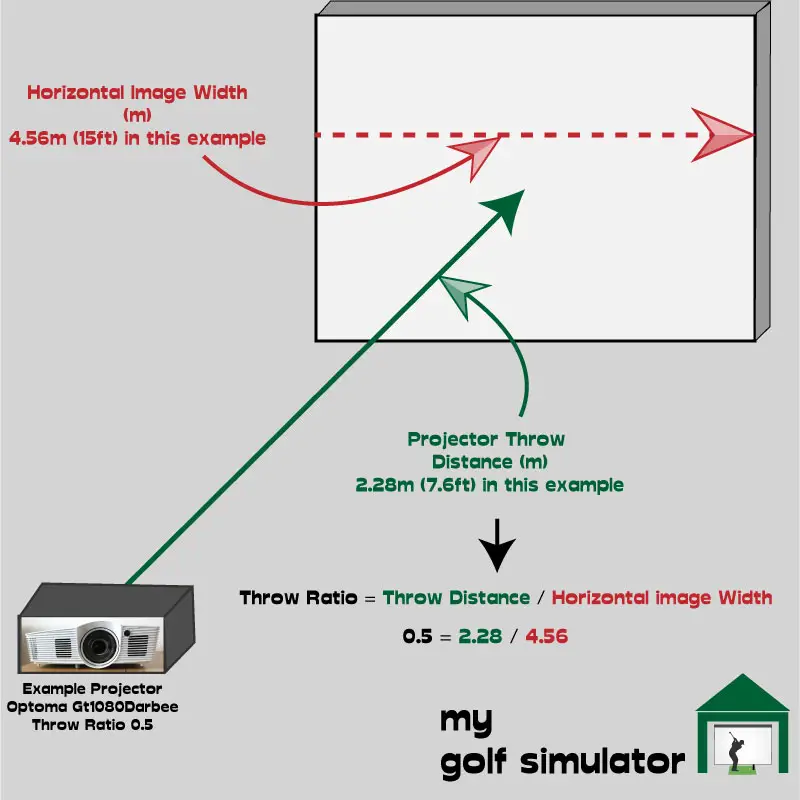
The throw ratio of your projector is intimately linked to your room set up. If you buy a projector with a standard or long throw ratio, you may not be able to project a large enough image onto your screen.
You can see from the table above that a standard throw projector will likely need to be positioned too far from the screen unless it has a zoom lens.
Ultra short throw projectors are fantastic (and expensive) but you’d have to position them a little too close to the screen. I’d be worried I’d nail it with a ball, or that it would obscure my view of the screen from where I’m swinging (especially if you have it mounted in a protective case). A short-throw projector seems to be the sweet spot.
You need to ensure that your chosen projector, at your chosen distance from your screen, will project an appropriately sized image. For your golf simulator, this means buying a short throw projector.
Please check out this dedicated article all about throw ratios of golf simulator projectors here.
Throw Distance
A simpler term you need to understand first is the ‘throw distance’, this simply means the distance from the golf simulator projector to your impact screen. For any given projector lens, the image on the screen will get bigger the further away the projector is.
Golf Simulator Projector Placement
So, using the information above, you should try and decide how far from your screen you will position your projector. This will mean choosing a throw distance based on the throw ratio of a projector you like the look of.
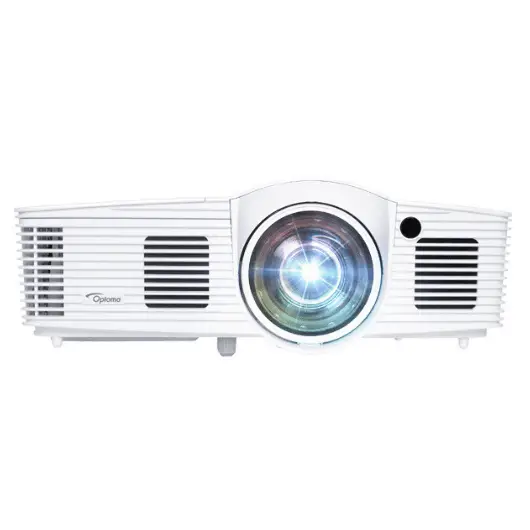
For example, say you’ve been looking at the Optoma EH200ST, available to buy at Shop Indoor Golf. This short-throw projector has a throw ratio of 0.5, which means to achieve a horizontal impact screen image width of 14ft, you’d need to mount the projector 7ft away.
The Compromise between Shadows and Protecting your Projector
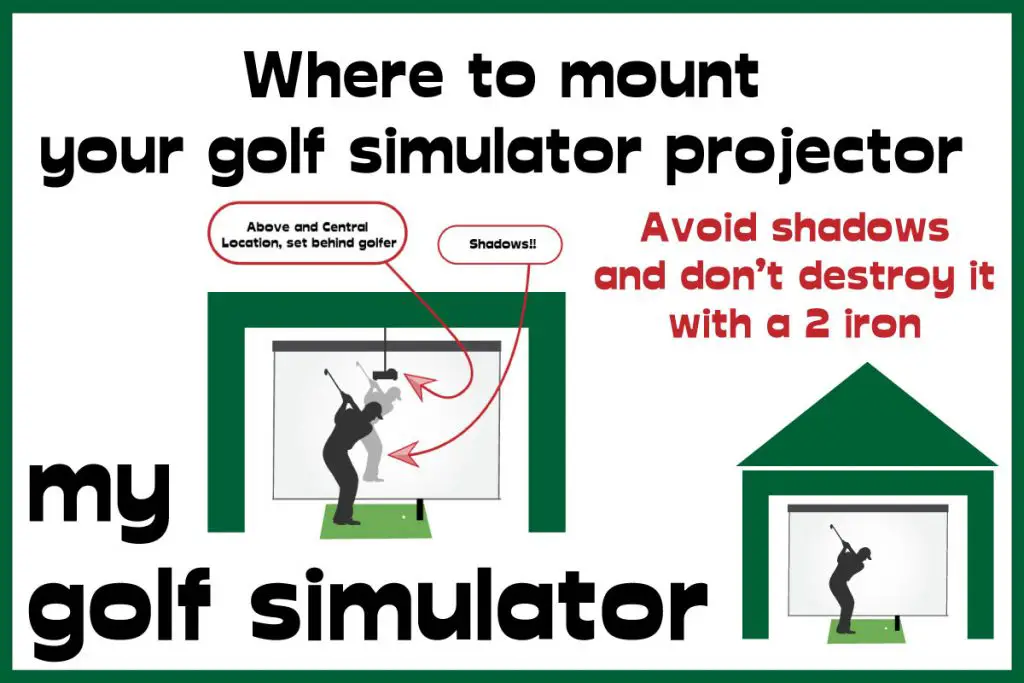
Next, you need to decide which actual position in your simulator you need to mount the projector. If you’ve chosen a throw distance such as 7ft like in the example above, you need to choose a position such as above and central, above and off centre, on the floor or another position.
The features of the projectors are important here as some are less suitable for floor or side mounted positions (they need keystone correction for this. Check out my in-depth guide on projector position in a golf simulator here.
Impact Screen Size, Attaching the Screen and Bounceback
Impact screens of all sizes will need to be attached to the golf simulator enclosure frame (or room or ceiling) in the proper way in order to ensure the amount of tension in the screen is correct.
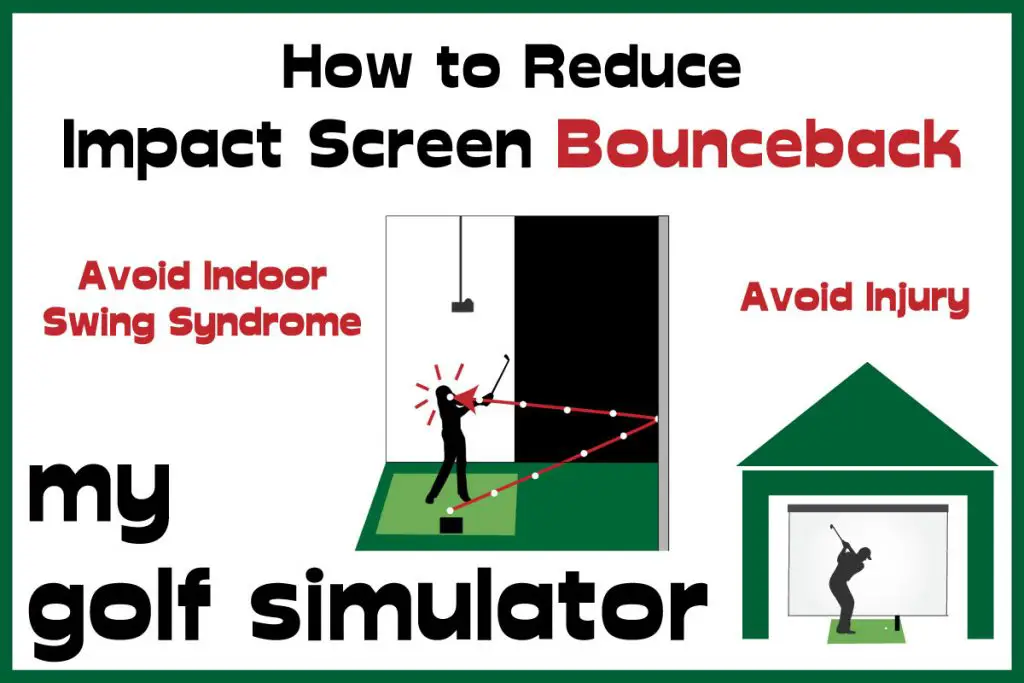
An impact screen hung too loosely will pucker and crimple, losing it’s smooth shape and distorting your picture. A screen hung too tightly will not deform enough on ball impact causing dangerous bounceback. I always recommend covering the inner parts of your enclosure frame with foam insulation or special insulation pads in order to prevent violent ricohet events too.
Larger impact screens will need more fixings or bungees naturally, don’t take shortcuts on these as achieving an equal tension in your screen is essential. The fixings are super cheap anyway and you can buy more whenever you need at Carl’s Place.
Check out my dedicated articles all about how best to hang your impact screen, and how to reduce bounce back with practical strategies for both.
What else to consider when buying a Golf Impact Screen
When you plan your golf simulator build, you need to decide on the following parameters early on:
- Your hitting position: where you will address the ball, and where most golf shots will actually be struck. This should be the first thing you pin down for certain, as you’ll be able to construct your simulator around it, ideally with your target line aiming straight through the hitting position and through the centre point of your impact screen. This will allow you a centred aim on your screen which is so important for alignment and realism. You’ll need enough room width to accommodate this setup (more than 15ft is ideal).
- Identify your total room dimensions, including length, width and height
- You should work out how much of your room can be devoted purely to the golf simulator and how much is needed for other items.
- The area available for your impact screen and golf enclosure, this room needs to include the enclosure frame and netting, the impact screen and any holes and fixings.
- Your projector position can be the trickiest planning item to get just right, I explain all the possible positions with their pros and cons in this article here.
Carl's Place Premium Impact Screen
- High-Quality Images: Tightly woven, multilayer screen for a smoother, crisper image up to 4K.
- Durability: Designed to withstand direct impact from golf balls traveling up to 250 MPH.
- Custom and Standard Sizes: Available in various sizes to fit different room dimensions.
- Material Quality: Made of three layers of heavy-duty, tight-knit, impact-resistant polyester.
- Noise Reduction: Features a cushioned center layer to quiet noise from the golf ball hitting the screen.
- Versatile Finishing Styles: Options for edge finishing to suit installation needs.
- Compatibility: Can be attached to different frames, used with golf enclosures, or as part of a DIY golf simulator.
Carl’s Premium Golf Simulator Screen features a bright white surface with ultra-tight weaves, enhancing image detail and quality. There is a central cushioning layer that allows a reduction in light bleed, bounceback, and noise.
- Excellent Image Quality: Realistic golf simulation experience.
- High Durability: Suitable for intense use with high-speed impacts.
- Customizable Size and Finish: Tailored to specific room sizes and design preferences.
- Noise Reduction: Less noise disturbance during play.
- Versatile Installation Options: Flexible setup or integration into existing setups.
- Few - more expensive than budget screens, but this screen is worth it in my opinion
I hope you found this article helpful and you now feel confident to buy an impact screen with the perfect size for your golf simulator space. Check out Carl’s Place for top quality, easy to attach impact screens, with crystal clear sizing descriptions when you buy.
Putting with Hackmotion – Step by Step Guide
HackMotion in a Golf Simulator: All the Data you need!
ABOUT THE AUTHOR
Hello! My name is Alex and it is my mission to bring you all the information you need to build your own home golf simulator! I hope mygolfsimulator.com helps you on your journey to better golf at home!
LEGAL INFORMATION
On this site, you'll find articles on all aspects of building a golf simulator. I will also link to other sites where you can buy some of the simulator components. Some of these links may be affiliate links, which means if you click them I gain a small commission at no extra cost to you. This really helps out me and my site so thank you in advance! mygolfsimulator.com and all related social media accounts are property of Awonline LTD.
