How to Reduce Golf Impact Screen Bounceback (9 Practical Strategies)
Posted in Enclosures, Golf Impact Screens
Bounceback comes from a screen hung too tight or a ball finding a bar. Loosen the screen, hang a backer with air behind it, and pad or remove the bottom bar, in that order. The 2020 article’s nine strategies still hold. What the 2026 threads add is the order, the numbers the makers put on the gap and SIGPRO’s warning against foam pressed on its screen. Carl’s own blog now says its Premium screen has a spacer layer while its product page does not.
In a Nutshell
Bounceback comes from a screen hung too tight or a ball hitting a frame bar, so loosen the screen until it hangs like a hammock, hang a heavy backer freely with air behind it, and pad or remove the bottom bar, in that order, before netting the sides, protecting the ceiling for wedges or moving the tee back.
👉 Bottom line: loosen first, then hang a backer, then pad the bottom bar.
In this guide: In a Nutshell · How this has changed · Why a screen bounces · Loosen, then zone · A backer, and air behind it · The bottom bar, then every bar · Sides and the roof · Where to stand · The screen, the net and the enclosure · FAQ · Summary
- The three levers, in order: tension, a suspended backer, the bottom hardware.
- The air gap: a spread: owners 6–12 in, Carl’s blog 12–16 in, its enclosure guide 12 in, one installer 18 in.
- The bottom bar: the worst ricochet point (injuries on record); pad or remove it.
- Wedges ride up: height and ceiling protection beat another foot of room.
- Where to stand: Carl’s says 10 ft on its blog, 10–12 ft in its FAQ; move back last.
The 2020 promise stands, with the nine strategies reordered:
We examine both these features in this article and show you 9 practical strategies to reduce the bounceback on your impact screen.
Jargon, once:
- Backer — a heavy layer hung freely behind the screen to soak up the hit.
- Baffle net — a loose net hung behind or above the screen.
- Bungee tension — how hard the cords pull the screen to its frame.
- Ricochet — a ball coming back off a bar rather than the screen.
- Spacer layer — an open middle layer that cushions a multi-layer screen.
How This Has Changed Since 2020
- September 2026: pool noodles a split: two owners use them, one hears secondhand they are too soft.
- September 2026: a driver back to the chest; a window covered with polycarbonate.
- August 2026: a custom blackout backer at about $100–119, one owner’s build cost.
- August 2026: tension zoned by club, more on top, less at the bottom, one report.
- July 2026: the air gap gets numbers: 30 cm from owners, 18 in from an installer.
- Current: SIGPRO’s care note names memory foam and weighted blankets behind its screen.
- Corrected: Carl’s own blog describes the Premium screen’s “specialized spacer layer”; its product page says “thick, multilayer fabric”.
- Unchanged: the frame ricochets, not the screen.
Why a Screen Bounces
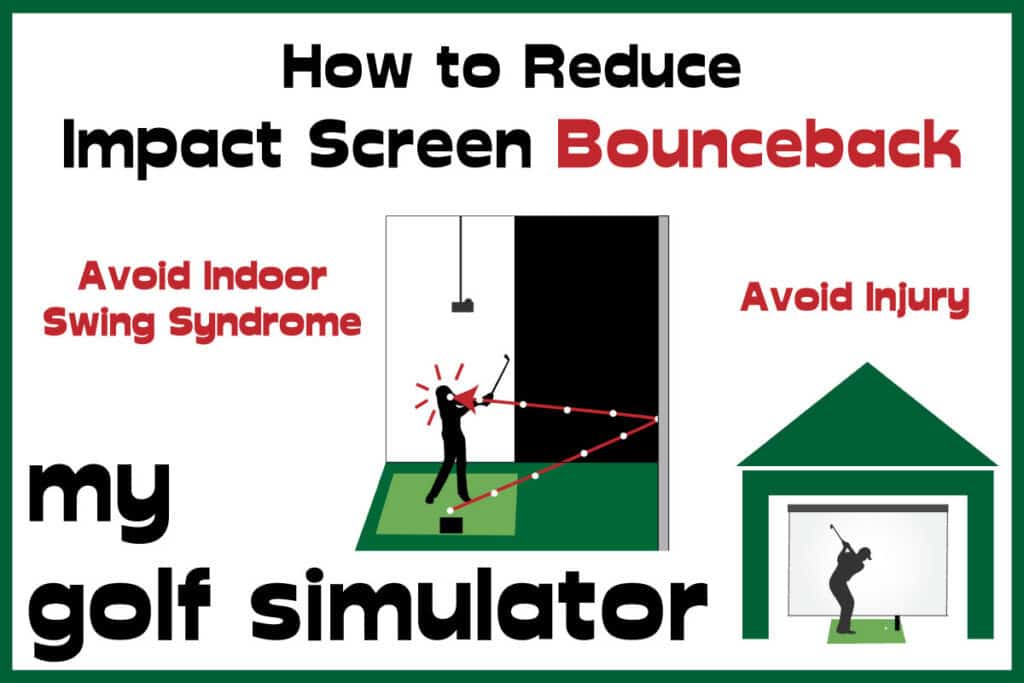
A harder strike deforms the screen more and gets more of its energy back; a shorter room gives that energy less distance to bleed off. No source measures rebound by lever, so the fixes are ordered by what owners and makers report. Carl’s own blog calls bounceback “fairly uncommon apart from wedge shots” and says a screen “does not bounce back more than a foot or two in most scenarios”. The injuries on file are few but real: a window broken by a bottom-bar ricochet and a near miss to an eye. In 2026 a driver went to the chest and one shot came back at its owner.
| Cause | What happens | The fix |
|---|---|---|
| Too tight | The screen returns the energy instead of absorbing it | Loosen; zone the tension |
| A frame or bar strike | The ball comes back hard | Pad or remove the bar; Carl’s foam inserts |
| No air behind the screen | The ball reaches the wall and comes back | Leave a gap; hang a backer in it |
| Foam pressed against the back | The screen cannot flex; SIGPRO’s care note names it | Hang the backer freely |
| An enclosure pressed to the ceiling | High shots come back off the roof | Keep it clear; add ceiling protection |
| High wedges | The ball rides up the screen and along the roof | A taller screen; ceiling padding |
Strategies 1 and 2: Loosen, Then Zone the Tension
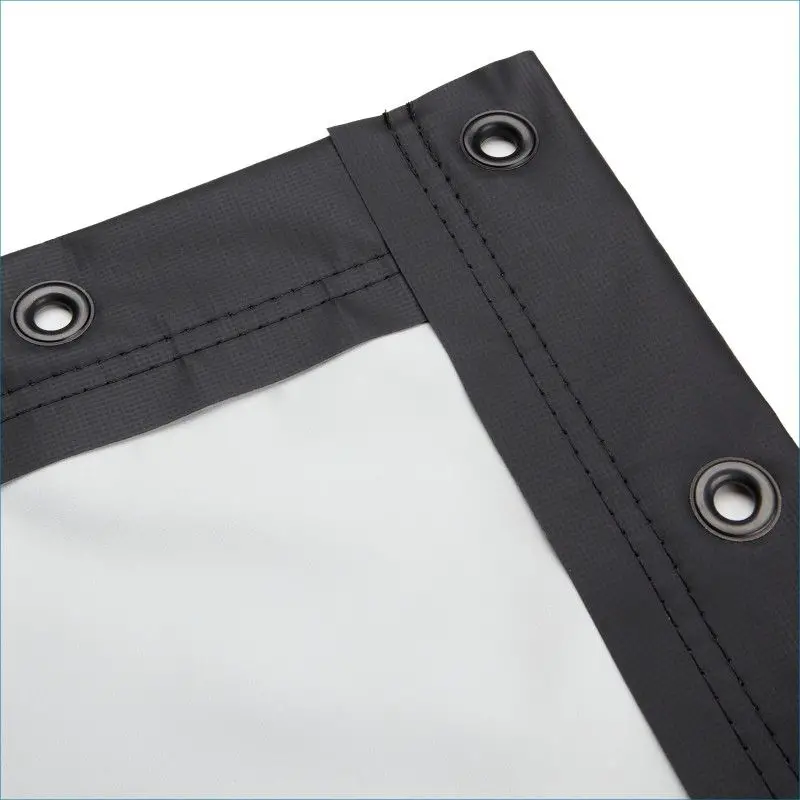
The screen should hang like a hammock, smooth and flat with give when pressed, never drum-tight, because a screen that cannot deform returns the energy and uneven over-tightening tears it. Owners name excess tension, not missing padding, as the usual cause (8 reports from 8 owners), and Carl’s assembly guide says the same in capitals: “DO NOT OVERTIGHTEN. Tighten until the springs compress”, with zip ties that “should not stretch the screen but just hold it flat”. A screen and frame sized to each other stop the accidental over-tautness that comes from stretching a small screen to a big frame.
“If the bounce back is too much remove a few bungies.” (u/StatefarmxJake, 2026-08-27)
“The rebound is because of too much tension. The screen should not be taught.” (u/ProletariatElite, 2026-07-08) [sic]
One owner zones the tension by club, and names the trade-off:
“You hit wedges soft and high you hit woods low and fast, so it’s helpful to have more tension on the top and less on the bottom so it’s more consistent across different clubs.” (u/StatefarmxJake, 2026-08-27)
“I added longer bungees on the 4 corners and removed the 2 side-middle bungees completely. I got less bounce back, but the screen was very wavy and made the image poor quality.” (u/No-Knowledge3395, 2026-07-02)
Zip ties against bungees is a live disagreement: some owners report ties breaking often, others prefer the fixed hold.
How to Hang a Golf Impact Screen – 6 Ways
Strategies 3 and 4: A Backer, and Air Behind It
A freely hung heavy layer behind the screen is the fix owners name most (13 reports from 11 owners): a moving blanket, mattress topper or carpet pad, an inch or more back. The author’s version was memory foam, now hung free:
I bet you hadn’t considered putting a memory foam mattress topper behind your screen!
During my research for this article I found that many golfers had tried this method, it wasn’t something I’d ever thought of before.
SIGPRO’s care note names “memory foam or weighted blankets behind the screen”, a warranty condition per the site’s screen guide, so the foam hangs free. One owner’s advice to press it flat prints beside that condition:
“Hang something heavy like a 2inch memory foam mattress pad directly behind the screen (no gap or minimal gap). It will help absorb the impact and deaden the bounce back.” (u/AutomaticDrive4482, 2026-07-09) [sic]
The author’s placement rule applies to any backer:
This (along with using memory foam and heavy duty curtains) is one of my favourite tips for reducing bounceback in your golf simulator.
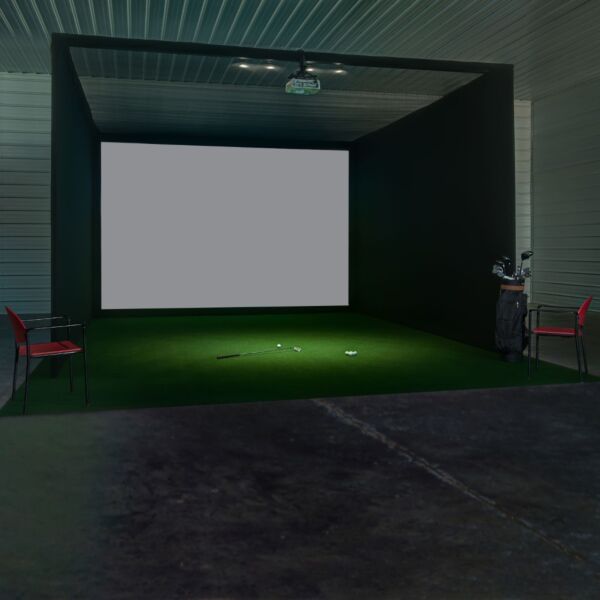
I recommend placing your posterior layer right across the whole width of your garage and not just attached to your enclosure frame.
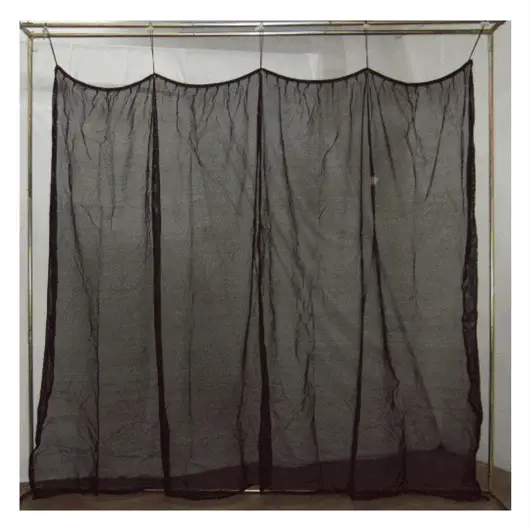
The blackout curtain doubles as a backer:
I don’t like opening my garage door very high as the neighbors or anyone else could look in and see my simulator.
I placed a heavy black blackout curtain 18 inches inside my garage from one wall to the other.
To make it look nicer I would continue your black blackout curtain over this area.
The gap is a spread, not one rule: owners 6–12 in. Carl’s bounceback blog “12-16 inches in front of any surface”, its DIY enclosure guide 12 in recommended and 8.25 in minimum, its enclosures about a foot built in. SportScreen’s Vanish 8–12 in behind and 6–8 in beside. One installer about 18 in. The makers’ minimums run tighter than the installer’s; the right figure depends on tension, construction, ball speed and backer.
“I suggest trying to move the screen away from the wall. 30cm clearance minimum is suggested.” (u/GlutinousLoaf, 2026-07-08)
“9 inches is tight and if you tension the screen too much to offset you’ll have too much bounce back.” (u/fisher4455, 2026-08-29)
Golf Simulator Screens – How to Choose your Screen
| Backer | How to hang it | Support |
|---|---|---|
| Moving blanket | Loosely, over the middle, an inch or more back | One owner’s fix, August 2026 |
| Mattress topper or memory foam | Freely, with a gap; never pressed on a SIGPRO screen | The author; SIGPRO’s care note (WC-21); the site’s screen guide |
| Carpet pad | Freely, full width | Owner reports in the site’s guides |
| Blackout curtain or backer | Full width of the room, behind the frame | The author; one owner at about $100–119; Carl’s $325 curtain (21 October 2026) is sold as a room divider (WC-18) |
| Baffle net | Loose, hung from the top; 12 in of drop on Carl’s Pro enclosures, 6 in on DIY | One build guide’s 12–18 in; Carl’s blog |
Strategies 5 and 6: The Bottom Bar, Then Every Other Bar
The frame ricochets, not the screen, and the bounce comes off a bar. Pad or remove the bottom bar first, then every exposed bar. Hardware-store pipe insulation runs about $30–50 a frame (a build guide’s estimate; check current prices); Carl’s DIY Foam Insert Kit is $150 and SIG’s custom padding $417.99 (21 October 2026). The 2026 fixes are printed in the mounting guide: plumber’s foam on the bottom bars, pipe insulation that ended one owner’s rebounds, and the split on pool noodles. One builder removed the bar and folds an oversized screen under.
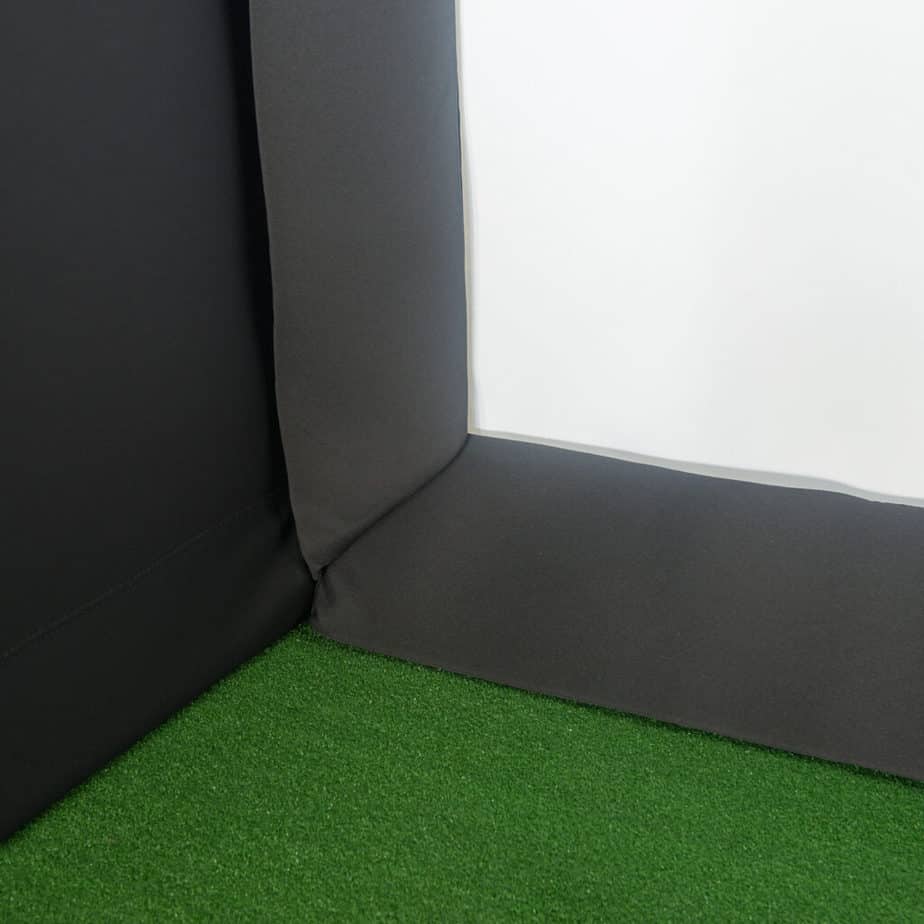
How to Hang a Golf Impact Screen – 6 Ways
I recommend buying a cheap piece of artificial grass turf and placing this below your screen.
PVC shatters on a direct strike, one build guide warns; EMT conduit is the usual frame, 5–6 ft deep.
How to Build a DIY Golf Simulator Enclosure – Steps, Tools, Costs + Materials
What to do with the Bottom of your Impact Screen?
Strategy 7: Sides and the Roof
The author’s side-netting rule is about the shank nobody plans for:
I rarely shank a golf ball but I don’t trust myself to never shank one.
I don’t think I’d be very confident in a golf simulator with no sides and valuable equipment or possessions immediately to my left or right.
Side netting is the one containment fix owners agree on:
I recommend investing in some side netting for your golf simulator.
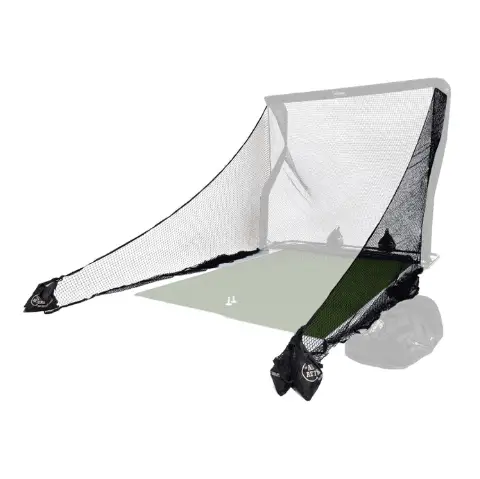
Home-made side netting works for most builders (15 reports from 14 owners); the failures are gaps that let balls through.
High wedges ride up the screen and along the roof at any distance, so a taller screen and ceiling protection beat another foot of room (8 reports from 8 owners). One owner glued foam wedges to the ceiling to deflect them. An enclosure pressed against the ceiling sends a lofted shot back, and one such shot hit a bystander. Nothing is shank proof.
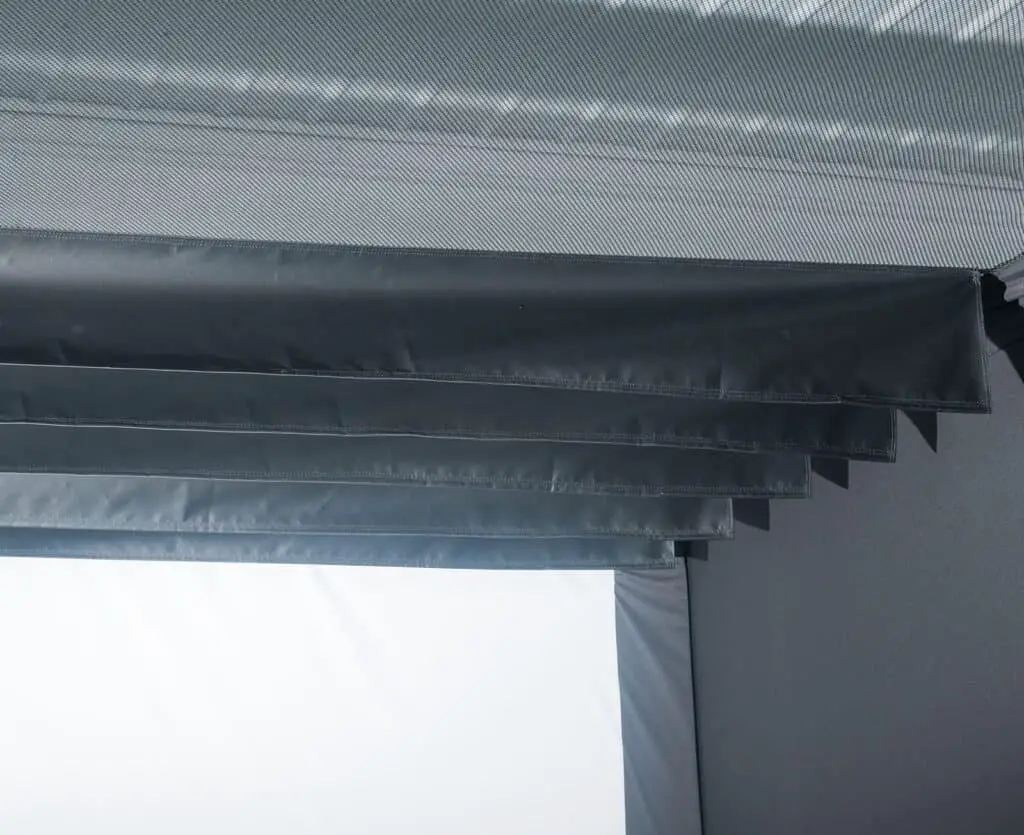
Protect Your Golf Simulator Walls and Ceiling – 12 Simulator Safety Tips
Strategy 8: Where to Stand
Carl’s gives two figures: its manual FAQ says 10–12 ft “for the safety of both the golfer and the screen”. Its live bounceback blog says a “minimum of 10 feet away from the screen” with no upper figure. The community’s convention is 8–10 ft, while camera-unit builds at 6–9 ft work for many owners (14 reports from 14 owners). Move back only after loosening the screen and hanging a backer, and use softer balls under 8 ft. One owner moved the hitting area closer to tame high wedges; the ruling stays height, not distance.
Tee to Screen Distance in a Golf Simulator – 2026 Update!
Strategy 9: The Screen, the Net and the Enclosure
Multi-layer screens rebound less and ran 4–6 dB quieter in two owners’ meter readings; no maker publishes a decibel or rebound figure. Screens run 1–3 mm thick, and spacer-mesh construction cushions the hit. The author’s picks still stand, with the maker claims beside them:
I recommend Carl’s Place for their Premium Golf Screens , which include three layers of ‘ heavy-duty, tight-knit impact resistant polyester ‘.
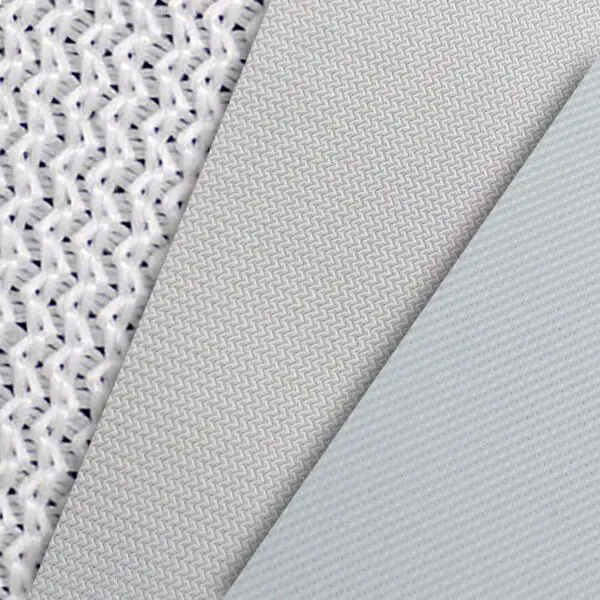
Carl’s blog describes that screen’s “specialized spacer layer”; its product page says “thick, multilayer fabric” and “minimizes bounceback”.
I love the Net Return range of golf nets.
The Net Return Pro Series V2’s maker page says it “returns the ball automatically”, with no measured figure.
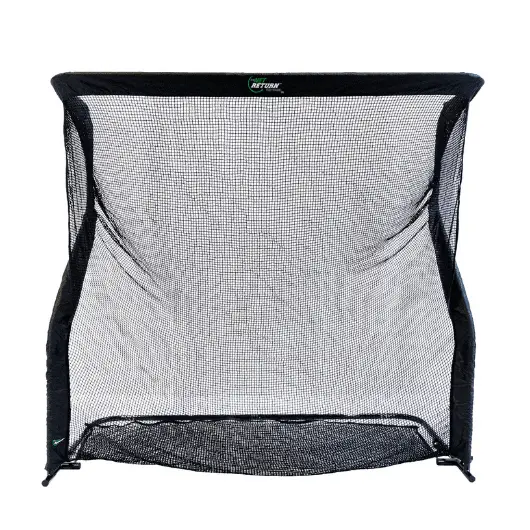
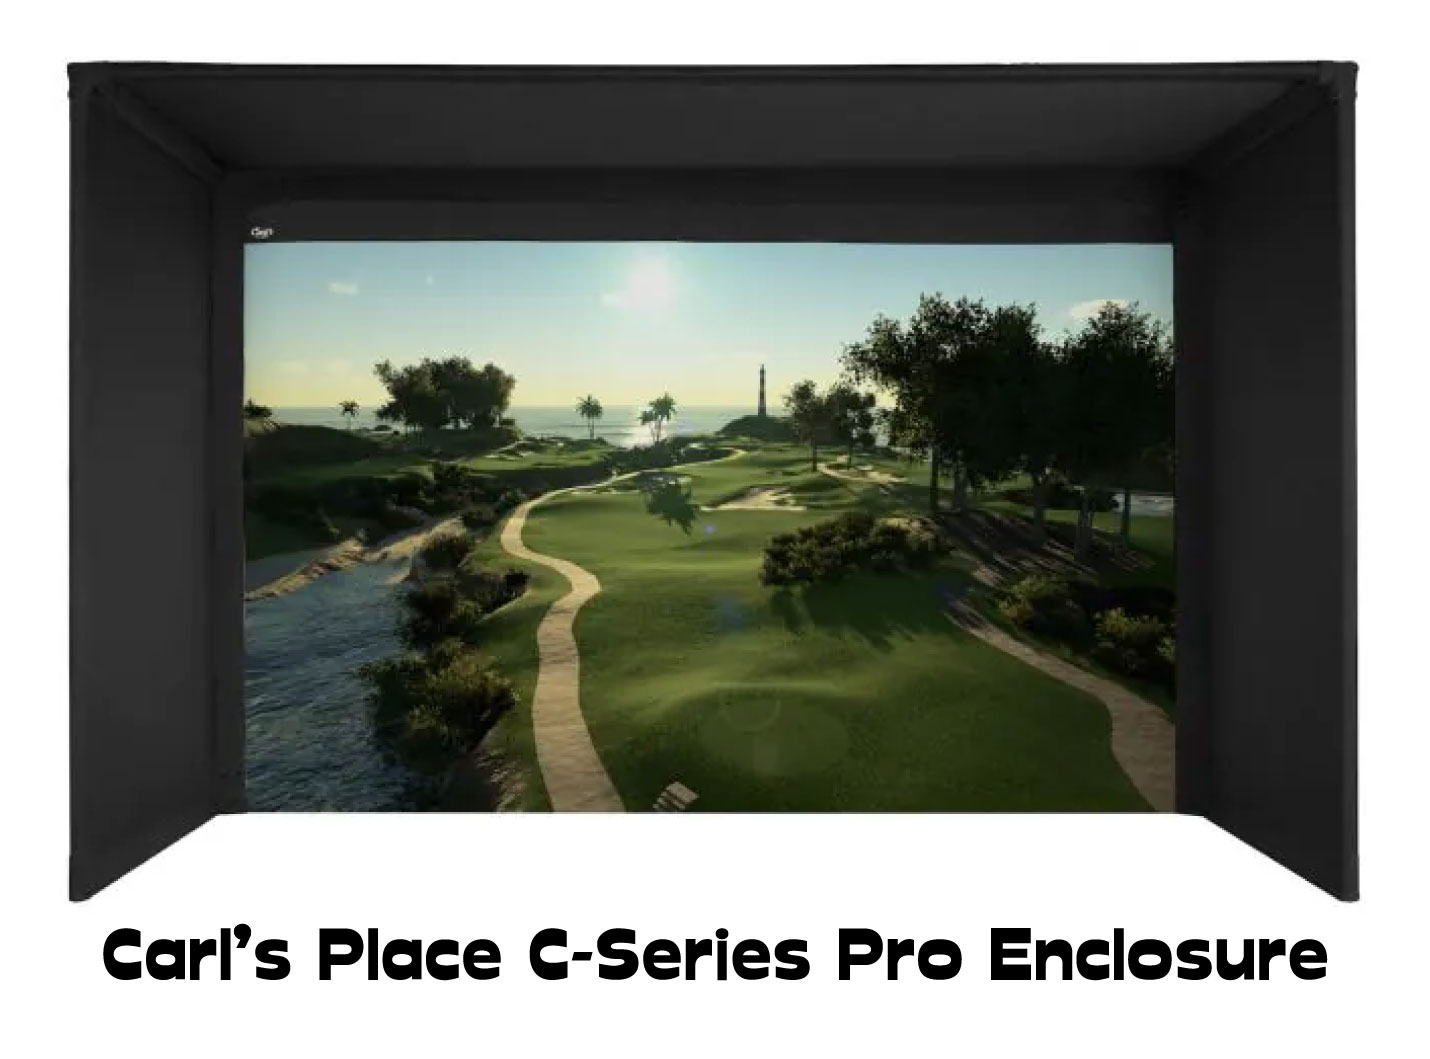
I recommend checking out the expertly designed enclosures at Carl’s place .
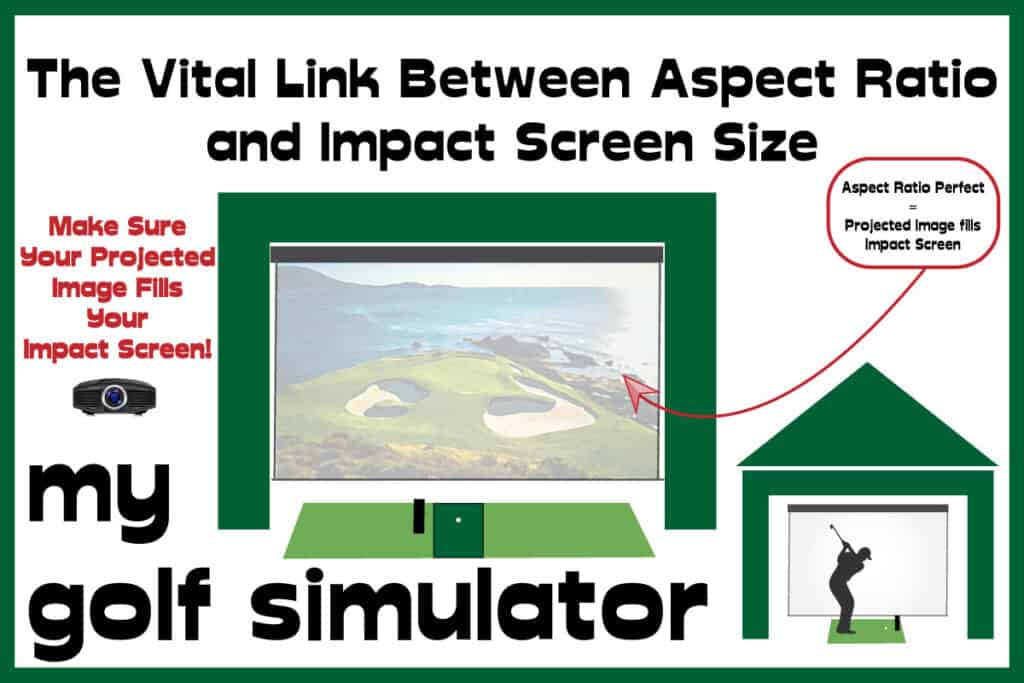
No 2026 thread compares screens or enclosures head to head, and nets against screens is a separate question. Image fill and aspect ratio are not bounceback.
Impact Screen vs Net – Pros & Cons + Buying Guide
Best Golf Impact Screen – 7 Key Features & Buying Guide
Best Impact Screen Materials for Picture Quality
The Vital Link between Aspect ratio and Impact Screen Size
| Product | What it claims or shows | Support |
|---|---|---|
| Carl’s Place Premium screen | Three layers with a spacer layer (blog); “thick, multilayer fabric” (product page) | WC-7, WC-13; durable, 10 reports from 10 owners and reviewers |
| SIGPRO Premium screen | “engineered to outperform in 4 areas: image quality, longevity, bounce back, and noise”; MyGolfSpy’s test found reduced bounce; from $419.99 (21 October 2026) | WC-19, WC-20, WC-22; care note WC-21 |
| Net Return Pro Series V2 | “returns the ball automatically”; no measured figure | WC-29, WC-30; built like a tank, 17 reports from 14 owners and reviewers |
| HomeCourse ProScreen 180 | “The screen flexes at the bottom so the ball can roll back to your feet”; no measured figure; $2,299 at HomeCourse, $1,999 at Shop Indoor Golf (21 October 2026) | WC-26, WC-27, WC-28 |
| Carl’s Place enclosures | Foam inserts included; ceiling baffles optional; from $3,409.95 (21 October 2026) | WC-15, WC-16, WC-17 |
| GoSports enclosure | Driver shots back to the chest | One owner, August 2026 |
| Temu screen | “the balls come off soft” | One owner, July 2026 |
Impact Screen Bounceback FAQ
What causes impact screen bounceback?
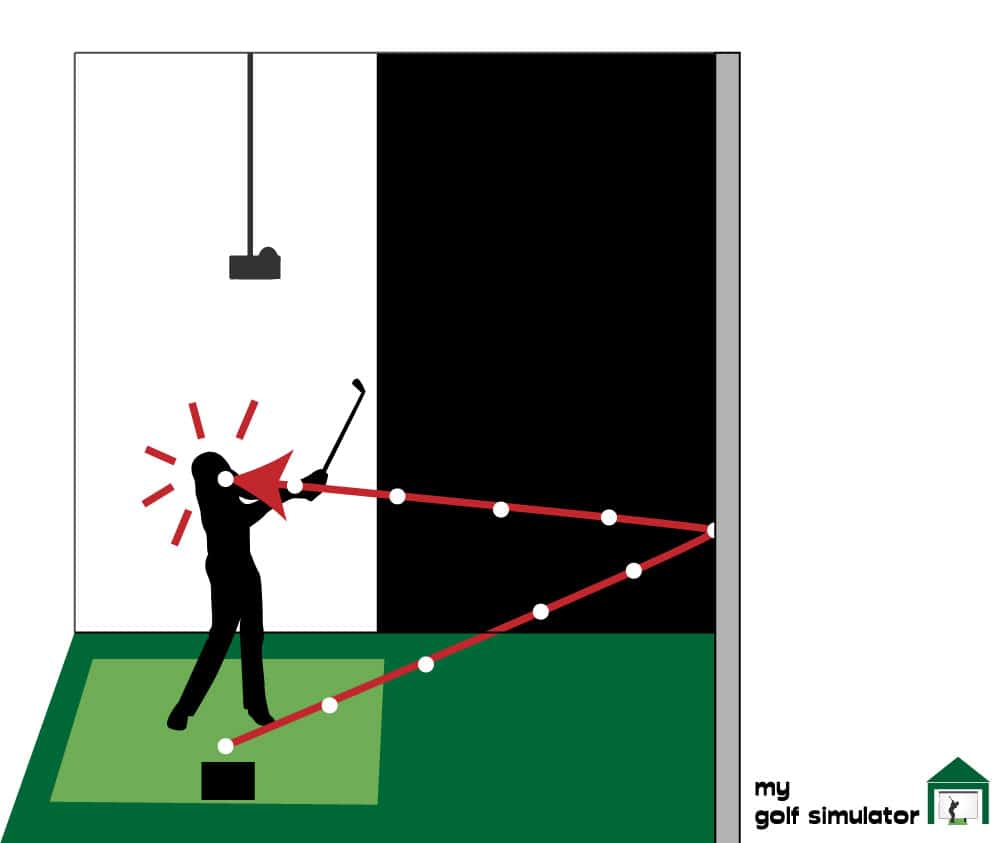
A tight screen, a bar strike, or no air behind it; loosen, back, pad.
How loose should an impact screen be?
Smooth and flat with give, never drum-tight. Remove bungees until the rebound drops, before the picture goes wavy.
How much space should be behind an impact screen?
Owners run 6–12 in, Carl’s blog 12–16 in, its enclosure guide 12 in, one installer 18 in.
Should the bottom bar of an enclosure be padded?
Yes, it is the worst ricochet point; pipe insulation runs about $30–50 a frame (a build guide’s estimate).
Do pool noodles stop bounceback?
Owners split: two use them, one heard secondhand they are too soft; pipe insulation is the fix owners report.
How far from the screen should a golfer stand?
Carl’s says 10 ft on its blog, 10–12 ft in its FAQ; camera builds at 6–9 ft work once loosened.
Summary
Loosen the screen until it hangs like a hammock, hang a heavy backer freely with air behind it, and pad or remove the bottom bar. Net the sides, protect the ceiling for wedges, and move back only after those three. No maker measures rebound; the order comes from owners.
Related guides: How to Hang a Golf Impact Screen – 6 Ways · Golf Simulator Screens – How to Choose your Screen · Protect Your Golf Simulator Walls and Ceiling – 12 Simulator Safety Tips · How to Build a DIY Golf Simulator Enclosure – Steps, Tools, Costs + Materials · Tee to Screen Distance in a Golf Simulator – 2026 Update! · What to do with the Bottom of your Impact Screen? · Best Golf Impact Screen – 7 Key Features & Buying Guide · Best Impact Screen Materials for Picture Quality · Impact Screen vs Net – Pros & Cons + Buying Guide · Building a Quiet Golf Simulator – Soundproofing Tips for 2026 · The Vital Link between Aspect ratio and Impact Screen Size
Check current prices: Carl’s Place Premium Impact Screen · Net Return Pro Series V2 · Carl’s Place golf enclosures
Bushnell Launch Pro vs SkyTrak ST MAX (2026)
Golf Simulator Packages vs Building Your Own: Which Is Better Value?
ABOUT THE AUTHOR
Hello! My name is Alex and it is my mission to bring you all the information you need to build your own home golf simulator! I hope mygolfsimulator.com helps you on your journey to better golf at home!
LEGAL INFORMATION
On this site, you'll find articles on all aspects of building a golf simulator. I will also link to other sites where you can buy some of the simulator components. Some of these links may be affiliate links, which means if you click them I gain a small commission at no extra cost to you. This really helps out me and my site so thank you in advance! mygolfsimulator.com and all related social media accounts are property of Awonline LTD.