Best Golf Impact Screen – 11 Step Checklist & Buying Guide
Posted in Golf Impact Screens
You need to consider several factors when deciding on the best impact screen for your golf simulator. It can be complicated, especially if this is your first golf simulator build. This impact screen buying guide will explain the 11 steps you need to take in your journey to find the right impact screen.
The best impact screen for your golf simulator will be a high quality, multi-layered screen that allows excellent projected image quality whilst minimizing dangerous bounceback. It should be durable, easy to attach to your frame, and have a low noise profile.
I believe the impact screen is one of the most important purchases in a golf simulator. I recommend Carl’s Place Premium Impact Screen for its triple-layer design, providing cushioning to minimize bounceback and noise, whilst offering a bright white surface that welcomes 4K projection with incredible detail.
Carl's Place Premium Impact Screen
- High-Quality Images: Tightly woven, multilayer screen for a smoother, crisper image up to 4K.
- Durability: Designed to withstand direct impact from golf balls traveling up to 250 MPH.
- Custom and Standard Sizes: Available in various sizes to fit different room dimensions.
- Material Quality: Made of three layers of heavy-duty, tight-knit, impact-resistant polyester.
- Noise Reduction: Features a cushioned center layer to quiet noise from the golf ball hitting the screen.
- Versatile Finishing Styles: Options for edge finishing to suit installation needs.
- Compatibility: Can be attached to different frames, used with golf enclosures, or as part of a DIY golf simulator.
Carl’s Premium Golf Simulator Screen features a bright white surface with ultra-tight weaves, enhancing image detail and quality. There is a central cushioning layer that allows a reduction in light bleed, bounceback, and noise.
- Excellent Image Quality: Realistic golf simulation experience.
- High Durability: Suitable for intense use with high-speed impacts.
- Customizable Size and Finish: Tailored to specific room sizes and design preferences.
- Noise Reduction: Less noise disturbance during play.
- Versatile Installation Options: Flexible setup or integration into existing setups.
- Few - more expensive than budget screens, but this screen is worth it in my opinion
Buy the wrong impact screen and you could end up with an image of poor quality, wasted screen above and below your image, dangerous bounceback, noise problems and many more headaches. This guide will help you work through the buying process and choose a screen that is perfect for your simulator.
Alex’s Expertise and Experience with Golf Impact Screens
I am to provide clear, detailed, and specific information on golf impact screens within the broader context of golf simulators. I understand the critical role that a high-quality impact screen occupies in the overall experience and strive to guide my readers through the complexities of choosing and installing the perfect screen for their needs.

- My Specialized Knowledge in Golf Impact Screens: Since starting mygolfsimulator.com, I’ve honed my expertise specifically in the area of golf impact screens. My extensive research and writing have been centered on understanding every nuance of impact screen technology and its application in golf simulator builds.
- My Deep Dive into Impact Screen Quality: I’ve dedicated significant time to exploring the intricacies of impact screen picture quality. Understanding the importance of a clear, sharp image for an immersive golfing experience, I’ve analyzed various screen materials and their impact on image clarity and resolution.
- My Insights on Sizing and Aspect Ratio: Recognizing that the size and aspect ratio of an impact screen are critical for a perfect simulator setup, I’ve delved into the specifics of how to choose the right dimensions. I provide detailed guidance on selecting the right screen size and aspect ratio to ensure a seamless fit within any simulator space, additionally covering issues with the bottom of the impact screen. I have also written in great depth on curved impact screen builds.
- My Experience with Impact Screen Installation: I’ve personally experimented with various methods of attaching impact screens within golf simulators. My hands-on experience allows me to offer practical advice on the best practices for mounting screens, ensuring both safety and optimal visual quality.
- My Focus on Practical Solutions: In my work, I emphasize practical solutions to common issues like minimizing bounceback and noise. I explore different screen tensions and additional cushioning techniques to enhance the safety and comfort of using a golf simulator. I have also compared impact screen simulator builds with alternatives such as golf simulator nets.
- A Detailed Knowledge of Projector Specifications: I have developed strong expertise in selecting the ideal projector and impact screen combination for golf simulators. My knowledge extends to understanding projector specifications in detail, enabling me to recommend the perfect projector for any given space. I ensure the projected image aligns flawlessly with the screen, considering factors like throw ratio, keystone correction, and resolution. This expertise allows me to provide tailored advice, ensuring an immersive and accurate golfing experience for every setup.
- Hands-on Experience Building Enclosure Frames: I have built a variety of golf simulator enclosure frames over the last four years, from fully DIY builds to pre-packaged premium enclosures. I have experience cutting metal conduit pipes to size as well as tinkering with bungees and zip ties to create the perfect impact screen tension.
- Putting it all together: I have amalgamated all of the above in-depth information into a comprehensive impact screen buying guide.
Step 1 – Define your Room Dimensions
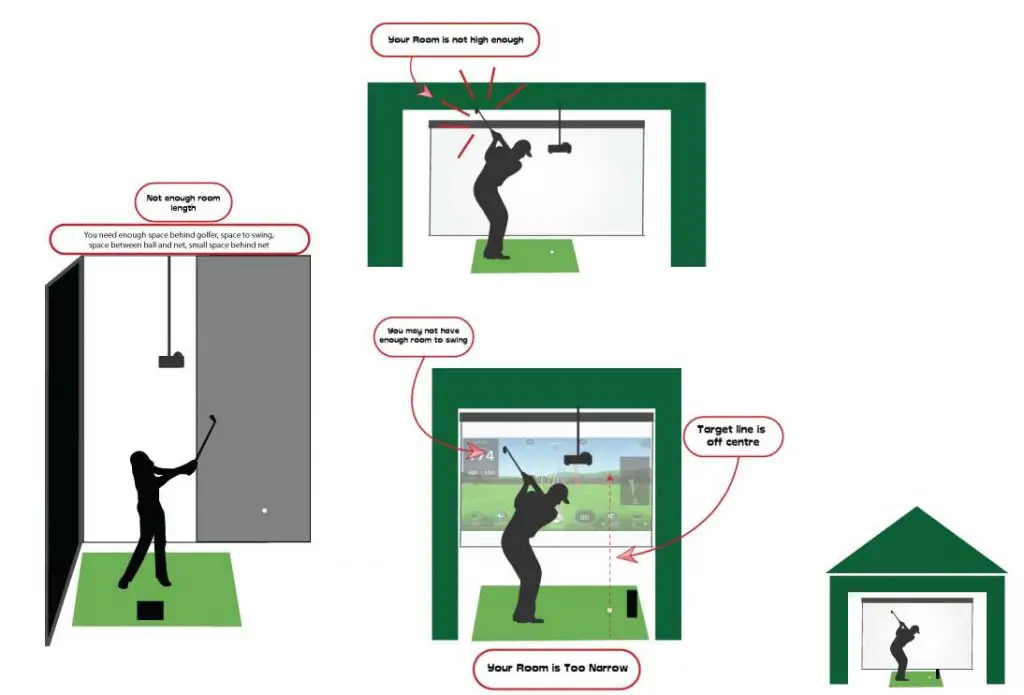
Golf simulator rooms come in many shapes and sizes. There are rooms that are uniform in shape with rectangular walls, making it easy to determine the ideal impact screen size. Alternatively, there are rooms with slanted ceilings and some even have beams or other obstacles to navigate around.
You will need to work out how tall and how wide your ideal impact screen will be. Most golfers will aim to feature as large an impact screen as their space allows.
Next, I always recommend one of the first decisions to make in a golf simulator build is to define your hitting position. You should work out where you plan to hit from, and mark on the ground the likely ball position and your address position, perhaps with chalk or pencil.
Measure the distance from the proposed ball position where you intend to place your screen.
To learn more about recommended length, width and height dimensions for a golf simulator room, check out my dedicated article ‘How Much Space you Need to Build a Golf Simulator’.
Step 2 – What aspect ratio would be best for my space and my screen?
Your impact screen – Total Area vs Viewable Area
You’ve measured your room and worked out how large a screen you could accommodate in that space.
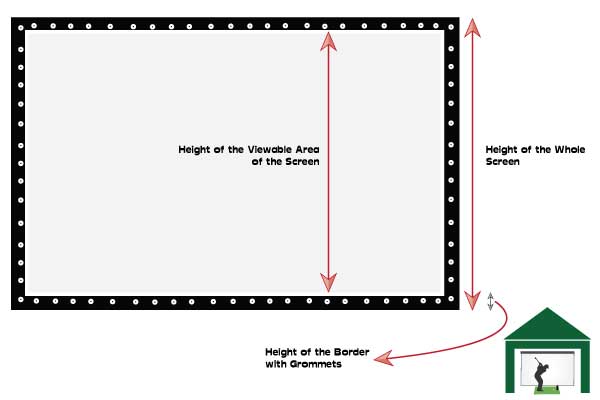
Remember that impact screens can be thought of both as a whole item, with viewable screen and border/grommets included, but you should also consider just the viewable portion thinking about aspect ratio.
What Aspect Ratio Do You Need?
Now you need to consider whether your available height and width would lend themselves better to a 16:9 aspect ratio screen, or a 4:3. There are other less common aspect ratios such as 16:10 and 1:1 as well.
Aspect ratio is the ratio of width to height of a golf impact screen. Actually, the term applies to any screen and is used throughout the TV, projector and movie world.
You can calculate the ratio of the height and width of your space yourself, but I prefer to use an online calculator to show me exactly how close my measurements are to being a perfect match to one of the projector aspect ratios. Check out this ratio calculator from calculatorsoup.com. There are four boxes; A, B, C and D. Just input your width and height into A and B, then try ‘16’ then ‘4’ into C. The result will show you how close you come to a perfect 16:9 or 4:3 aspect ratio.
You might not have measurements that make a perfect projector aspect ratio, this is okay. If you’re pretty close then the wasted screen will be minimal. Note you could modify your hitting position slightly to achieve perfect measurements.
Here is a table of different impact screen sizes that satisfy a 16:9 aspect ratio:
| Aspect Ratio | Height | Width |
| 16:9 | 7.7ft | 13ft |
| 16:9 | 8ft | 14ft |
| 16:9 | 8.5ft | 15ft |
| 16:9 | 9ft | 16ft |
| 16:9 | 9.5ft | 17ft |
| 16:9 | 10ft | 18ft |
And here is an alternative table of impact screen sizes that satisfy a 4:3 aspect ratio, you’ll find 4:3 screens are more of a square shape and are better for narrow golf simulator rooms:
| Aspect Ratio | Height | Width |
| 4:3 | 7.7ft | 10ft |
| 4:3 | 8ft | 10.5ft |
| 4:3 | 8.5ft | 11.5ft |
| 4:3 | 9ft | 12ft |
| 4:3 | 9.5ft | 12.5ft |
| 4:3 | 10ft | 13ft |
Carl’s Place Make Aspect Ratios Easy
What I love about buying an impact screen from Carl’s Place is that you can choose a screen based on a pre-determined aspect ratio. This means there’s no guesswork when choosing the right dimensions. You can buy several different screen sizes for each standard aspect ratio (16:9, 4:3 etc), or if you need a custom screen size you can contact Carl’s about your needs.

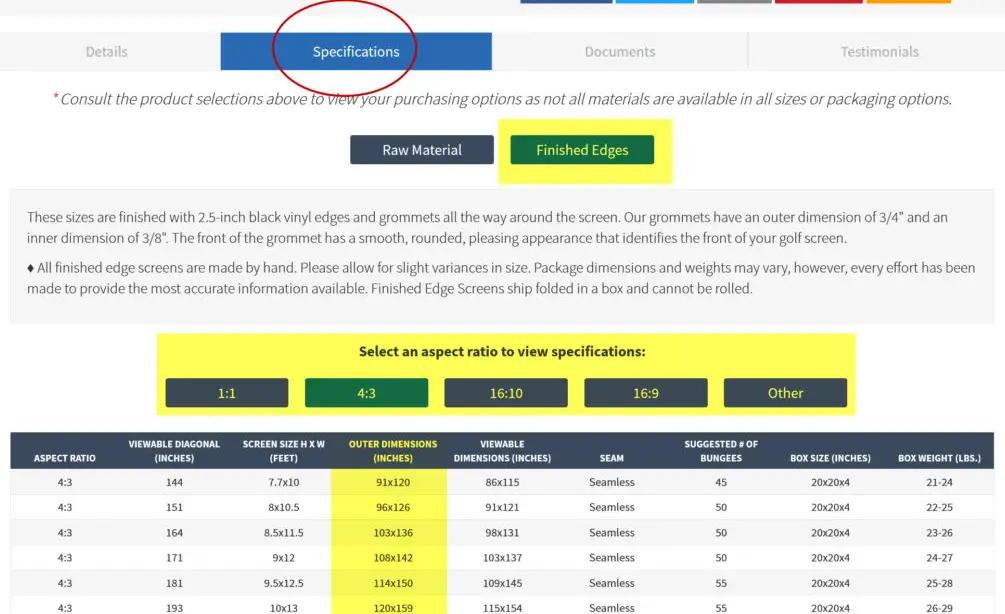
I also like that you can see the dimensions of both the screen as a whole, the border and grommet area and the viewable screen, all in a table on the screen’s product page. This is a great help and is information rarely found from other sellers.
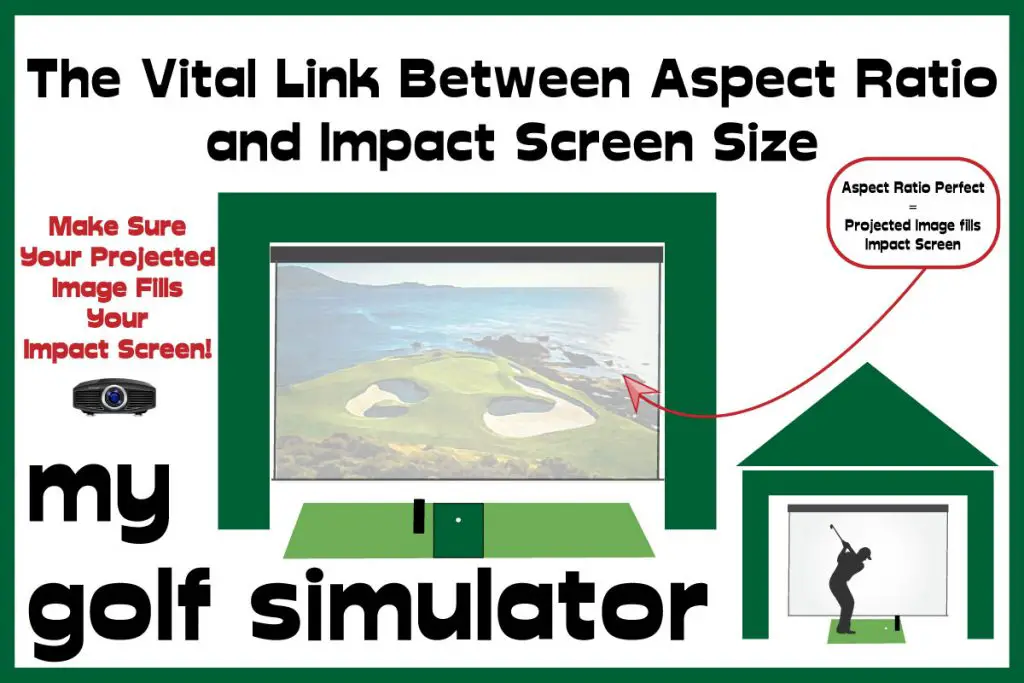
Check out our dedicated post all about aspect ratios and how these relate to your impact screen!
Step 3 – Don’t forget to consider your Projector Position
Okay, so you’ve defined your golf simulator room dimensions and worked out the size and aspect ratio of your impact screen. You have also marked out your hitting position. So which projector do you need, and where are you going to mount it?
You may think that this is a completely separate part of a golf simulator install and a worry for another day, but projectors and impact screens are closely linked and should be considered together.
Most modern projectors can project an image in a variety of aspect ratios, they often have a ‘native’ aspect ratio but can change to an alternative one in the settings.
You have to strike a balance!
The perfect golf simulator projector position is a balance of throw ratio, throw distance, aspect ratio, image width, shadows, and avoiding striking the projector itself!
You need to position your projector at the correct distance away from your screen, to match the size of your impact screen and the ‘throw ratio’ of your given projector. I love the calculator on Projector Central which helps you work out the perfect combination of these projector and mounting distance. You can then search for a projector which fits your needs.
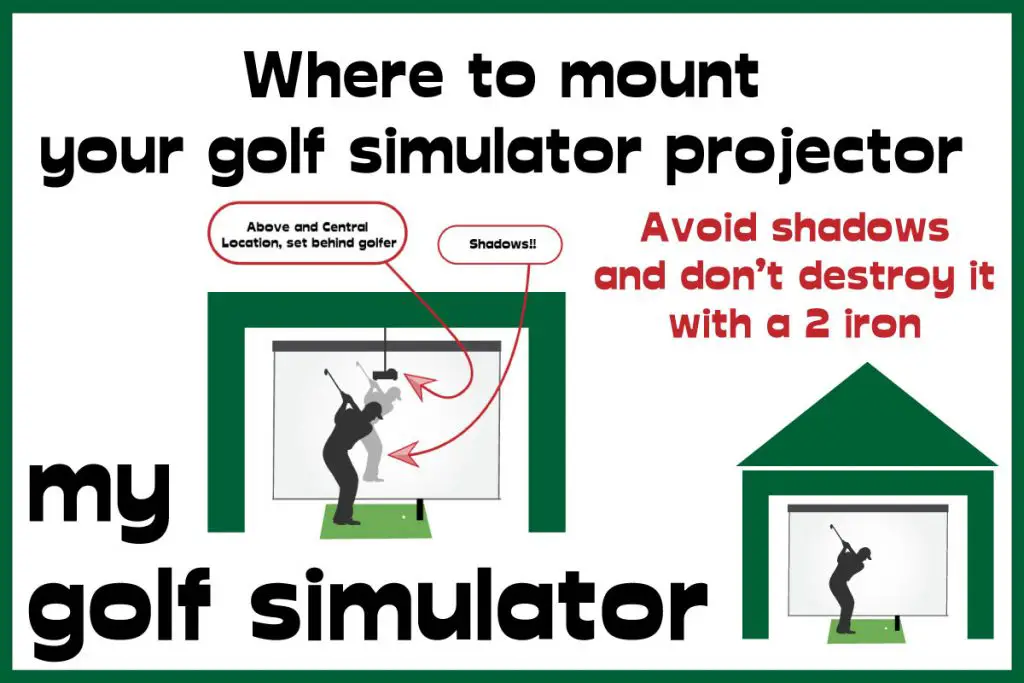
The available positions for your projector will depend on your golf simulator space. You need to strike a balance and find a position that is not behind you, casting shadows on the screen, but is also out of the way of your swing. You don’t want to destroy your projector with your first full swing.
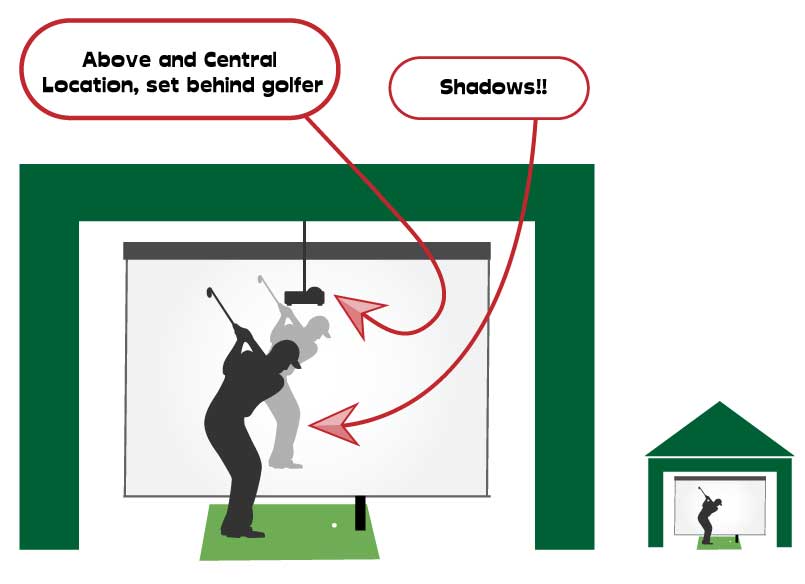
There are several positions to choose from, with advantages and disadvantages to each. You could choose from above and centrally positioned projectors, above and off centre positions, floor mounted and even side mounted locations. You may have to employ a feature of some projectors called keystone correction if your projector is mounted on the floor or off to the side.
Check out this article featuring five golf simulator projector position options and the considerations you need to make for each one, along with lots more information about golf simulator projectors, throw ratios and more.
Step 4 – Think about Picture Quality and your Impact Screen
Most golf impact screens are made from fibers of white polyester material woven together to form a mesh, some then use multiple layers of mesh to form a durable and reflective piece of material.
A quality impact screen should reflect a projected image with high quality but also absorb the high energy impact of a golf ball launched from just a few feet away.
There are impact screens on the market made from archery baffle, this is a cheaper material that is resistant to golf ball strikes but which usually features a poorer quality image. Materials like archery baffle tend to have larger holes between the fabric fibers, letting more light bleed through the screen.
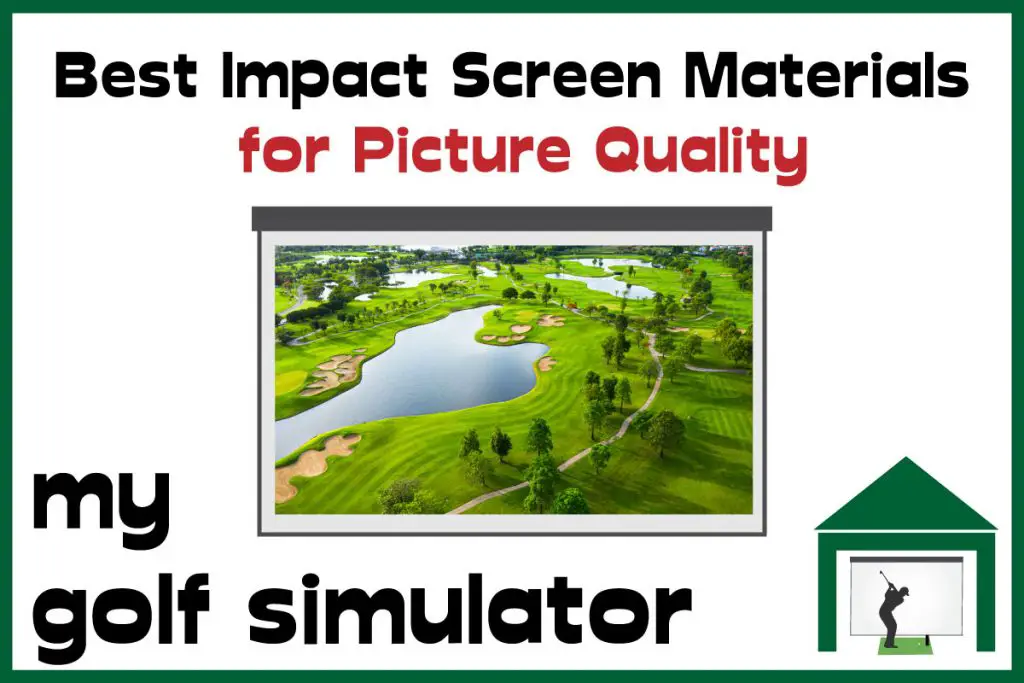
Many golfers worry about the resolution on their projectors and some choose 4K models, but then combine them with a poor impact screen that lets lots of light bleed through behind. You need a thicker, multilayer screen with excellent reflectivity to enjoy higher resolutions including 4K.
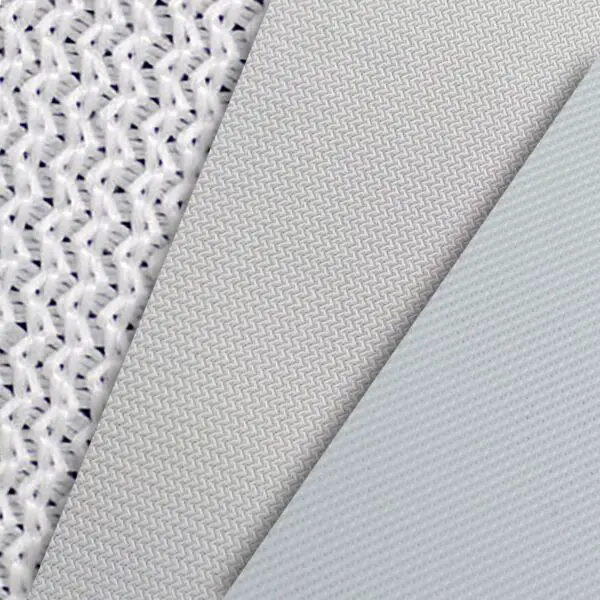
I recommend the Premium Golf Impact Screen from Carl’s Place for its excellent image properties. Whilst containing a cushioning middle layer to improve shock absorbance, bounceback and noise profile, this screen has the smoothest surface and tightest knit fibers of all Carl’s screens. It’s a fantastic choice if picture quality is your main concern.
Impact Screens from Carl’s Place are made to order and manufactured in Carl’s headquarters in Milton, Wisconsin, USA.
Carl’s Preferred Screen also provides a great projected image for those golfers on a tighter budget. This screen is extremely popular and great value for money.
Step 5 – You Need to Know All About Bounceback
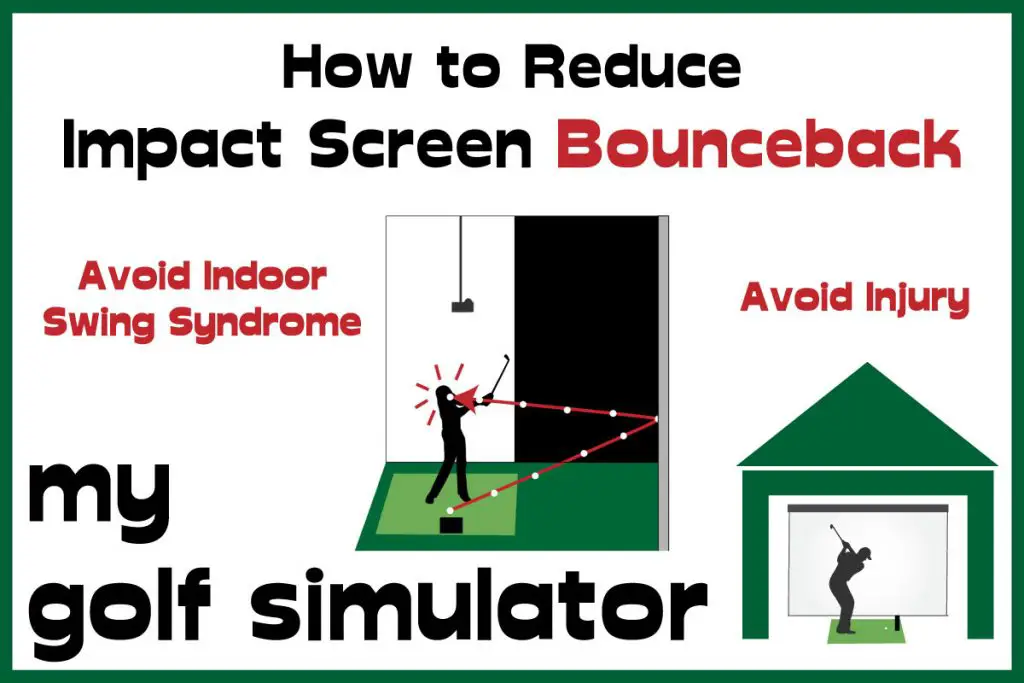
Bounceback is the ricochet of the golf ball back from the impact screen after impact. Ideally golfers want a setup where all the energy of the golf ball is safely absorbed by the screen material and the ball falls neatly down to the ground below.
Bounceback can range from a mild annoyance to dangerous golf ball return flights which cause anxious swings and risk injury to you and damage to equipment.
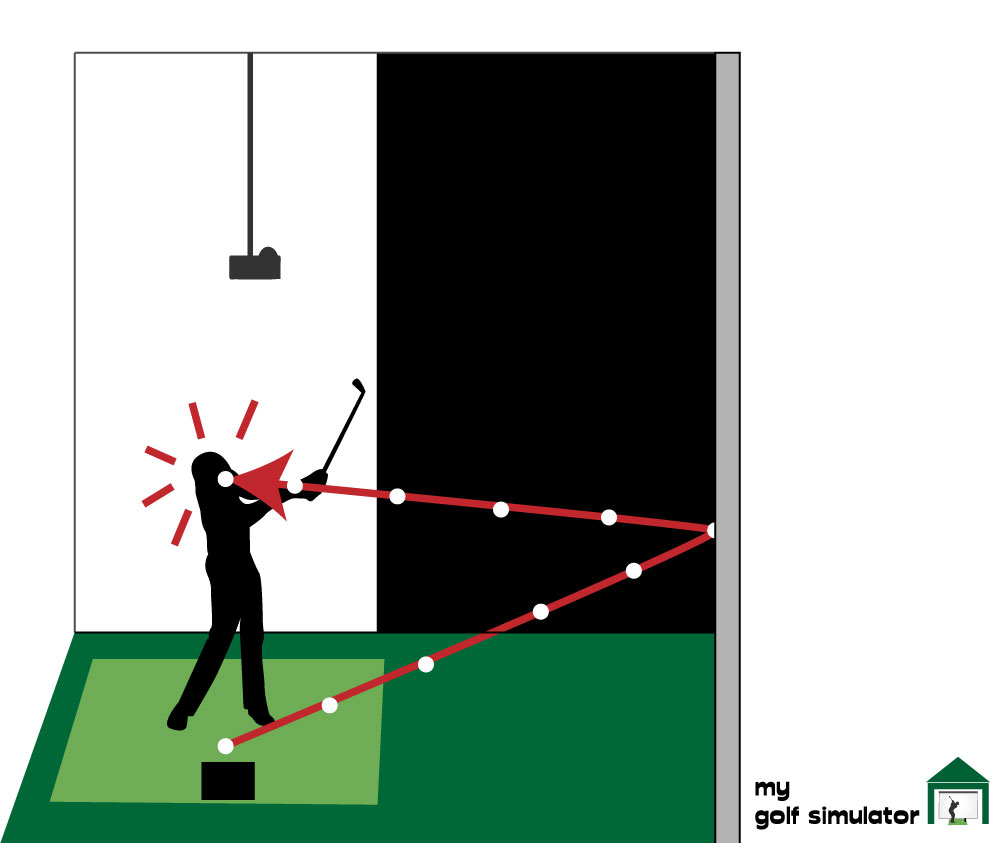
Bounceback is closely related to your choice of impact screen material and how you have decided to fix the screen to your enclosure.
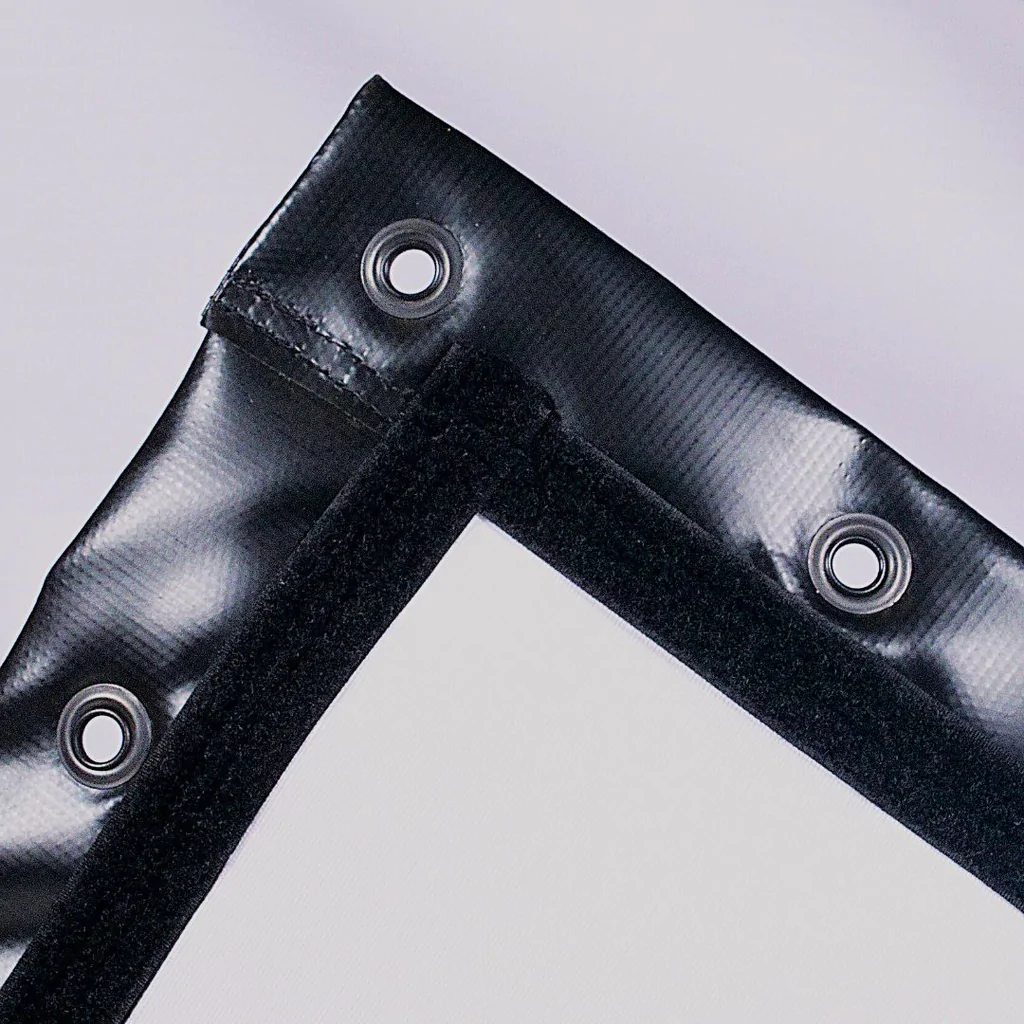
Carl’s Premium Screen features a cushioned middle layer which greatly enhances shock absorbance and reduced bounceback. All Carl’s screens feature (as an option which I recommend) a border with grommets to allow easy fixing. You can then attach your screen to your enclosure with removable and adjustable bungees.
There is a balance to be struck between attaching the screen too tightly, which can enhance picture quality, and an attachment which is too taut. Screens hung with too much tension will not be able to deform very much on impact and will fire the ball back toward the golfer with greater speed.
Step 6 – How much Space should there be Behind your Impact Screen?
The space behind the impact screen is an important consideration for all golf simulator owners. You will want to maximize the usable length of your simulator room, so the temptation is to push the screen back towards the wall. However, the screen material will require room in which to deform on impact with the ball.
I recommend 12-16 inches of space behind the impact screen. Screens that are hung too close to the posterior wall risk allowing the ball to actually impact the wall behind, causing a much more violent type of bounceback.
Step 7 – Have you thought about Noise?
Golfers in the planning stages of their home simulator build may not consider noise as anything to get worried about. If you have neighbors adjoining your property, or plan on using your simulator late into the evening when family members are asleep, noise is a problem! The impact of a golf ball travelling 150mph+ against a fairly taut piece of material can cause louder sounds than you may realize.
There will also be noise coming from your strike with the mat and the ball itself, and any equipment or speakers you use.
You can minimize the excess noise emanating from the ball’s collision with the impact screen both by choosing a cushioned high quality screen (such as Carl’s Premium Screen) and also hanging your screen with slightly less tension. The tension used is a fine balance, which is why I love the bungee and grommet method used to attach Carl’s Screens, you can easily adjust it as you go.
Step 8 – How are you going to hang your impact screen?
We’ve talked quite a bit so far about the balance to be struck when you attach your impact screen to your golf simulator enclosure. You need to find the sweet spot between a screen that is taut (with an optimal picture quality) and a screen that is very loose (with optimal bounceback and noise profile, but with shimmering and puckering, reducing image quality a little).
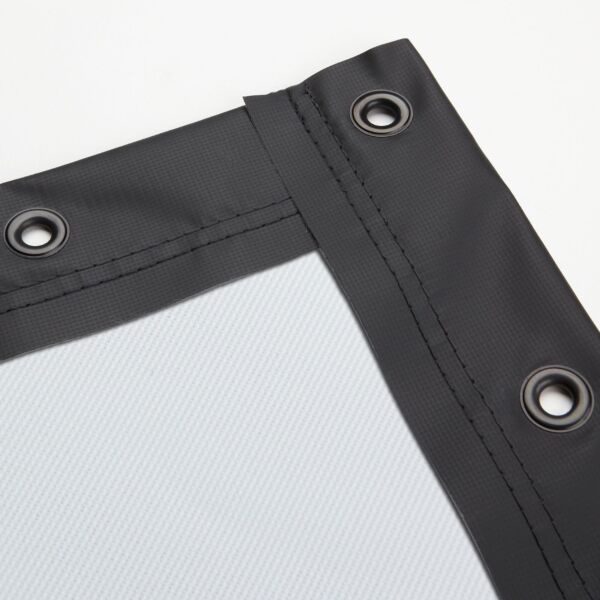
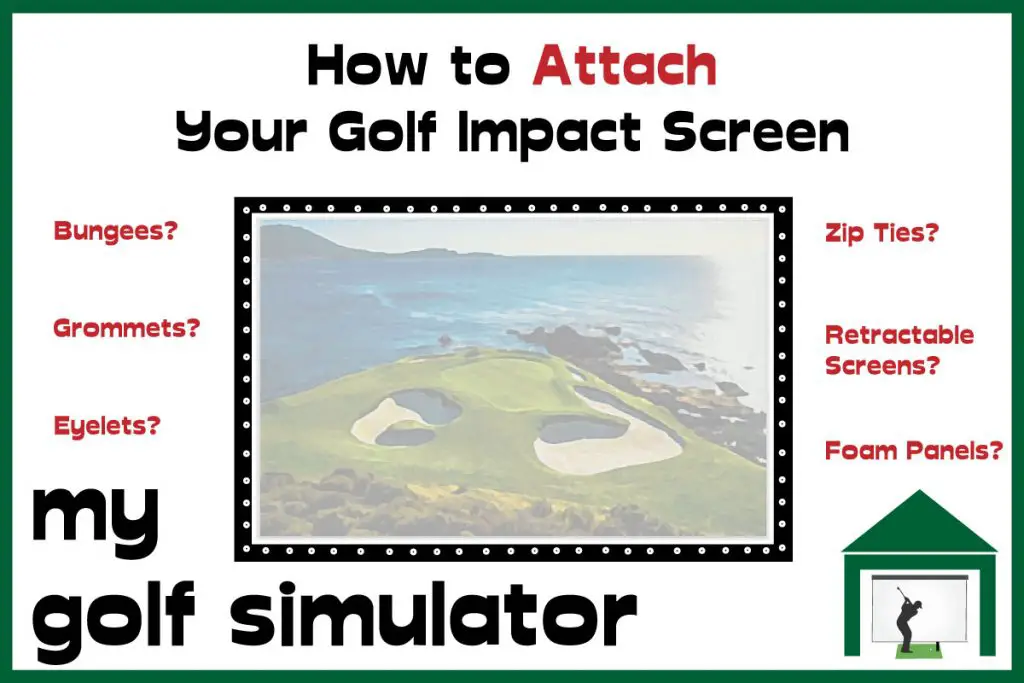
The grommets that are built into the borders of Carl’s Impact Screens allow easy fixing with either adjustable bungees, or cheap and replaceable zip ties. You could use a combination of these attachments to achieve the optimal tension in your screen.
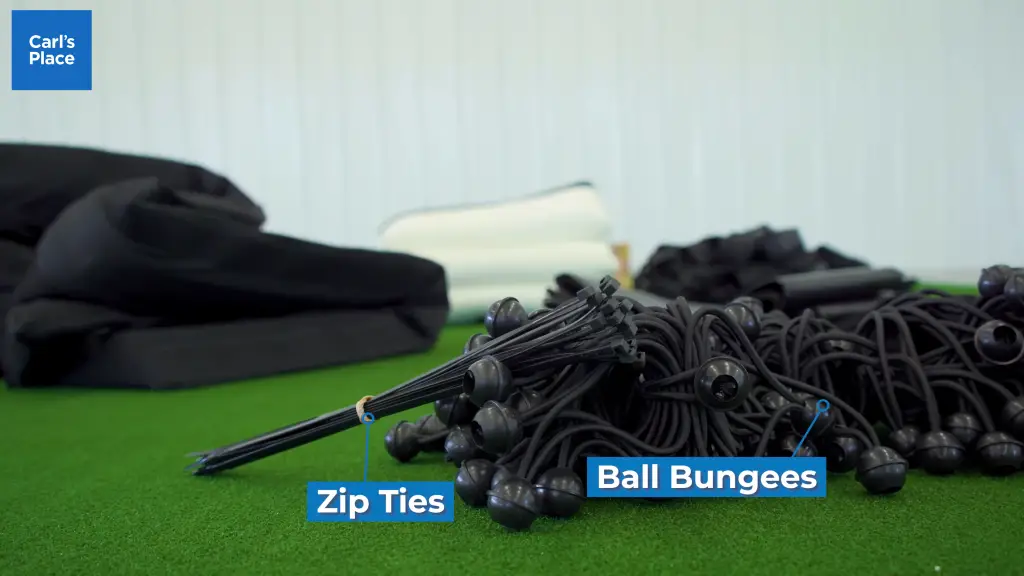
The tension on the screen should be equal from each side of the screen and top to bottom.
Unequal tension can lead to excess wear being placed on one part of the screen and also avoidable imperfections or puckering in the screen material, which reduce picture quality.
Step 9 – Which Enclosure are you going to use?
You have three options when it comes to deciding on enclosures and the ‘frame’ of your golf simulator:
- Construct a DIY golf enclosure frame from lengths of EMT pipe, which you can cut to size, adding sheets of black fabric to create dark golf simulator walls. This can save a golfer money but can be intimidating for those who lack confidence at DIY or wish for a pre-designed easy-to-make solution.
- Buy a pre-designed golf enclosure frame, complete with frame, fixings, side panels and together with an impact screen.
- Build a golf simulator enclosure only using netting. You can affix a screen to netting though I recommend a proper enclosure for a higher fidelity simulator experience.
Some golfers hit towards a net without using side panels, I don’t recommend this as one stray shot could cause all sorts of damage to people or property. No golfer is immune from an occasional shank!
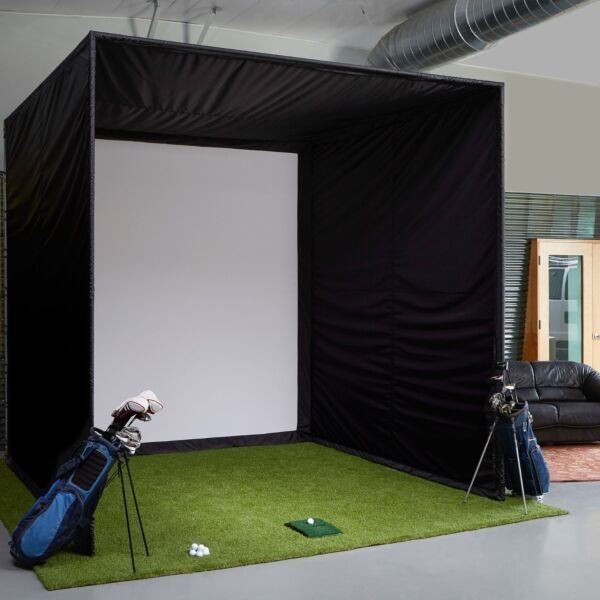
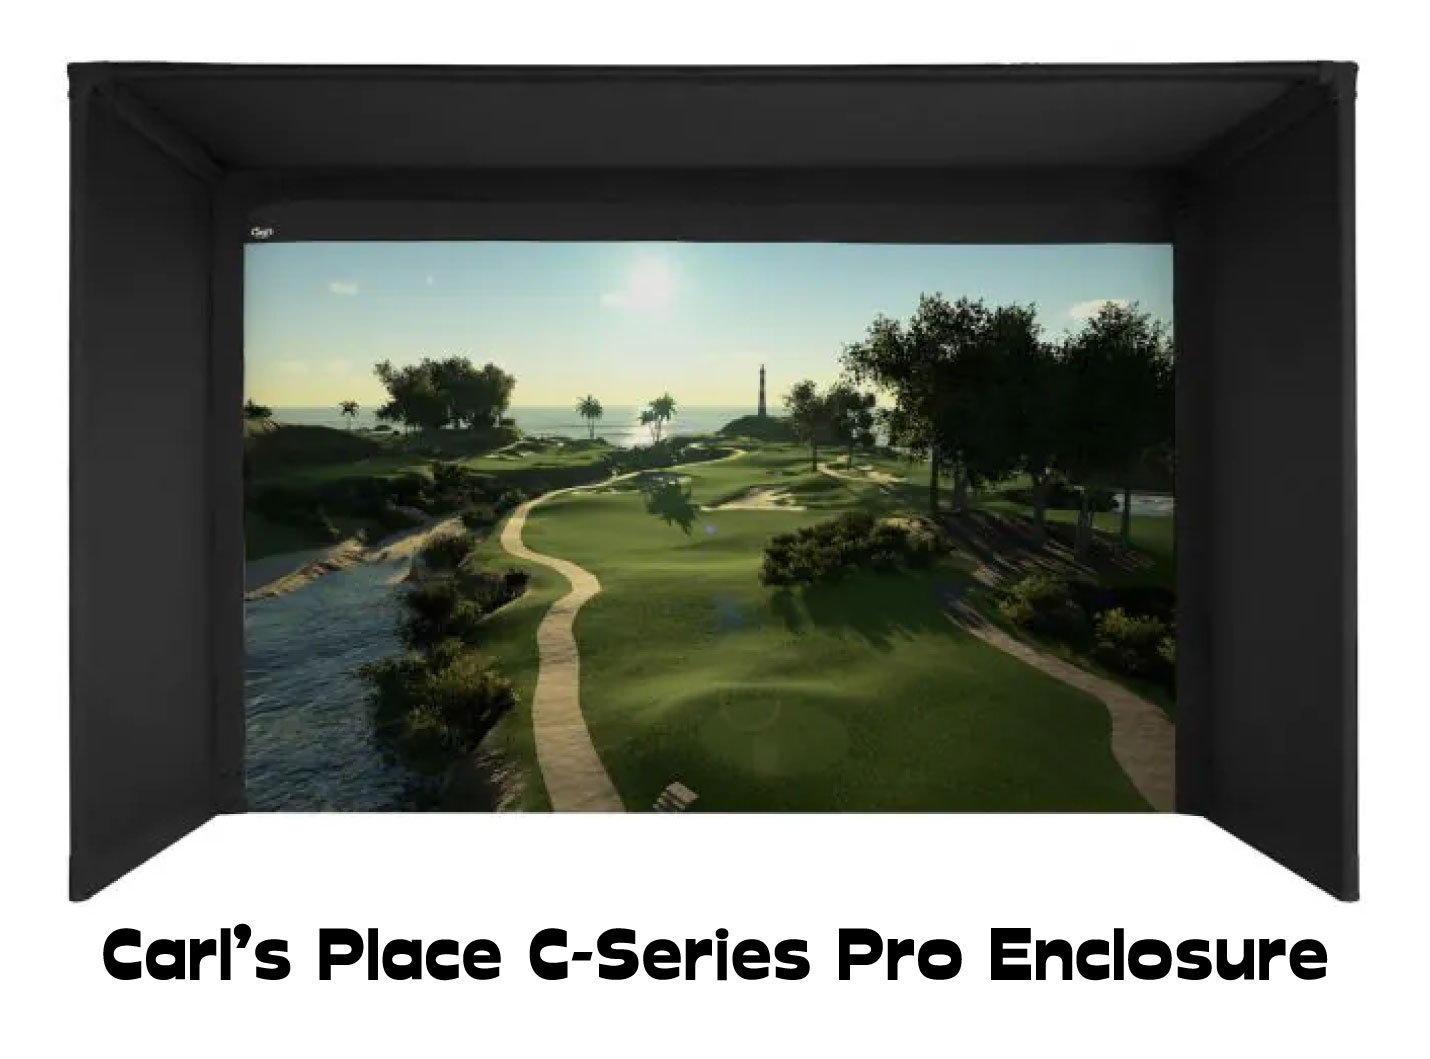
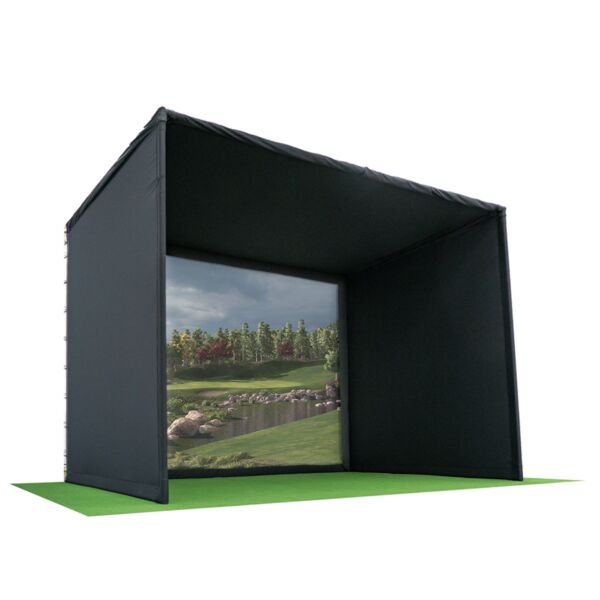
Carl’s Place offer two levels of pre-designed golf enclosures, a DIY Golf Enclosure Package and a Pro Golf Enclosure Package. These are excellent quality products that ship with your choice of impact screen material with a size appropriate to the enclosure. Each enclosure also features optional foam safety cushions as we describe below to cover the metal frame and protect you from ricocheting balls.
The Pro Golf Enclosure is also compatible with safety baffles for the top of the simulator enclosure, which catch any balls launched especially high.
You can learn more about the differences between the DIY and Pro Golf Enclosures from Carl’s here with this super useful comparison table.
Consider a Uneekor Package Deal with a Carl’s Screen or Enclosure
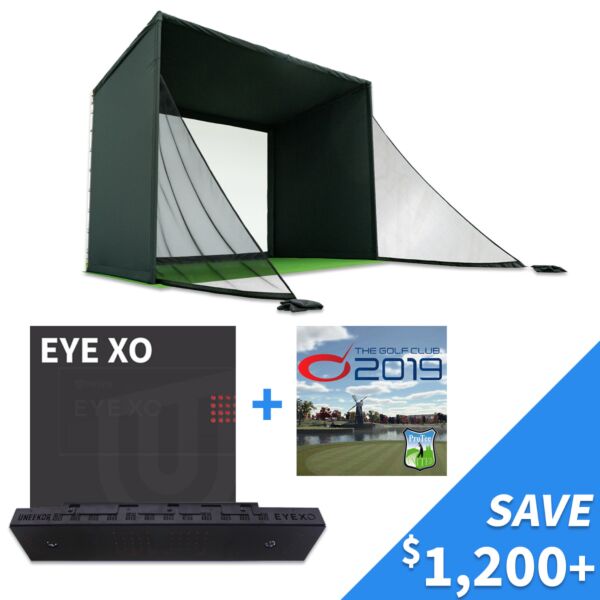
You can also buy your Uneekor QED or EYE XO launch monitor from Carl’s Place along with their products individually or as a fantastic bundle offer. This package often saves golfers lots of money compared with buying the components individually!
Carl’s Place offer the Pro Golf Enclosure, including a Premium Impact Screen, the Uneekor EYE XO and TGC 2019 simulation software as one package with a really competitive price!
Step 10 – Protect the sides of your Impact Screen
The worst type of bounceback is a violent ricochet from your metal enclosure frame, these strikes can send a golf ball in any direction at high speed. The ricochet could cause damage to your launch monitor, computer, projector or more importantly you and your family.
I recommend fixing a foam safety cushion to the top, bottom and sides of your frame. These will need to be measured to fit your exact screen and enclosure, and using mitered edge corners can help them look the part. I actually think these cushions massively enhance the aesthetics of an impact screen setup, making it look professional and well-constructed.
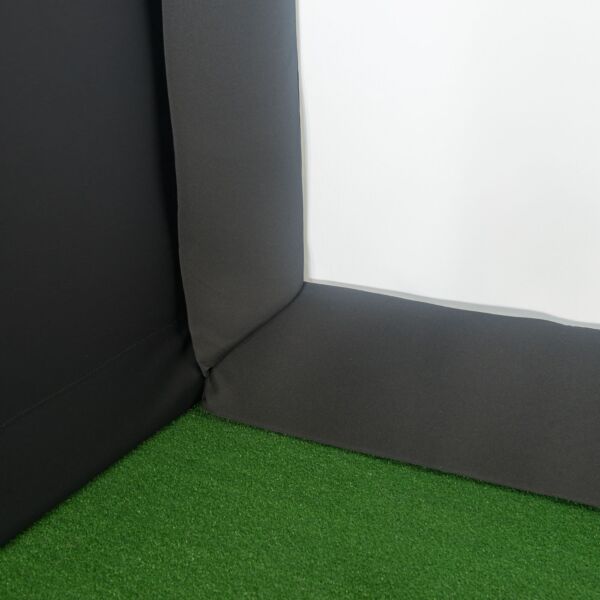
Carl’s Place feature these black safety cushions as part of their Pro Golf Enclosure Package, purchasing this package means all the important points in your enclosure and screen setup will be covered.
It is possible to make your own foam cushions out of custom sized pieces of foam and black fabric, though you will need some sewing skills. Alternatively you could use sandbags, beanbags or similar cushioning objects.
Step 11 – How long should your Impact Screen last
Your impact screen needs to be durable, which means it should withstand many thousands of impacts with golf balls travelling at high speed. The Preferred screen from Carl’s Place is rated for a lifespan of 2000-5000 shots whilst the Premium Screen is rated for up to 15000 shots. These are pretty good numbers for an impact screen and will last most golfers a long time!
You could also increase the lifespan of your screen by having a looser tension in the screen allowing a more spread-out transfer of energy to the fabric. Golfers whose setups mean that their golf balls impact their screens off centre have the option of turning the screen upside down to extend its lifespan further. You can turn a screen around but not back to front.
I also recommend avoiding well used, more abrasive golf balls in your simulator as these can harm your screen. You should also never use sharpie type pen markers on your simulator golf balls as they can deposit the colored ink straight onto your screen.
The Benefits of Carl’s Screens
Carl’s Place specialize in quality projection screens and have established a reputation for producing top quality golf impact screens from their headquarters in Milton, Wisconsin.

I believe the Carl’s Premium Impact screen is a fantastic choice for any golfer looking to build a Pinterest worthy golf simulator at home, Carl’s Premium screen combines the best characteristics of image quality, bounceback protection and noise profile. Check out Carl’s Premium Screen here.
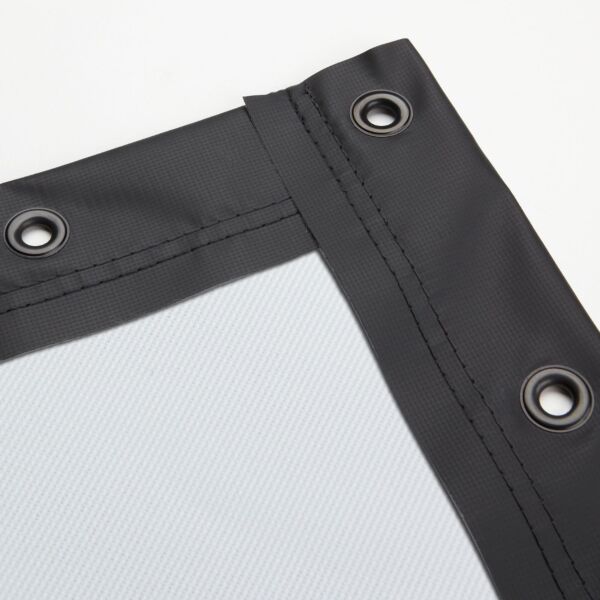
The preferred screen from Carl’s offers many of the qualities of a premium impact screen whilst being available at an affordable price. You are very unlikely to find a better screen for the same cost. Take a look at Carl’s Preferred Impact Screen here.
Carl’s website makes it easy to buy a screen with a size and aspect ratio that suits your simulator space as well as providing super easy to use bungees and a border with grommets for easy and adjustable mounting.
I hope you’ve found this article useful in your hunt for a quality impact screen. Best of luck with your Golf Simulator build!
Mevo Gen 2 Space Requirements
Gray Impact Screens – Pros and Cons
ABOUT THE AUTHOR
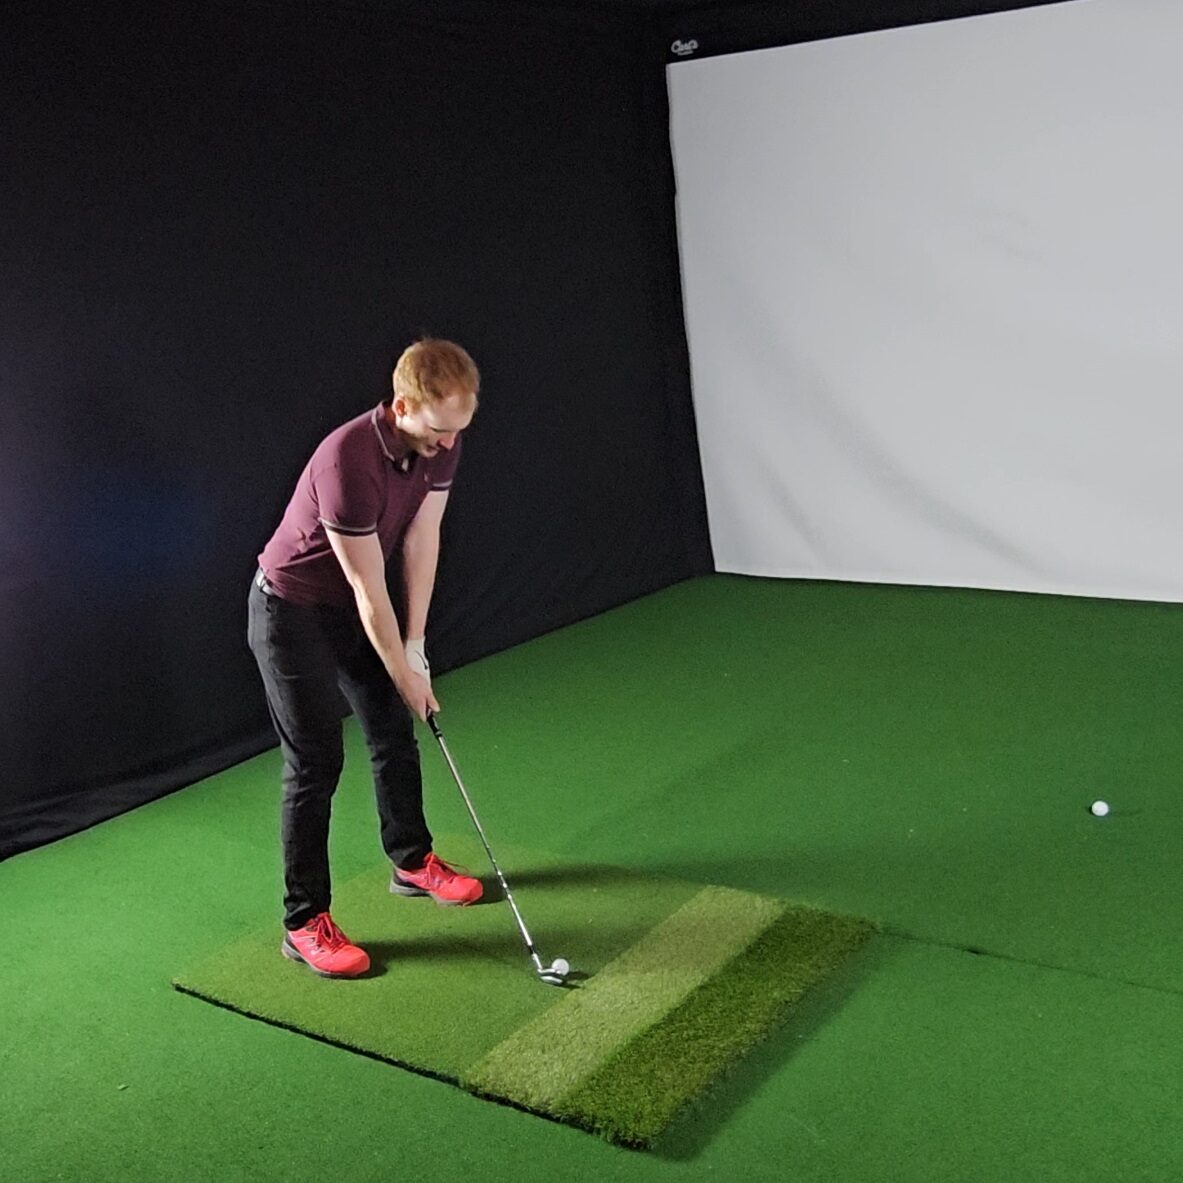
Hello! My name is Alex and it is my mission to bring you all the information you need to build your own home golf simulator! I hope mygolfsimulator.com helps you on your journey to better golf at home!
LEGAL INFORMATION
On this site, you'll find articles on all aspects of building a golf simulator. I will also link to other sites where you can buy some of the simulator components. Some of these links may be affiliate links, which means if you click them I gain a small commission at no extra cost to you. This really helps out me and my site so thank you in advance! mygolfsimulator.com and all related social media accounts are property of Awonline LTD.
