I will show you the most important factors to consider when choosing a golf simulator impact screen. You will achieve an impact screen with a size and aspect ratio perfect for your setup, that allows a fantastic high-resolution, bright image to be displayed, and with minimal bounceback.
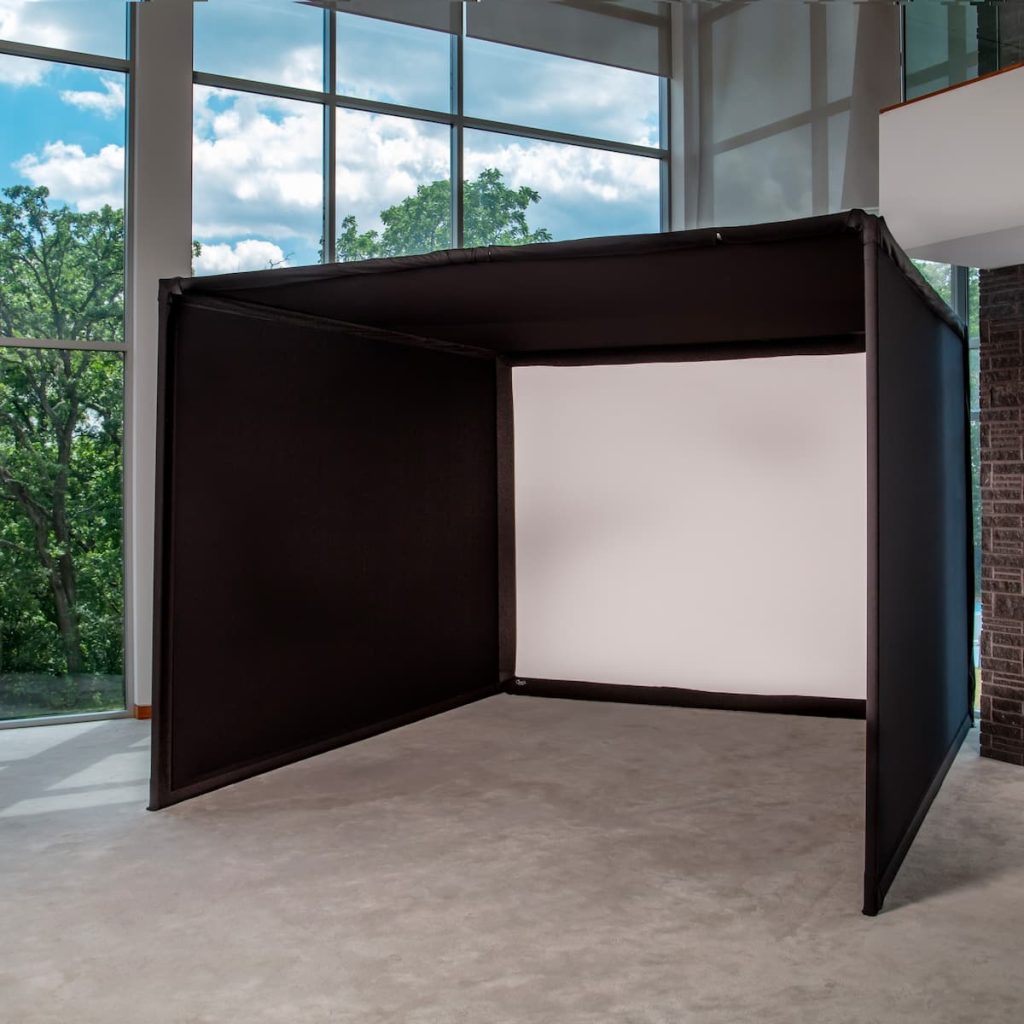
The best golf impact screen available in 2024 is the Premium Impact Screen from Carl’s Place. This triple layer, cushioned screen displays 4K resolution images with incredible quality and minimal light bleed. Bounceback and noise on impact are minimal.
Carl's Place Premium Impact Screen
- High-Quality Images: Tightly woven, multilayer screen for a smoother, crisper image up to 4K.
- Durability: Designed to withstand direct impact from golf balls traveling up to 250 MPH.
- Custom and Standard Sizes: Available in various sizes to fit different room dimensions.
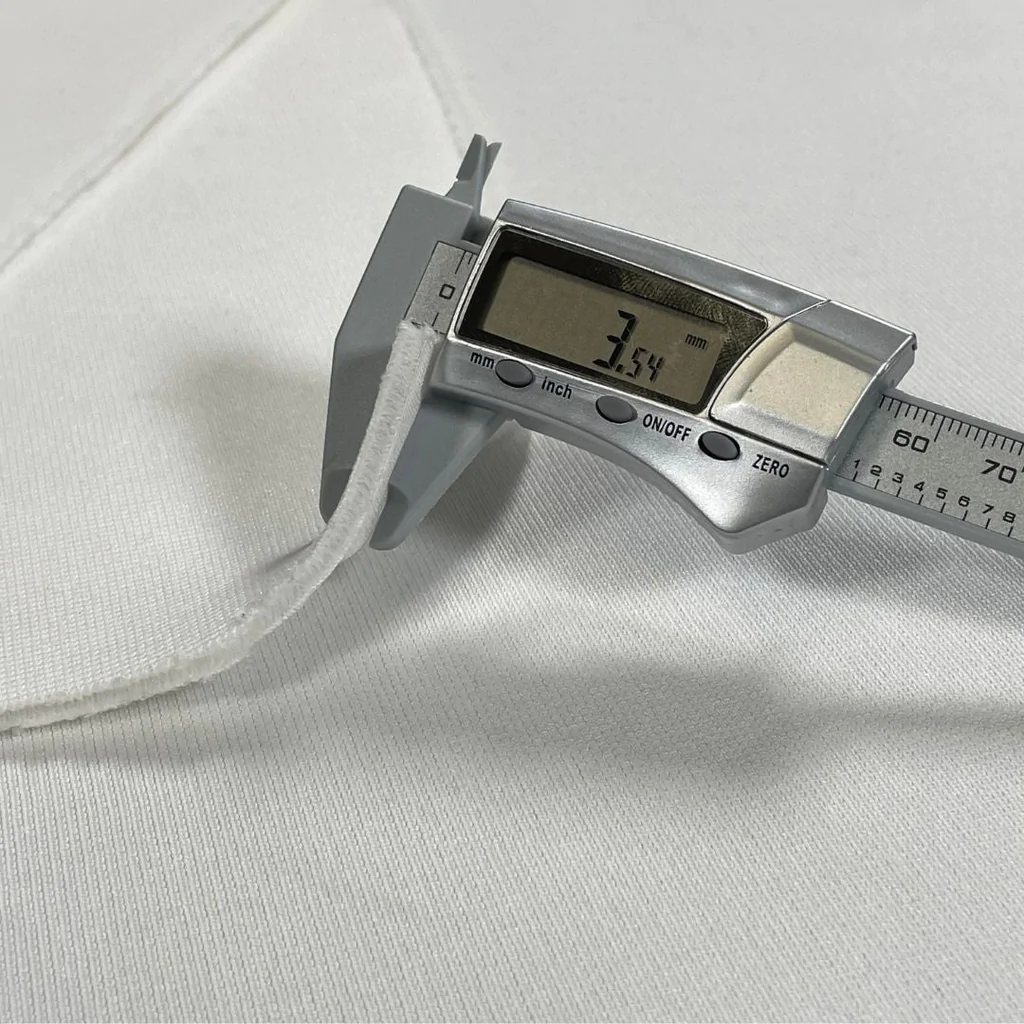
- Material Quality: Made of three layers of heavy-duty, tight-knit, impact-resistant polyester.
- Noise Reduction: Features a cushioned center layer to quiet noise from the golf ball hitting the screen.
- Versatile Finishing Styles: Options for edge finishing to suit installation needs.
- Compatibility: Can be attached to different frames, used with golf enclosures, or as part of a DIY golf simulator.
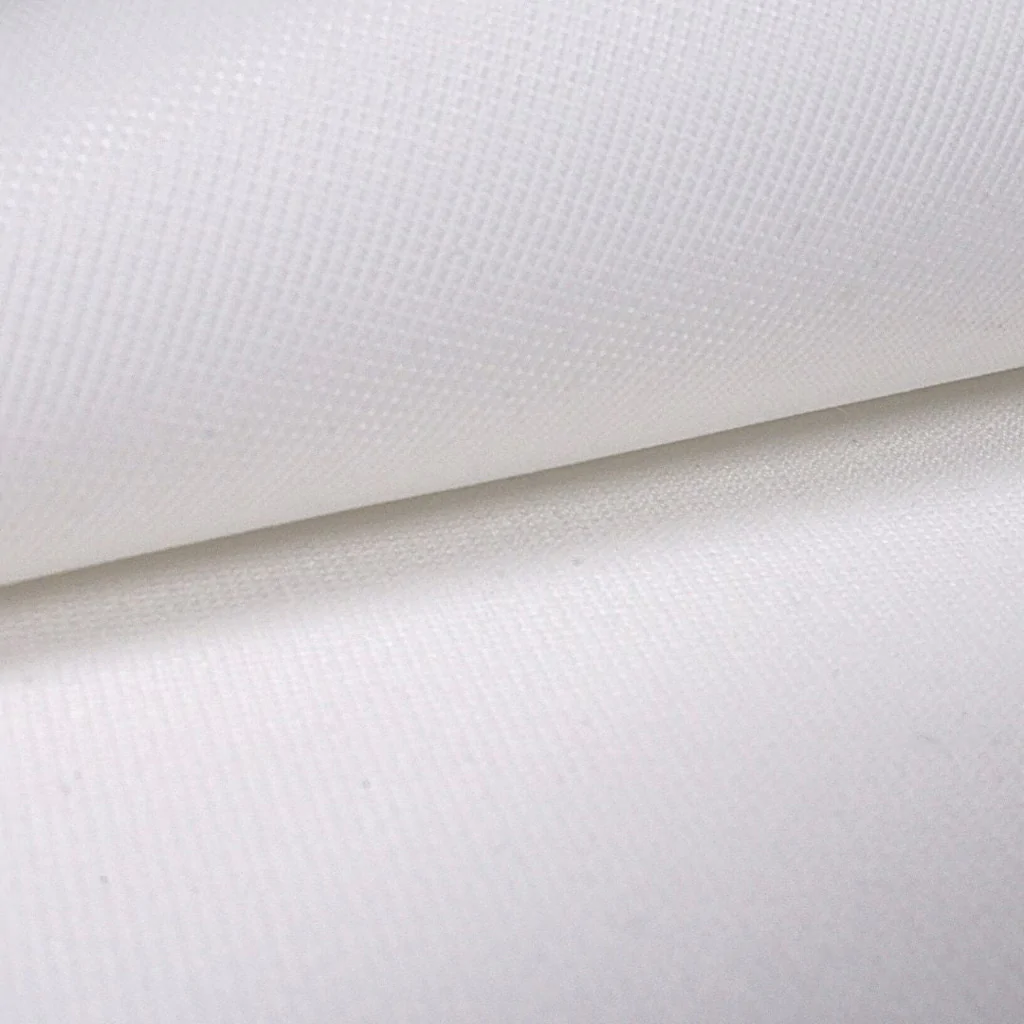
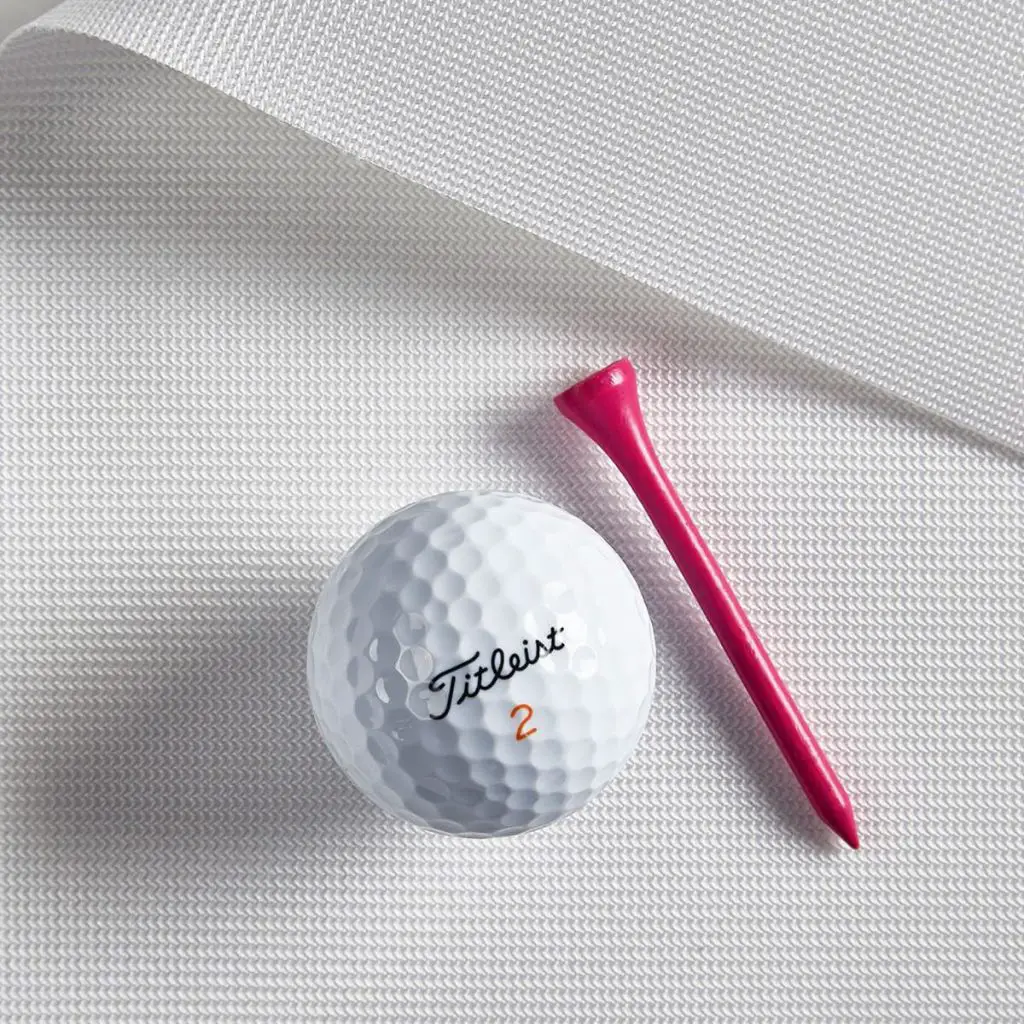
Carl’s Premium Golf Simulator Screen features a bright white surface with ultra-tight weaves, enhancing image detail and quality. There is a central cushioning layer that allows a reduction in light bleed, bounceback, and noise.
- Excellent Image Quality: Realistic golf simulation experience.
- High Durability: Suitable for intense use with high-speed impacts.
- Customizable Size and Finish: Tailored to specific room sizes and design preferences.
- Noise Reduction: Less noise disturbance during play.
- Versatile Installation Options: Flexible setup or integration into existing setups.
- Few - more expensive than budget screens, but this screen is worth it in my opinion
By the end of this article, you will be equipped to make an informed choice about the impact screen that will be best for the needs of you and your golf simulator space.
My Number 1 Recommended Golf Impact screen for 2024 (7 Reasons)
I believe that the best impact screen on the market today is the Premium Impact Screen from Carl’s Place. This impact screen has everything you need to achieve the highest quality projected images available in a golf simulator setup.
Carl’s Premium Impact Screen offers the following benefits:
- Made from three layers of heavy-duty, tight-knit impact resistant polyester, with a central cushioning layer to reduce bounceback and noise on impact
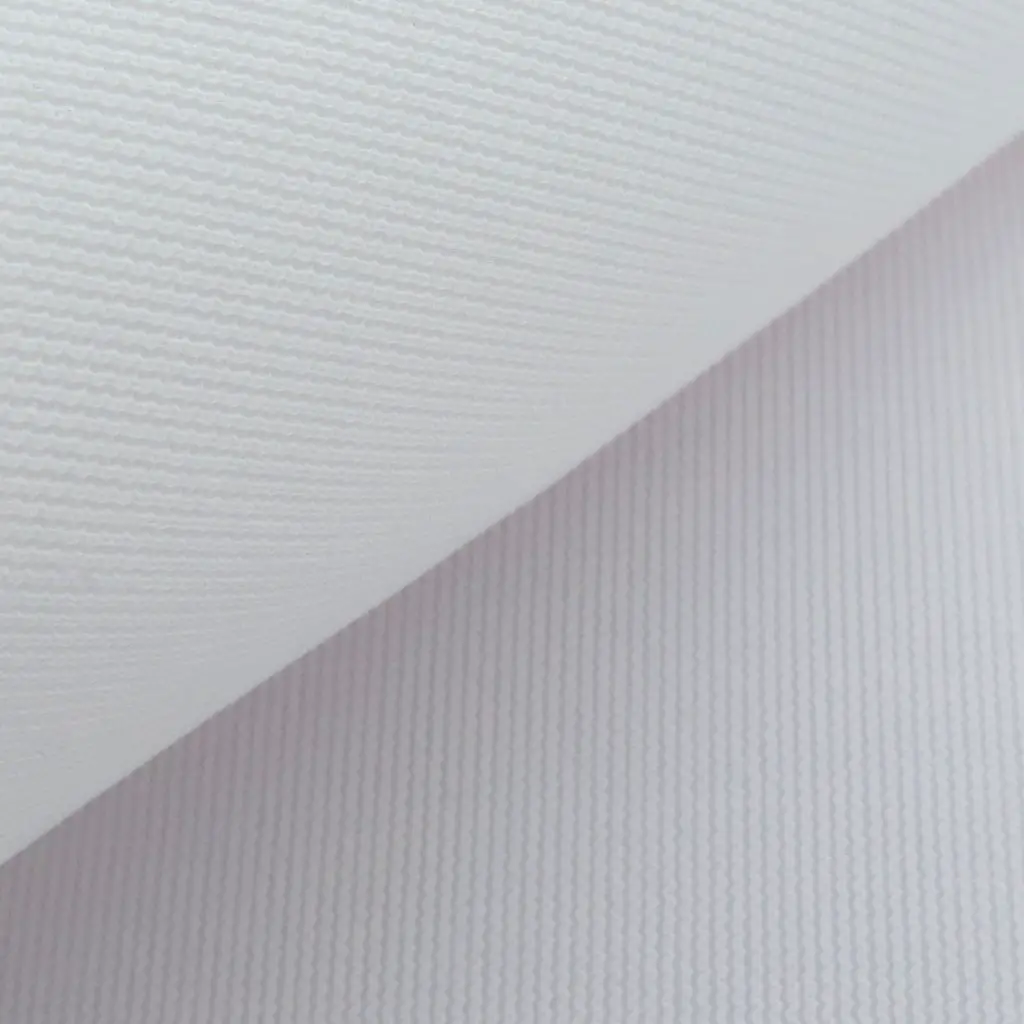
- Very tightly woven white polyester material means crisp and clear images can be projected in high resolution.
- The tight polyester weave means that a minimum amount of light ‘bleeds through’ the screen, keeping all the detail where it should be.
- Rated for golf balls traveling up to 250mph (the world long drive champion Kyle Berkshire’s ball speed record is 236mph so all golfers should be fine here!)
- Carl’s offers a range of stock impact screen sizes and aspect ratios
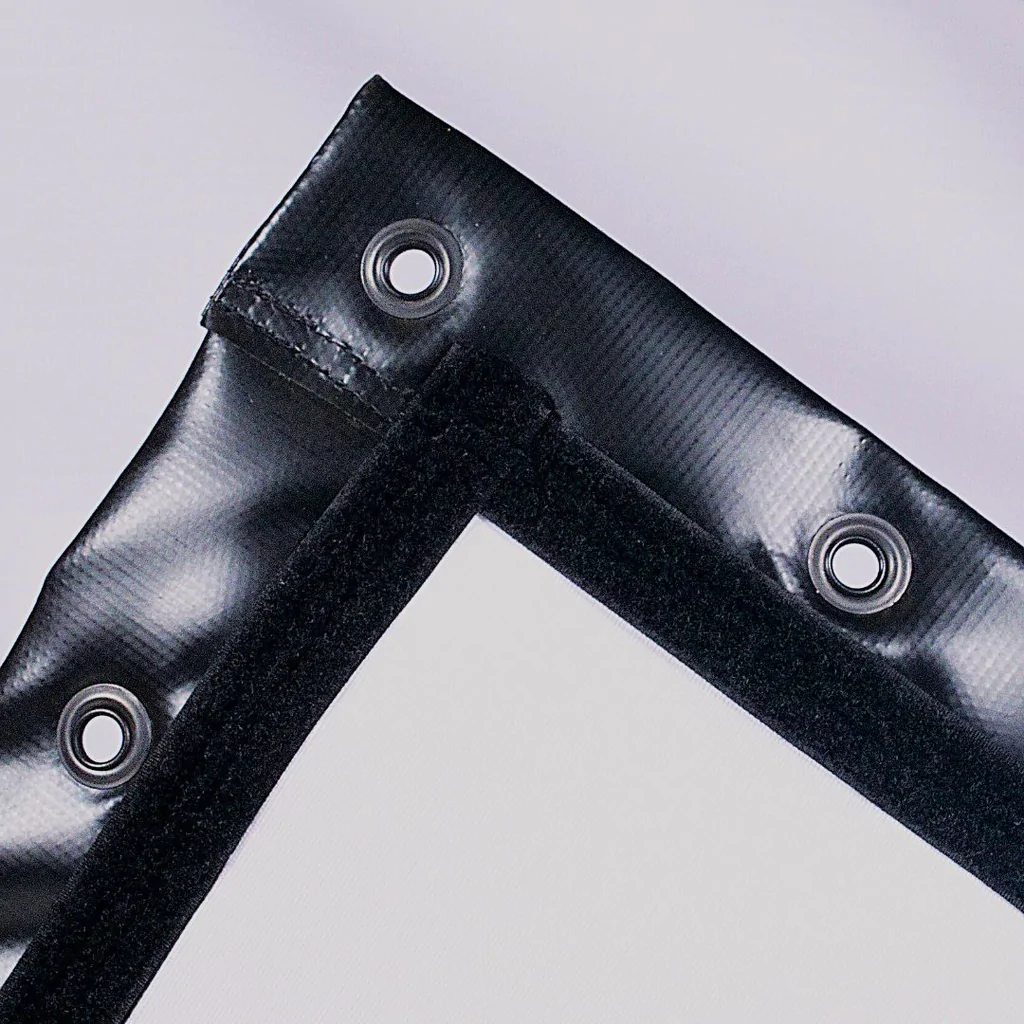
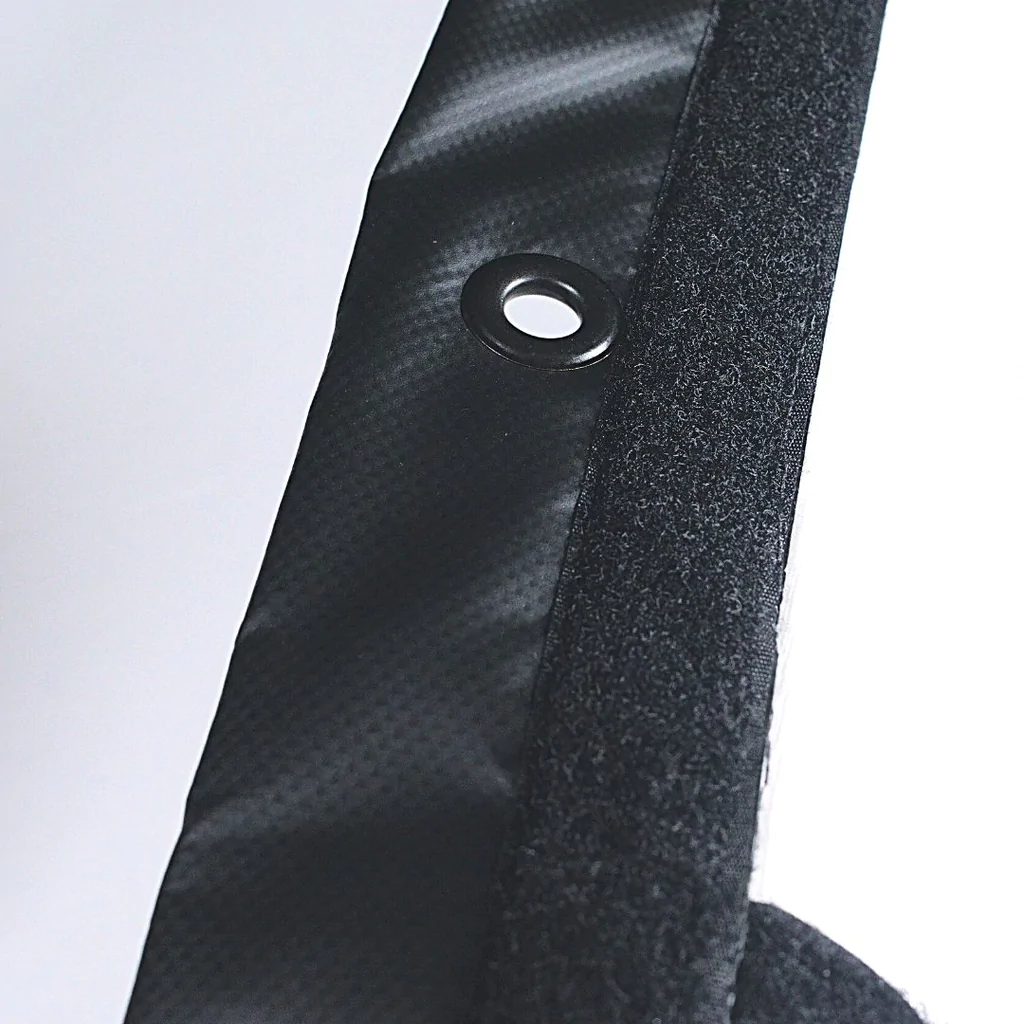
- A choice of screen border options, including borders with foam flaps to protect your metal enclosure border, and loop fasteners that allow use with curtains, nets, and fabric for DIY setups.
- Custom impact screen sizes are possible
- Carl’s Premium Impact Screen is used across the golf simulator market with excellent feedback and golfer satisfaction.
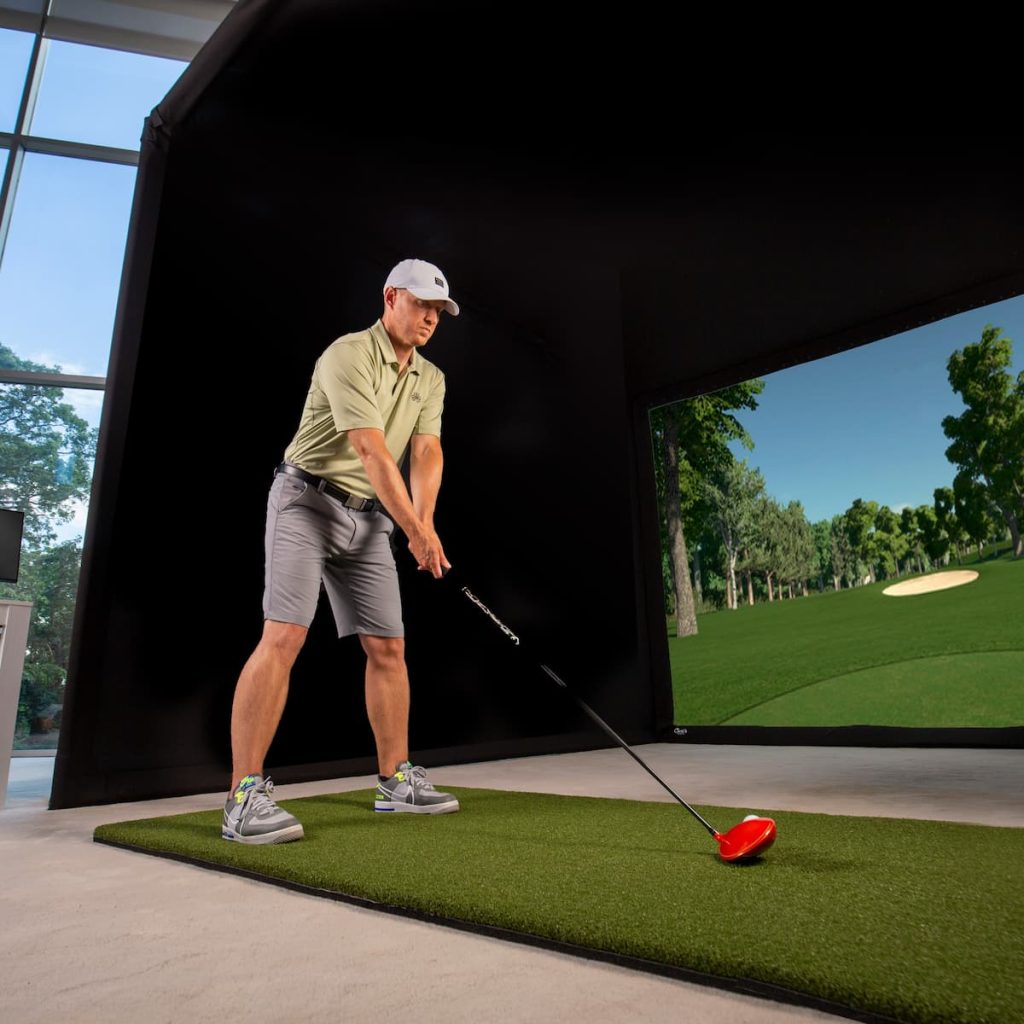
An Alternative High-Quality Impact Screen – The SIG-Premium
- Thick, multilayer, and smooth spacer mesh fabric material allows for clear and crisp images up to 4K resolution
- The thick mesh means there is very minimal light bleed through
- No grainy images or pixellation
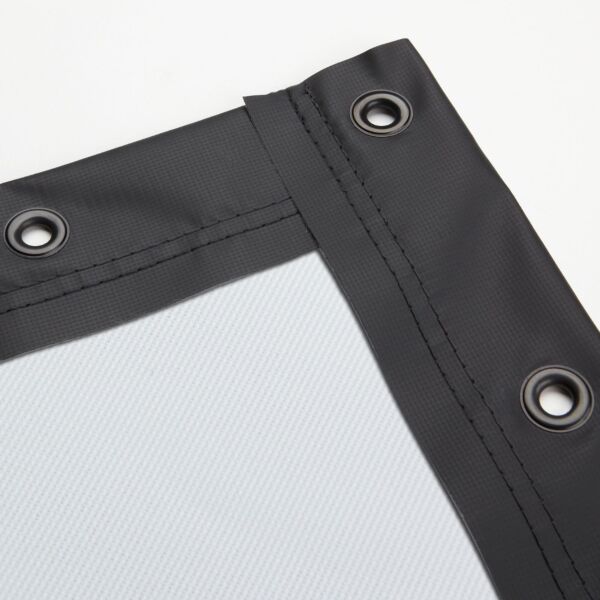
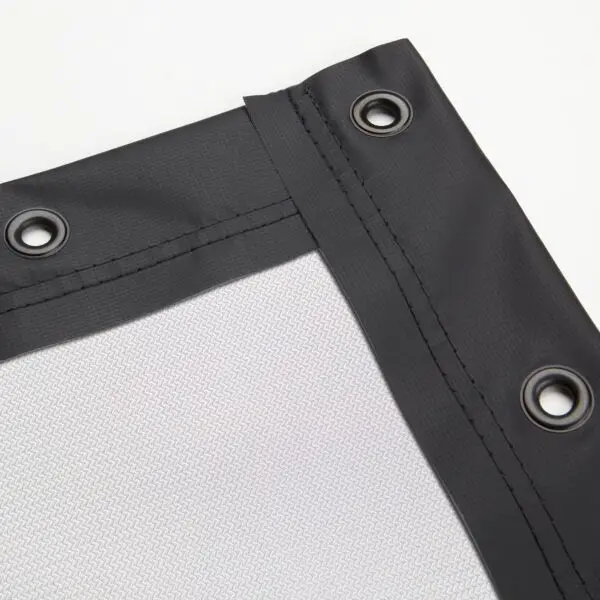
- Edged with double-stitched black vinyl edges and grommets
- Shop Indoor Golf report that the SIG-Premium screen is the thickest screen available on the market, it is ‘made up of two heavy-duty, tight-knit impact-resistant polyester surfaces that sandwich vertical spacer yarns, creating a unique three-layer surface’.
- Vertical spacers within the screen act as “cushions” and dampen the noise emitted by the golf ball impacting the screen
- Rated for impacts up to 250mph and comes with a 1-year warranty against rips and tears!
Best Budget Impact Screen – Carl’s Place Preferred Impact Screen
An affordable yet high-quality impact screen option is the Preferred Screen from Carl’s Place. This is Carl’s middle-tier screen option and a solid option for golf simulator setups operating with tighter budget restraints.
Carl’s Preferred Impact Screen offers the following benefits:
- Higher Quality Projected Image (than Carl’s Standard Screen) with a smoother surface
- 100% Polyester with Silicone Reinforcement and a tightly woven knit (to reduce bleed-through of light)
- Also available in a range of sizes and aspect ratios
- Choose between three border options, including foam flaps for metal enclosure protection, and loop fasteners for integration with other materials in DIY setups.
Check out this great video comparing the impact screens (Premium, Preferred and Standard) on offer at Carl’s Place.
Essential Criteria for a Golf Simulator Impact Screen
Before you pull the trigger on an impact screen, you need to make sure the screen you choose is right for you, your golf simulation needs, and your golf simulator space. The following factors should be considered in every impact screen decision.
Impact Screen Size and Aspect Ratio
The aspect ratio of an impact screen is the ratio of width to height. This is an important number as it is also used in media displays (such as television, computer screens, and importantly, projectors).
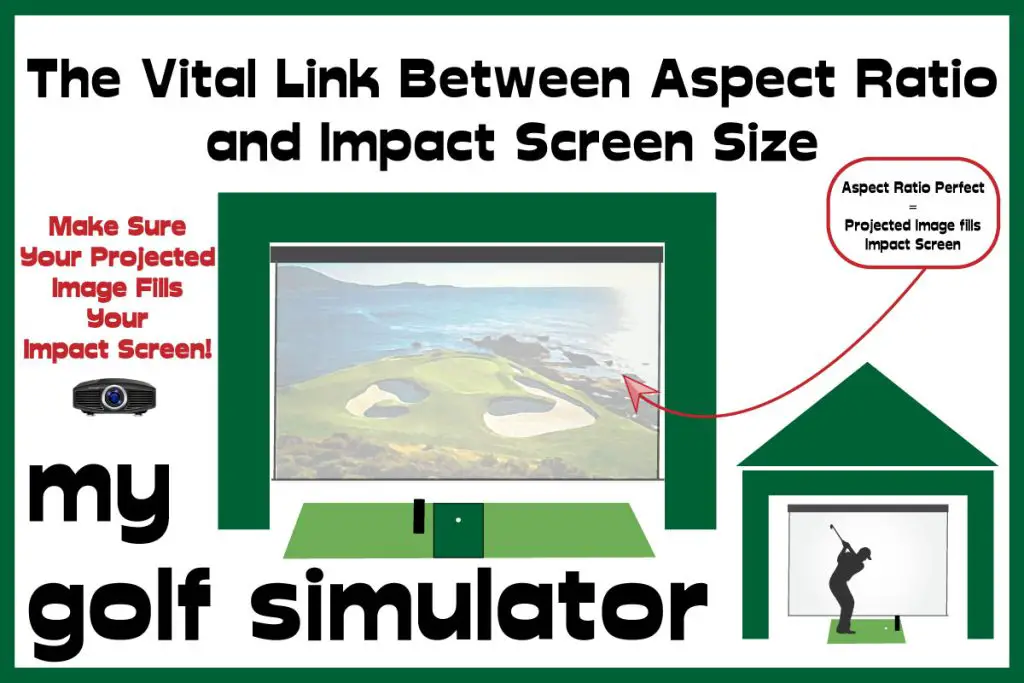
Your goal is to fill your impact screen with your projected image, without any wasted and unused bars of screen at the sides, above or below your image.
Full HD and 4K video resolutions both have a 16:9 aspect ratio. 16:9 is the widest of the commonly used aspect ratios in golf simulator setups, and you will need sufficient room width to opt for a screen with dimensions matching this ratio.
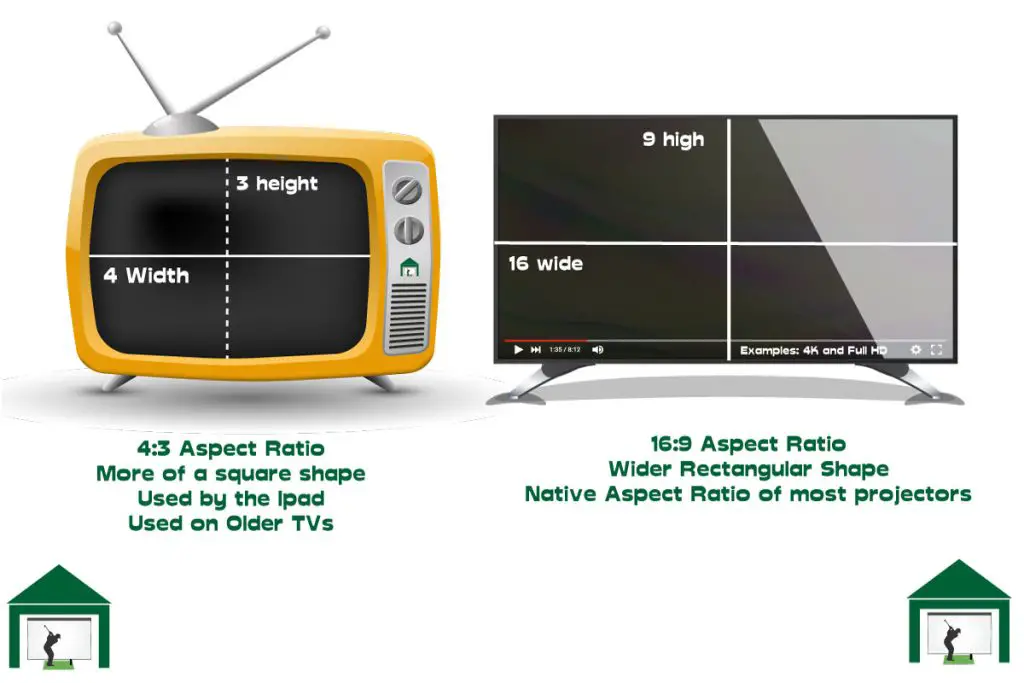
If you were to choose an impact screen with width and height that doesn’t match one of the common aspect ratios, you’re highly unlikely to achieve a projected image that fills the screen without wasted and unused areas of the screen at the sides or above and below the image.
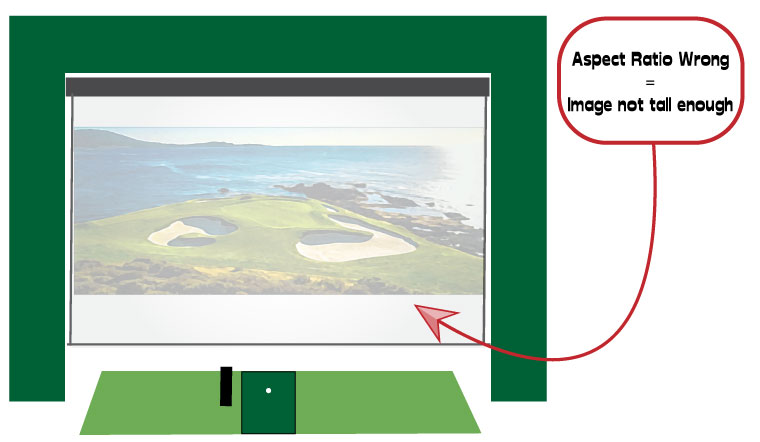
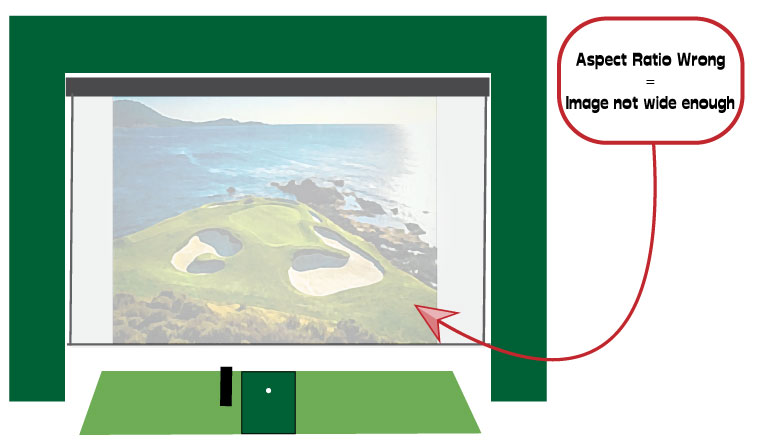
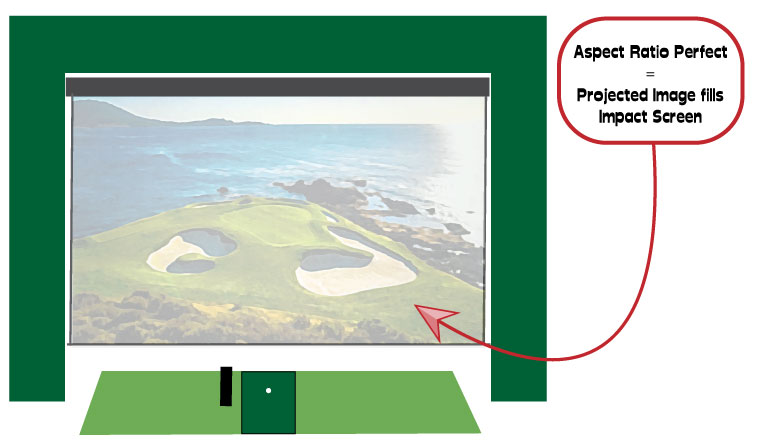
16:9 is the most commonly used aspect ratio for an impact screen and it is the standard aspect ratio used for a Full Hd or 4K display, though it does require more room width than a 4:3 screen.
| ASPECT RATIO | Screen Width (Ft) | Screen Height (Ft) | Outer Dimensions (inches) | Viewable Screen Size (inches) | Viewable Screen Size (Diagonal) |
|---|---|---|---|---|---|
| 16:9 | 13 | 7.7 | 91x159 | 86x154 | 177 |
| 16:9 | 14 | 8 | 96x166 | 91x161 | 185 |
| 16:9 | 15 | 8.5 | 103x180 | 98x175 | 200 |
| 16:9 | 16 | 9 | 108x188 | 103x183 | 210 |
| 16:9 | 17 | 9.5 | 114x198 | 109x193 | 222 |
| 16:9 | 18 | 10 | 120x210 | 115x205 | 236 |
| ASPECT RATIO | Screen Width (Ft) | Screen Height (Ft) | Outer Dimensions (inches) | Viewable Screen Size (inches) | Viewable Screen Size (Diagonal) |
|---|---|---|---|---|---|
| 4:3 | 10 | 7.7 | 91x120 | 86x115 | 144 |
| 4:3 | 10.5 | 8 | 96x126 | 91x121 | 151 |
| 4:3 | 11.5 | 8.5 | 103x136 | 98x131 | 164 |
| 4:3 | 12 | 9 | 108x142 | 103x137 | 171 |
| 4:3 | 12.5 | 9.5 | 114x150 | 109x145 | 181 |
| 4:3 | 13 | 10 | 120x159 | 115x154 | 193 |
| ASPECT RATIO | Screen Width (Ft) | Screen Height (Ft) | Outer Dimensions (inches) | Viewable Screen Size (inches) | Viewable Screen Size (Diagonal) |
|---|---|---|---|---|---|
| 16:10 | 11.5 | 7.7 | 91x144 | 86x139 | 163 |
| 16:10 | 12 | 8 | 96x151 | 91x146 | 171 |
| 16:10 | 13 | 8.5 | 103x163 | 98x158 | 185 |
| 16:10 | 14 | 9 | 108x170 | 103x165 | 194 |
| 16:10 | 15 | 9.5 | 114x180 | 109x175 | 204 |
| 16:10 | 15.5 | 10 | 120x190 | 115x185 | 218 |
Impact Screen Materials and Picture Quality
One of the core goals of a successful golf impact screen setup is that the screen surface displays a bright, crisp, clear image.
Premium golf impact screens are usually made from multiple layers of polyester, woven together tightly in a mesh. The tight weave means that very little light ‘bleeds through the screen surface, which allows as much light as possible to be reflected back as part of the image.
The tighter the weave, the better. The impact screen will be smooth and non-grainy. Rough and grainy surfaces will be the norm for poor-quality or very low-budget screens.
Both Carl’s Premium Impact Screen and the SIG-Premium Impact Screen feature bright-white ultra-tight weave surfaces which will maximize the reflected detail and hence the image quality.
Bounceback and Noise
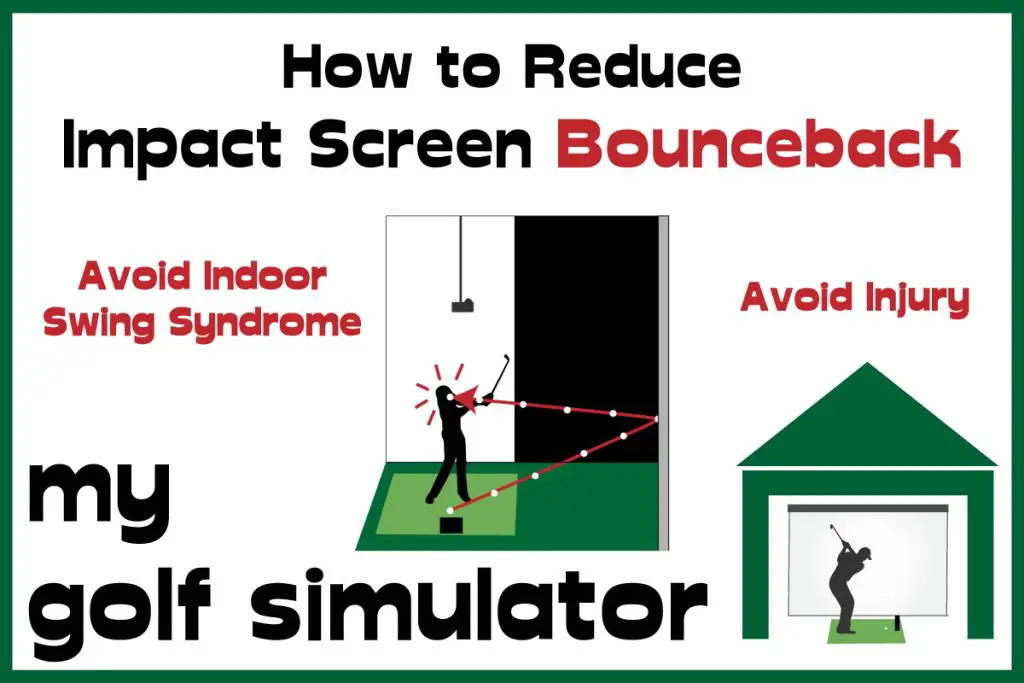
Bounceback is the phenomenon when a golf ball strikes the impact screen and elastically recoils back at the golfer. Golf balls can bounce back with unpredictable and high velocities which can be dangerous. Bounceback is directly related to how tightly the screen is attached to the frame.
You should expect more bounceback when the screen is attached with high degrees of tension. Additionally, bounceback is more problematic in simulator rooms with limited length, this is because the ball will strike the screen with more of its initial kinetic energy.
You can reduce bounceback in a golf simulator by attaching your impact screen with less tension and by hitting the ball from a position further from the screen.
You can also place a soft item such as a memory foam mattress on the wall behind your impact screen (or soft turf beneath and in front of your screen) if bounceback is particularly problematic. There are several more impact screen bounceback-reducing strategies featured in my dedicated post.
There is a more dangerous form of bounceback which I term ‘ricochet’ where the ball will career off the simulator enclosure frame, or the wall behind the screen (if it is mounted too close to the wall). These ricochets can fly in any direction and at high speed, endangering people and objects in the room.
Bounceback is an extremely important consideration for commercial golf simulator businesses, as every effort needs to be made to ensure the safety of customers.
Closely related to bounceback is the amplitude of noise generated when the golf ball strikes the impact screen. Generally in setups with high degrees of bounceback, such as those with taut screens, the noise on impact will be louder.
You can reduce the noise level, which is important for those with adjoining neighbors and sleeping children, by attaching your screen with less tension. There are several other golf simulator soundproofing methods discussed in my dedicated post.
How you will hang your impact screen
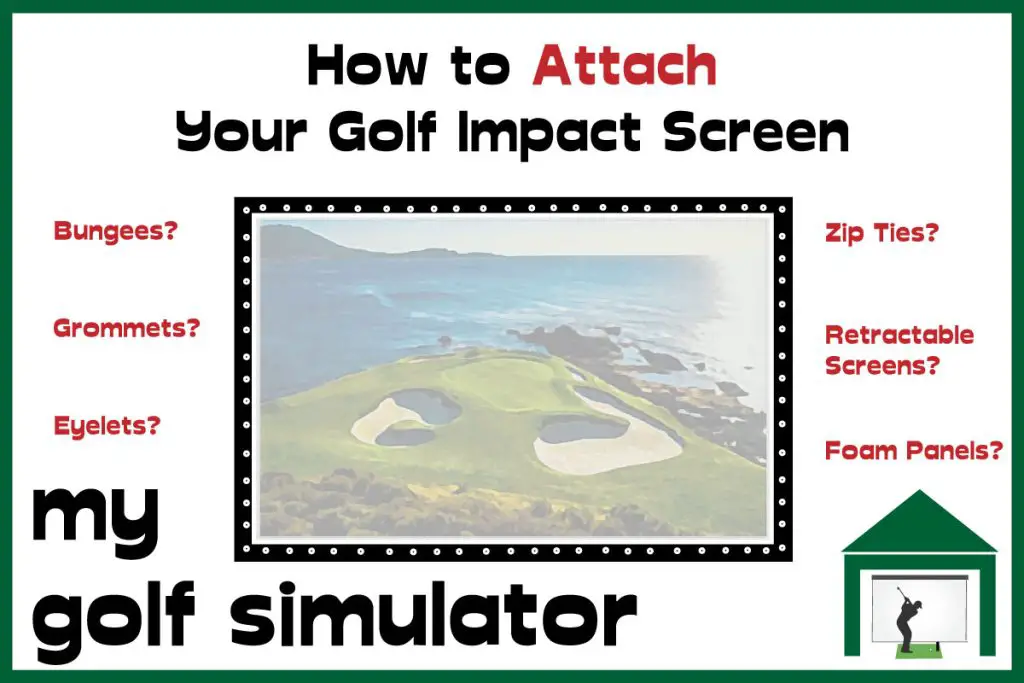
Most impact screen surfaces are surrounded by a black border containing eyelets (small holes) that allow a bungee to be threaded through and tied. These bungees can be attached to an enclosure frame or fixings on a permanent surface such as a wall.
There are other ways of fixing your impact screen too, including permanent setups and retractable setups. Take a look at my dedicated article all about impact screen fixation.
Carl’s Place sell extra bungees with or without their impact screen products, take a look at their 9 inch bungees and their 6 inch bungees.
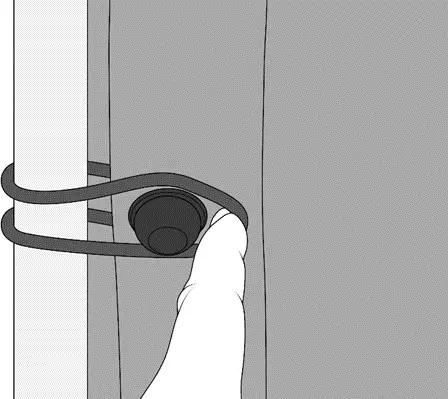
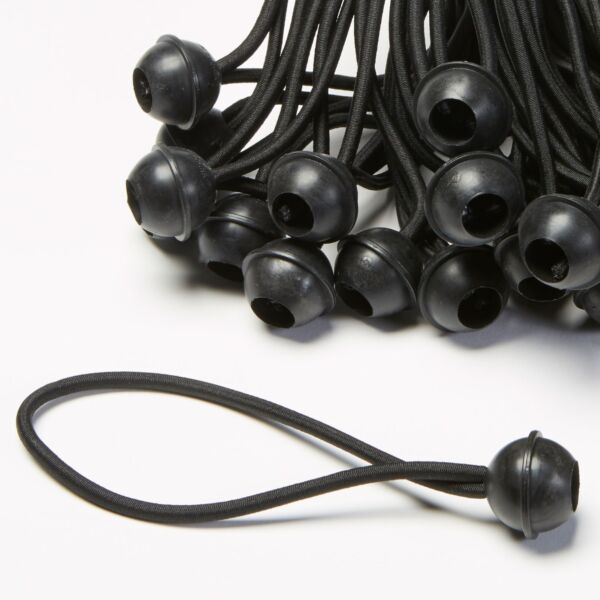
With Carl’s screens, you can choose between 3 impact screen finishes (3 types of bordering):
- Classic Finish: a 2.5 inch wide black border with grommets at regular intervals. Each grommet is round and has an outer dimension of 3/4″ and an inner dimension of 3/8″.
- Classic with Flaps: this border finish is for golfers who want a neat and protective black border around their screen that sits over their simulator enclosure frame. There is a 7-inch foam pad to provide protection, with the grommets and ties out of the way behind.
- Classic with Loop Fasteners: This finish is for DIY golf simulators utilizing other materials such as netting, fabric, or curtains. Similar to the classic finish but also offering a 1-inch loop fastening strip all around the screen.
Remember the importance of screen tension when attaching your golf impact screen, as we’ve discussed above.
Too much tension will give you a clear image but too much bounceback and extra noise on strikes. Too little tension will absorb the impact with little bounceback and noise but you’ll have a frilled or puckered screen that reduced image clarity. Both extremes will lead to extra screen wear too.
You could choose a loose screen tension where the fabric simply hangs down from the attachments above.
This type of attachment will minimize bounceback and noise, but you’re likely to see screen ‘puckering’ where the fabric of the screen frills and folds, reducing your image quality and clarity. The screen will also wear more quickly when hung loosely.
Alternatively, you could hang your screen with higher degrees of tension on all sides, with attachments such as bungees pulling the screen taut. This will hold the screen flat, improving image quality, but you will experience higher levels of bounceback which can be dangerous.
The energy impact on each strike will be concentrated into a smaller area with a taut screen. At middle-range tension levels, the screen durability will be optimal, but wear (and the risk of tears) will increase if you pull the surface too taut.
Check out my dedicated article all about impact screen attachment and how to go about hanging the screen in your simulator.
Does your Impact Screen Choice Match Up with your Projector Choice?
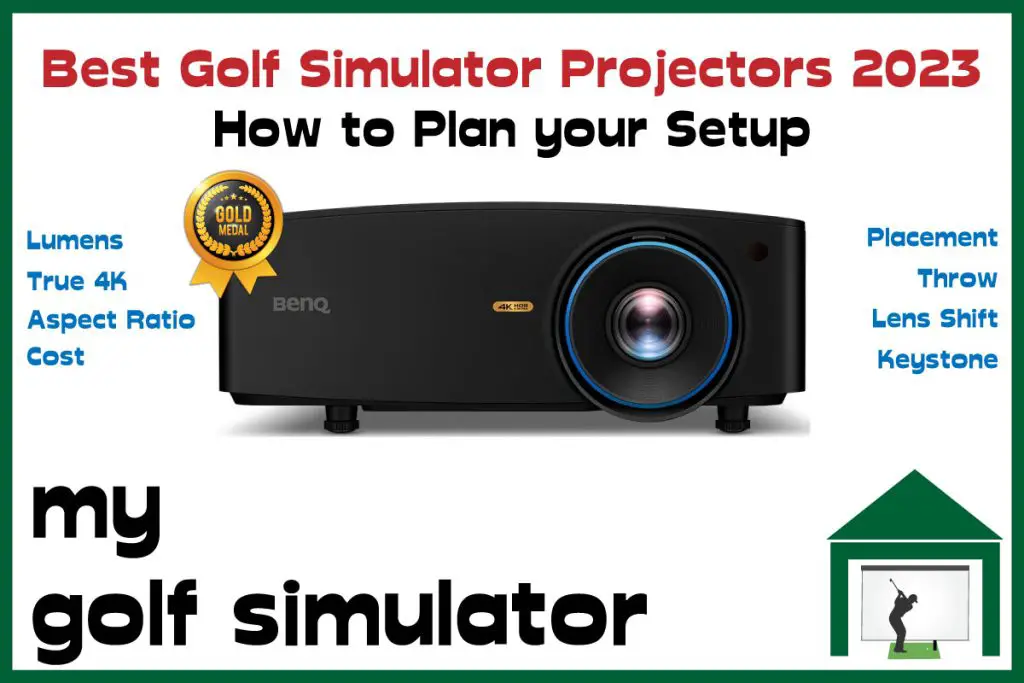
I always recommend planning and buying your impact screen and projector together. You will need to plan the projected image and the surface on which it will be displayed together.
In essence, I would plan out your golf simulator decisions in this order so you can match up your impact screen and projector choices perfectly:
- Measure and assess your room dimensions
- Decide upon a budget for your impact screen and projector (we’ll come back to this to see whether your preferred products (and associated features) are within budget).
- Firmly decide upon a hitting position within your space (where your golf mat or hitting surface will be, and where the ball will sit).
- Decide, based on your space dimensions and other needs for your space, what impact screen size and aspect ratio you’d like to aim for. Check out the point above for more information on aspect ratio and screen size.
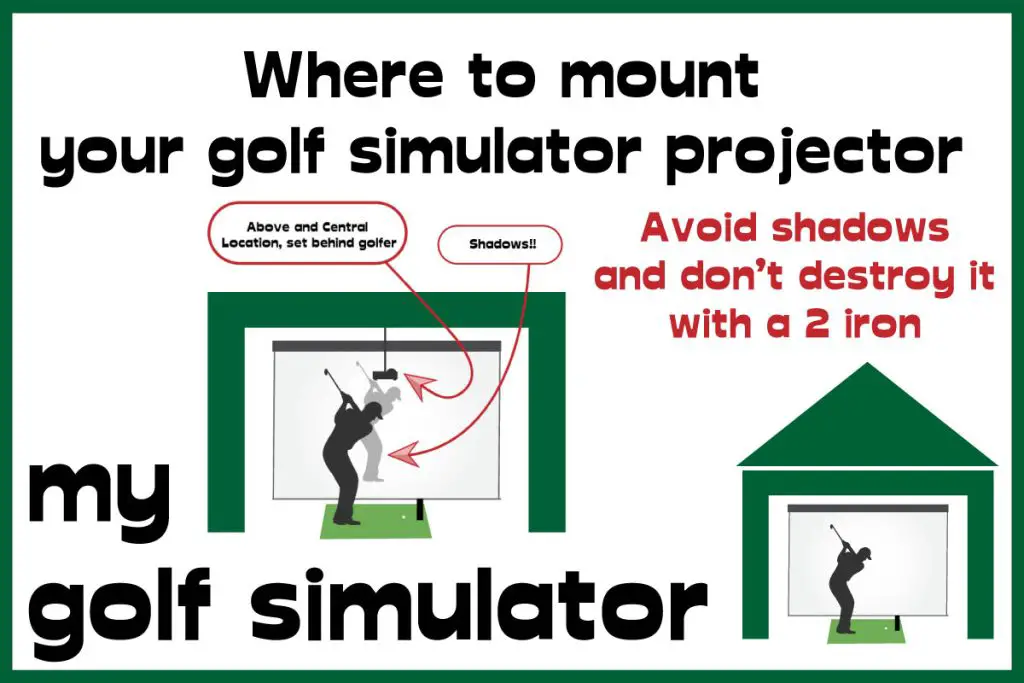
- Identify some potential projector mounting positions, there is more information on this in both golf simulator projector articles below.
- With your intended screen size and a (likely) projector mounting position identified, look at the range of golf simulator projectors available and choose a model with a throw ratio that works. There is a wide range of throw ratios amongst my recommended golf simulator projectors list! You can fine-tune things with zoom, lens shift, and keystone correction too. There is lots more information on this in the articles below!
- If you find more than one model with an appropriate throw ratio within your budget, consider brightness, resolution, and other features as part of your decision.
I would include a golf simulator enclosure alongside the screen and projector too, as this is usually the structure on which you will mount your impact screen, and you’ll need their sizes to match up.
Think about Below and Behind your Impact Screen
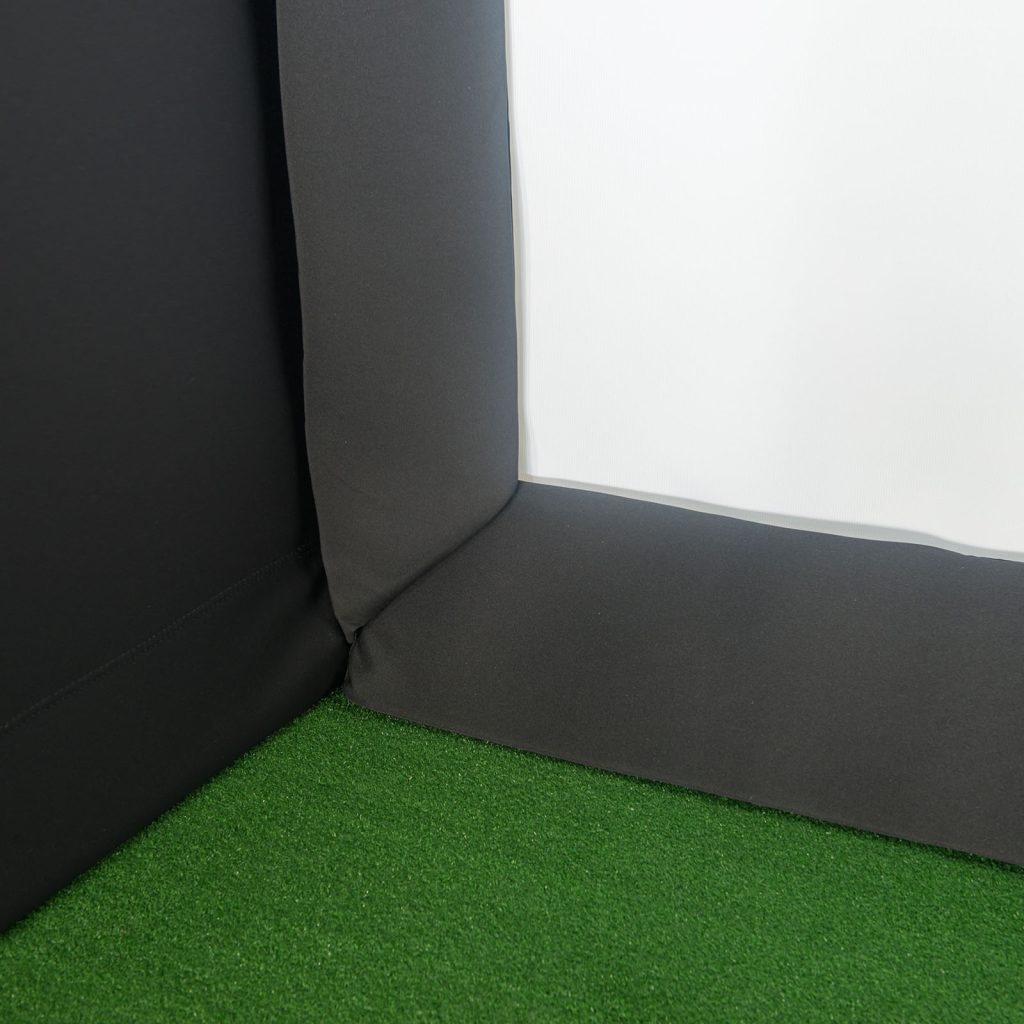
The borders of your impact screen are hugely important to your setup. You need neat and tidy impact screen borders that look great aesthetically but also hide the metal frame on which you attach the screen.
Padding around the screen in the form of foam cushions or flaps will protect the enclosure frame from thins or shanks, reducing the risk of violent ricochet.
What to do with the bottom of the Impact screen
The bottom of the impact screen is the interface between the projected image and the floor of your simulator and can appear untidy if thought is not given to the aesthetics.
Some golfers desire the bottom of their projected image to sit flush to the floor to enhance realism, though I am not convinced this is entirely necessary.
Many simulator setups feature foam inserts or bumpers over the borders of their impact screens, which are attached to the enclosure. These bumpers look great, by hiding exposed metal bars of golf simulator enclosures, and also provide additional protection against high-velocity ball ricochets.
How much space do you need behind the impact screen
I recommend at least 12 inches of space behind your impact screen, but ideally 18 inches or more.
You need to have enough room for the ball to impact the screen, deform the screen backward and recoil elastically back towards the golfer slightly. Excess recoil will result in more troublesome bounceback, with the ball flying all over the golf simulator space.
If the impact screen is hung with little tension then it will deform more on each strike and you’ll need a greater space behind the screen.
Too little space behind an impact screen will mean the ball will impact the wall behind the screen before it has had a chance to recoil backward. This will result in a violent ricochet backward, endangering those within the simulator space.
Impact Screen Durability and Cleaning
Impact screens are products that do wear over time, taking hits from thousands of golf balls struck at well over 100mph. To keep an impact screen clean, it is important to think of how to prevent dirt accumulation, rather than just the methods of removing stains once they’re present.
To prevent impact screen dirt and stain accumulation:
- Use only pristine clean golf balls
- No grass stains, dirt or Sharpie markers
- Once again, no pen/Sharpie marks
- Avoid the use of golf balls with excessive wear/scuffs. These will cause a lot of wear on your screen over the course of a large number of impacts.
- Make sure you clean your clubs each time you go from an outdoor round inside into your simulator, as dirt will transfer to the ball and then to the screen.
To clean marks that are already present on your screen, you need to exercise caution and use only mild cleaning products, starting with soap and water, and a cloth. Check out this video from Carl’s Place below.
Bonus – Should you Buy your Impact Screen with a Golf Simulator Enclosure?
I recommend you plan how you will hang your impact screen from the outset, and if that involves hanging the screen from a metal frame enclosure, then why not buy the two items as a package?
At Carl’s Place you can add the Premium or Preferred impact screens to one of their excellent golf simulator enclosures, which will be sized to fit the screen perfectly.
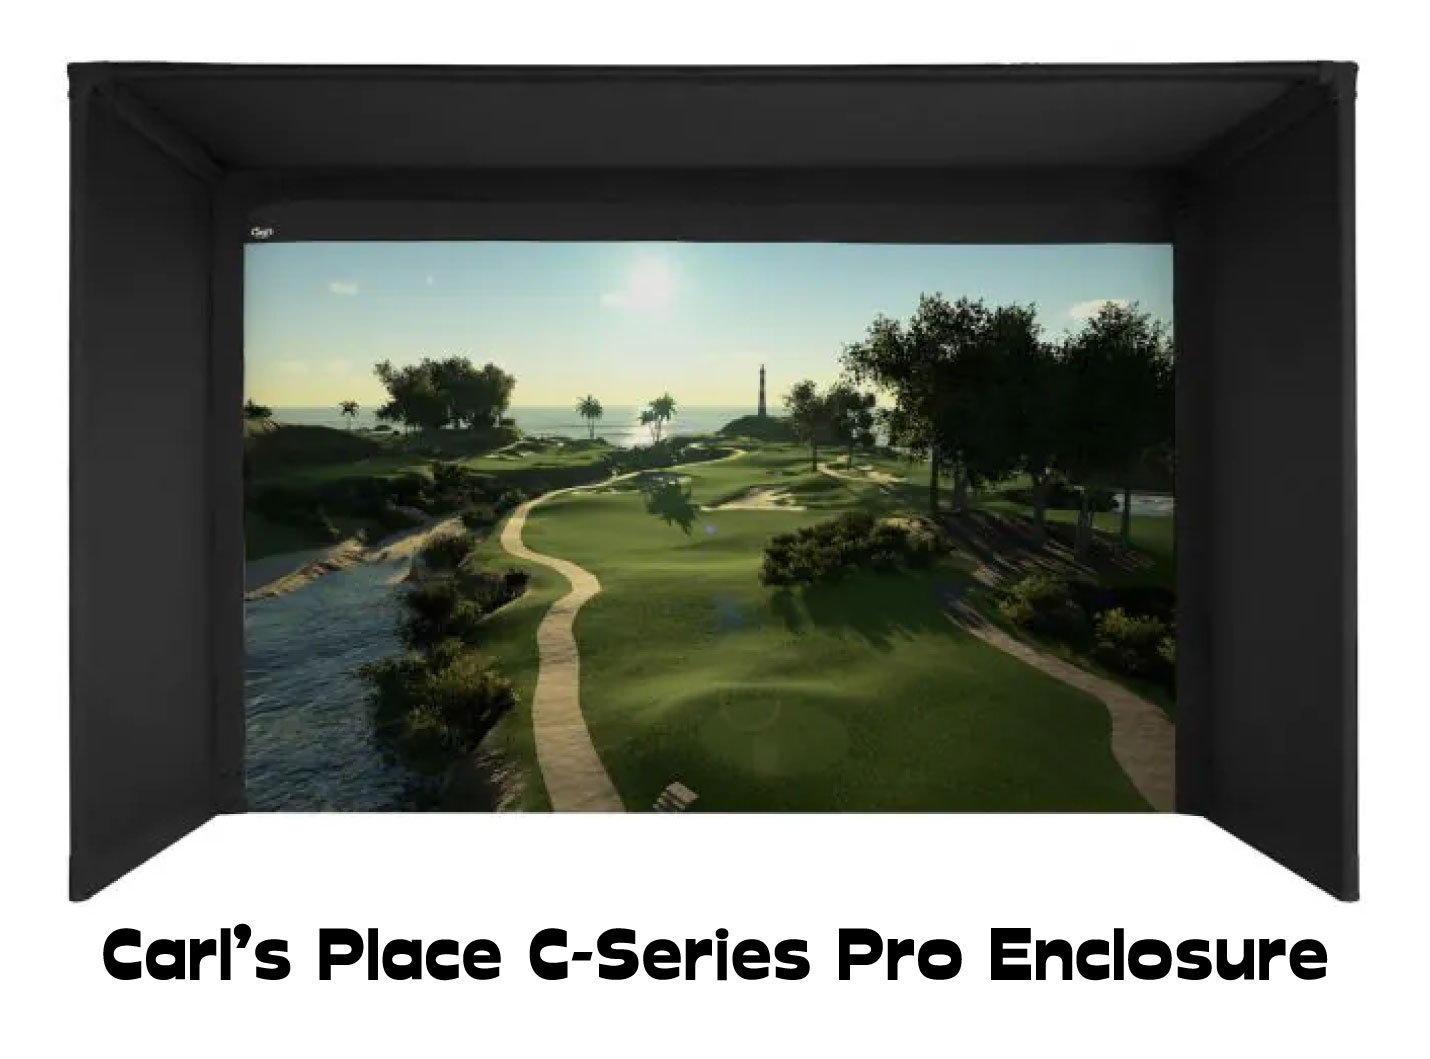
You can choose between the affordable and value-for-money DIY Golf Simulator Enclosure or the premium Pro Golf Enclosure package.
Alternatively, you can purchase the two items separately. This is totally fine but you need to match the sizes correctly.
The enclosure should be around four inches taller and wider than the screen, leaving two inches of space on each side to attach your bungees. You could do a tighter fit with one inch of space on all sides too.
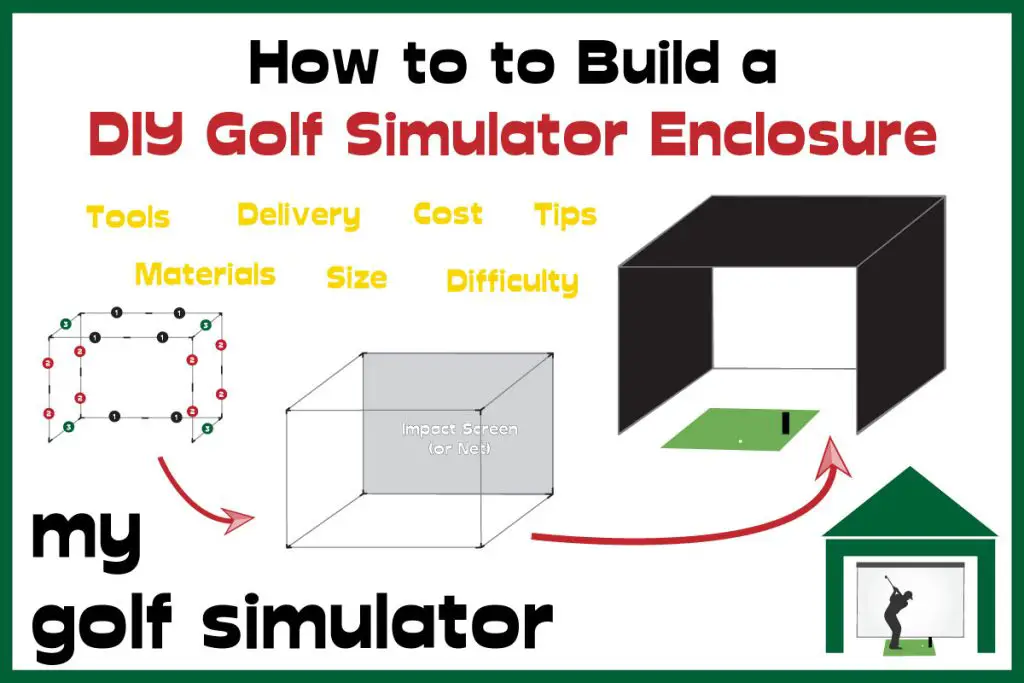
Check out my dedicated article all about the pros and cons of a DIY golf simulator enclosure build (sourcing the metal conduit pipe yourself and cutting it to size) compared to buying a pre-made enclosure package.
Bonus – How realistic is a Curved Impact Screen?
Have you ever seen pictures of those unbelievable golf simulator setups with ultra-wide screens that curve around the golfer, enveloping them in the indoor golfing experience?
Such a setup is definitely possible but you’ll require extra space, budget, time, and planning. Take a look at my dedicated article on curved impact screens here.
Bonus – Can you use an Impact Screen Outside?
You can technically use an impact screen and even a projector outside, though I would always suggest an outdoor space with a roof overhead (for example a decking area with a large gazebo roof).
You don’t want adverse weather such as rain and snow to ruin your precious impact screen and other equipment. Impact screen manufacturers tend to advise against outside use as it is highly likely to reduce the durability of the screen.
I am planning a detailed article on the subject of outdoor home golf setups which will be released soon.
Bonus – What about a Retractable Impact Screen?
Many golfers have come to me and asked for recommendations for impact screens that can be mounted on a retractable or roller setup, so they can use the space for multiple uses (such as vehicle storage).
Retractable impact screen setups would be broken down into the following:
- An impact screen mounted on a roll-up device (just like a window blind), which could be motorized, and would then unfold downwards and be used before being rolled back up again
- A specialized retractable impact screen (such as the HomeCourse Pro Screen)
- A golf simulator setup where the golfers get very dialed in with the procedure for attaching/detaching the screen from their setup, allowing detachments in quick time. A screen mounted using bungees and eyelets can be unclipped relatively quickly, though it would be a cumbersome process to do on a frequent basis.
How retractable you need your impact screen to depend a lot on how frequently you need to change the use of the space.
If you only need to change the use of the space a few times a year (eg with changes in seasons) then you could just detach the screen in a similar fashion to when it was installed. However, if you need to alternate space uses frequently, you’ll need to look for a method of retracting the screen quickly, such as a roller mechanism.
I plan to release an article on roll-up and retractable impact screen setups in the near future, stay tuned!
Impact Screen Alternatives
Not all golf simulators need to include an impact screen with a projected image. Many indoor golf setups manage just fine using a net alongside their launch monitor. Some use a net plus a TV display, some use their nets outside in the garden.
The considerations to make when making a decision between an impact screen plus projector setup are different to those required when planning a net-based golf simulator. I address these differences in detail in this article.
Summary – The Most Important Impact Screen Characteristics
You should now be well-equipped to make a more informed decision about your golf simulator impact screen. Remember, the impact screen characteristics you should be looking for include:
- Allows a high-resolution, crisp and clear, smooth and non-grainy image to be projected
- An appropriate size to match the room dimensions of your golf simulator, your hitting distance from the screen, and your potential projector mounting position
- Sized to match an aspect ratio that fits the needs of your golf simulator space (usually 16:9 or 4:3)
- With minimal bounceback and noise upon golf ball strikes, a multi-layer cushioned fabric is best
- Look for an impact screen border with eyelets to allow easy fixing to an enclosure or frame
- The impact screen should be highly durable and withstand impacts from all golf balls
- Look for a screen that is used and trusted by a large section of the golf simulator market
I recommend the Premium Impact Screen from Carl’s Place, this fantastic triple-layered, cushioned screen fulfills all of the above criteria and will allow you to get the absolute best from your golf simulator!
What Data does the Garmin R50 Measure? – Garmin R50 Data In-Depth
Putting with Hackmotion – Step by Step Guide
ABOUT THE AUTHOR
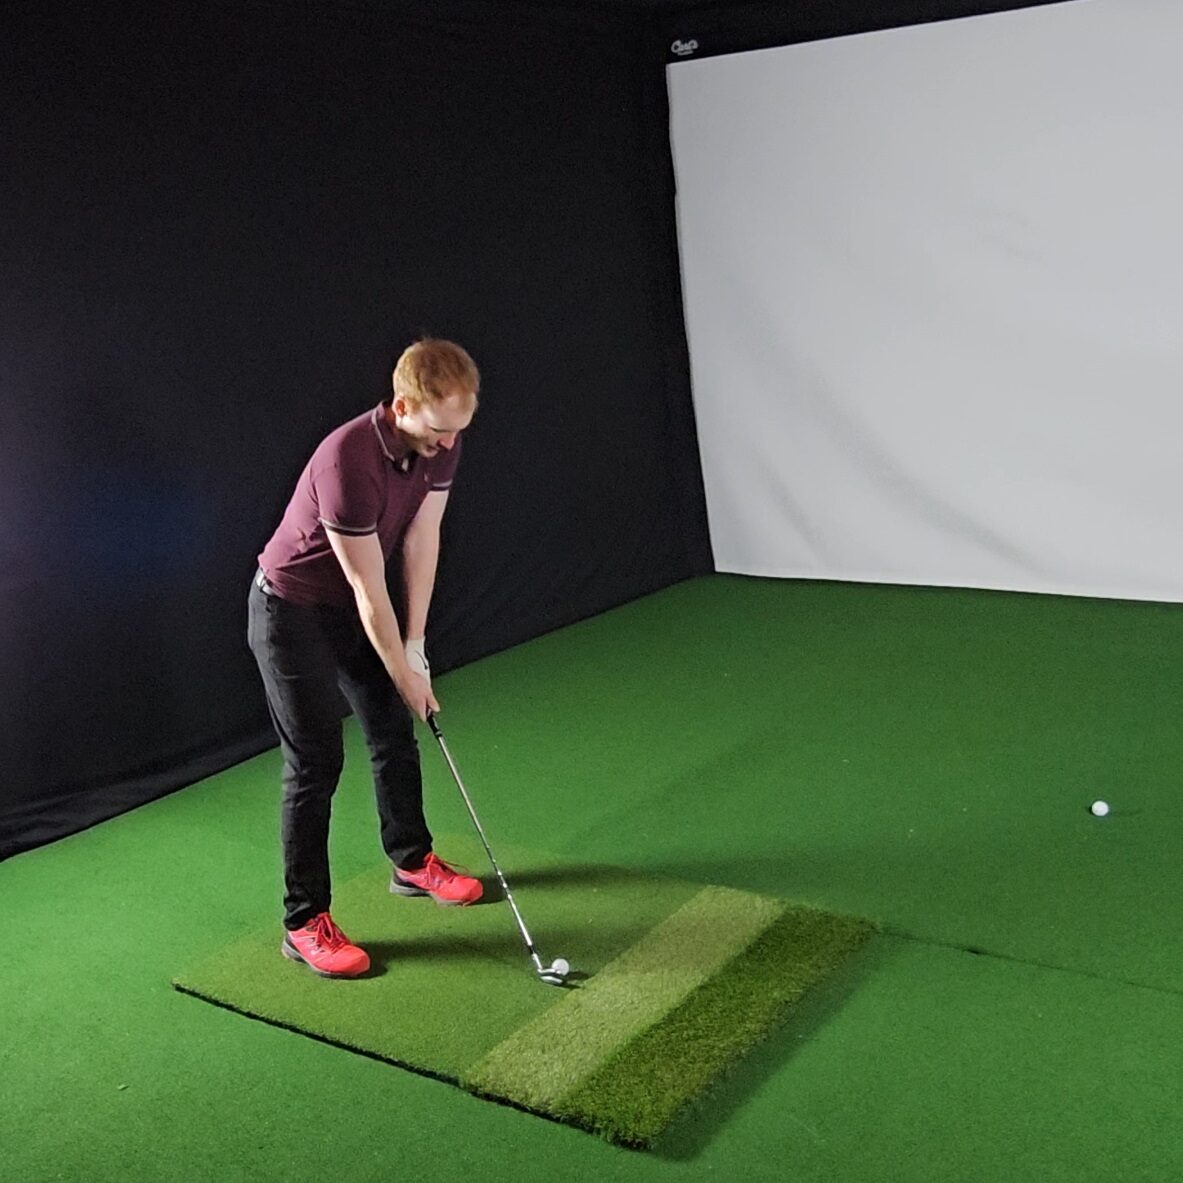
Hello! My name is Alex and it is my mission to bring you all the information you need to build your own home golf simulator! I hope mygolfsimulator.com helps you on your journey to better golf at home!
LEGAL INFORMATION
On this site, you'll find articles on all aspects of building a golf simulator. I will also link to other sites where you can buy some of the simulator components. Some of these links may be affiliate links, which means if you click them I gain a small commission at no extra cost to you. This really helps out me and my site so thank you in advance! mygolfsimulator.com and all related social media accounts are property of Awonline LTD.
