What to do with the Bottom of your Impact Screen?
Posted in Golf Impact Screens
The bottom edge of a golf impact screen is one of the trickiest parts of a simulator build to get right. It’s where your screen meets the floor and enclosure, and it needs to be safe, durable, and visually clean.
This area of your simulator takes a lot of stress. Thinned or low shots can ricochet dangerously if they strike a frame bar or exposed edge, so proper cushioning and protection are essential. At the same time, gaps at the bottom can let balls sneak behind the screen, and a poorly secured edge can wrinkle or sag, spoiling the projected image.
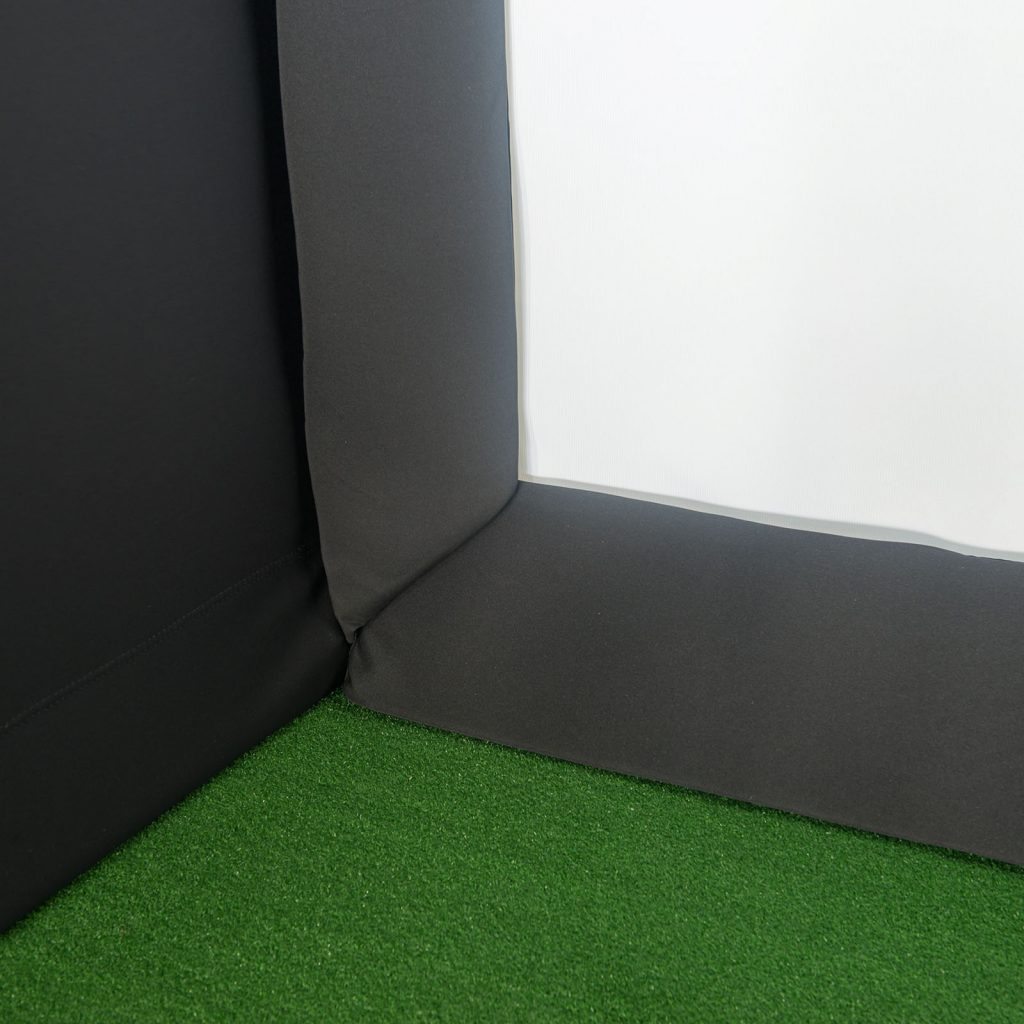
Modern solutions range from weighted pockets and foam panels to floor-integrated ramps that return balls smoothly to the hitting area. Many golfers still use foam cushions or pipe insulation, but newer options like reinforced vinyl edges and modular flooring systems give a cleaner, more professional finish.
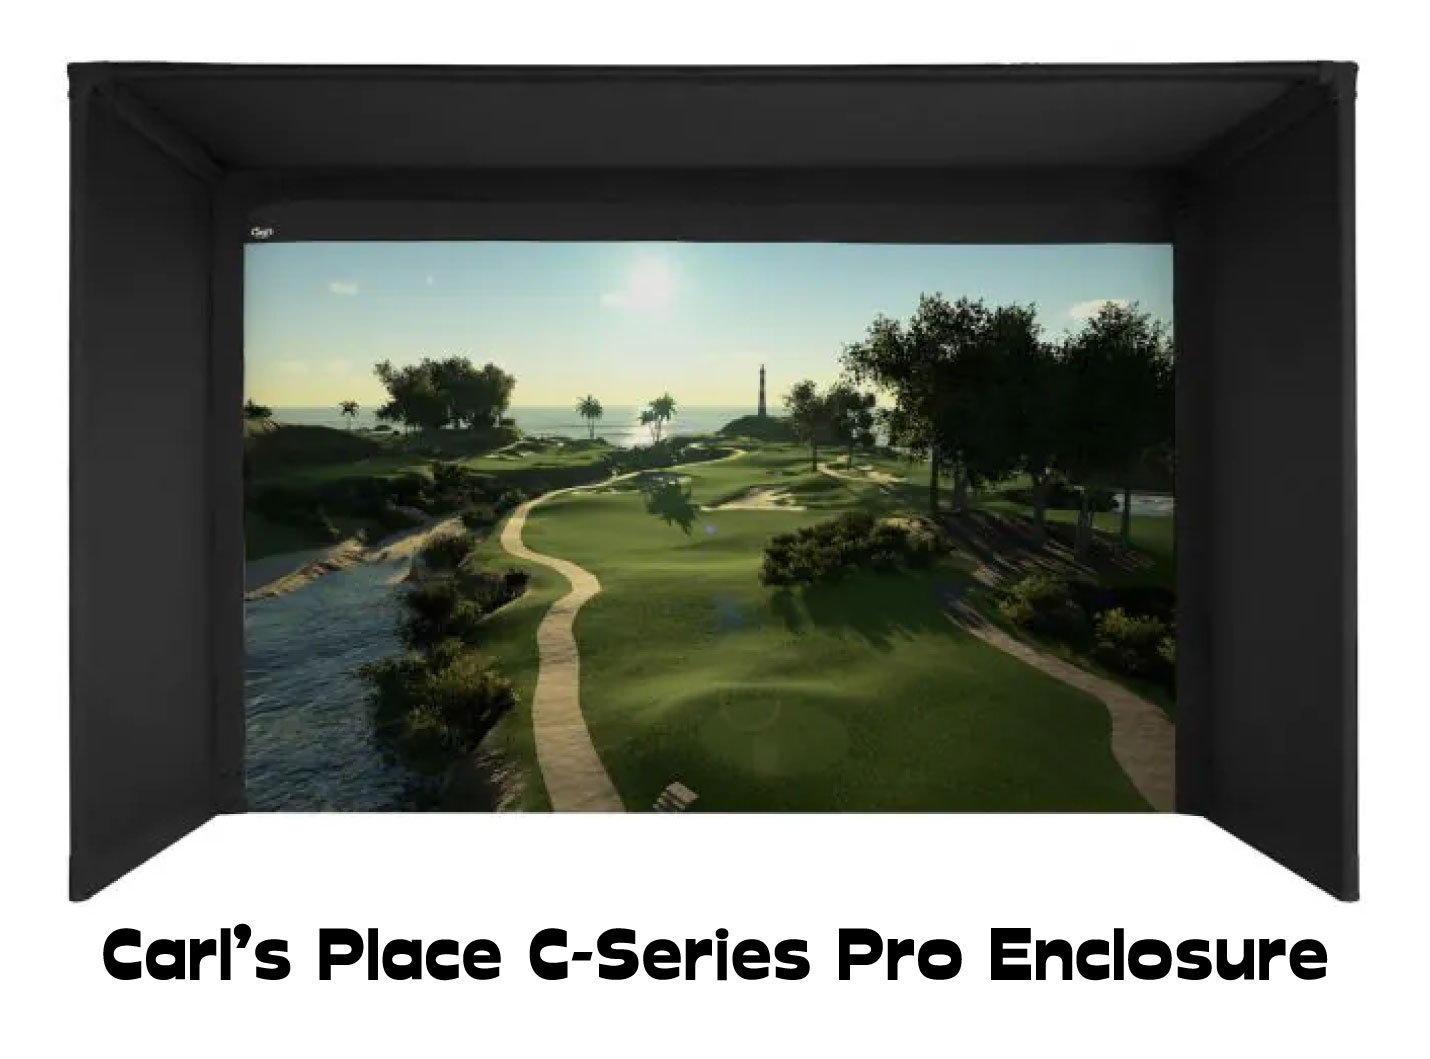
If you want a ready-made solution, Carl’s Place offers enclosures with optional foam cushions and edge protection that make securing the bottom edge far easier than custom DIY fixes.
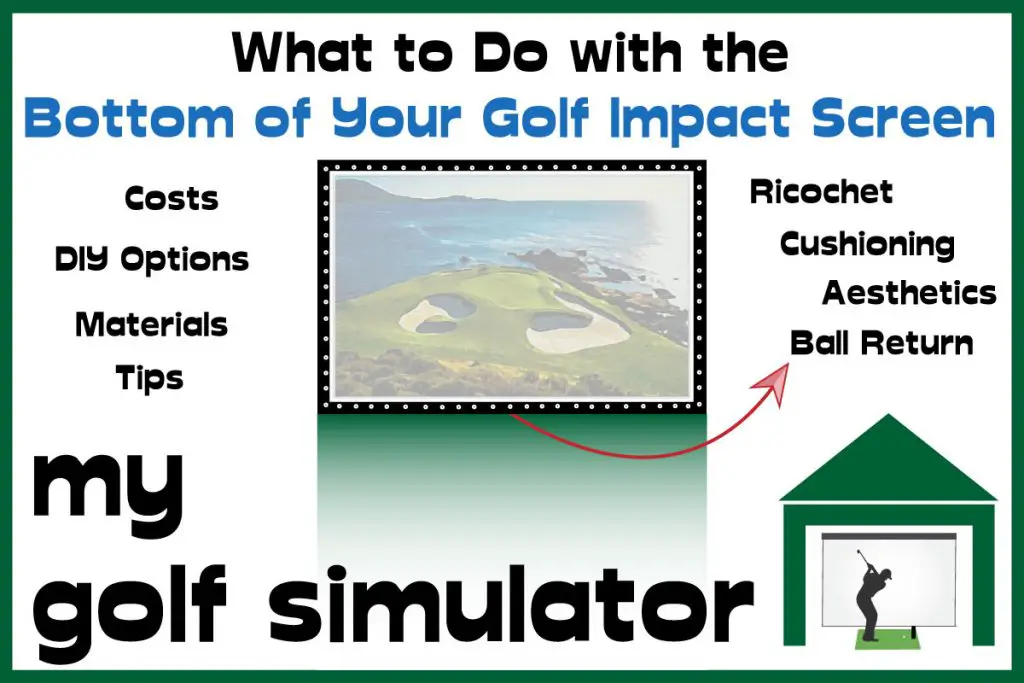
Problems with the Bottom of Your Impact Screen
The bottom of a golf impact screen is often the hardest part to finish neatly and safely. It’s where poor planning can lead to ricochets, messy setups, bounce back, or image distortion. Here are the main issues to watch out for.
Ricochet off the Enclosure
Exposed metal pipes at the base of an enclosure are a major hazard. A single thin shot can hit the bottom frame bar and rebound at high speed toward your legs, children, or nearby equipment. This is not only dangerous but can also make you swing tentatively if it’s always in the back of your mind. The safest approach is to cushion or cover any exposed bars with foam padding or dedicated protection panels.
Untidy Appearance
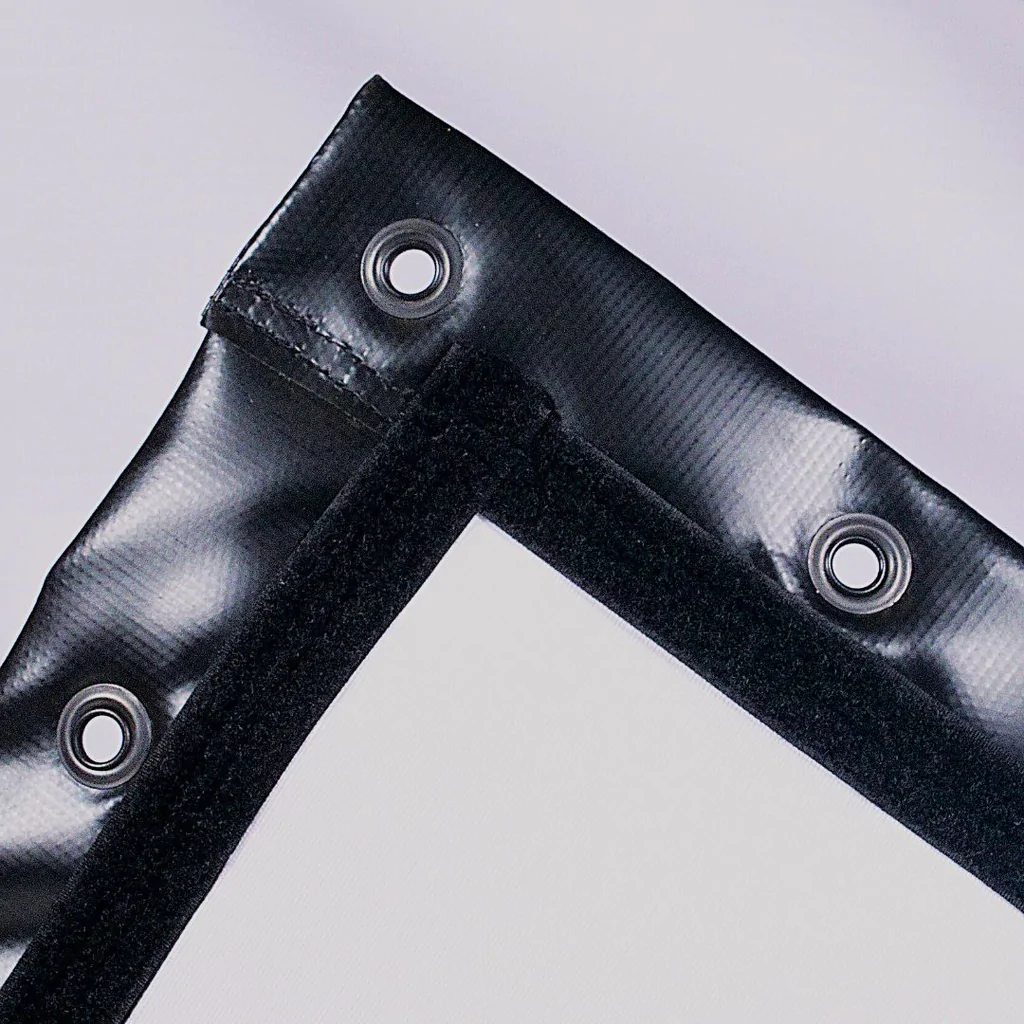
Loose bungees, visible ties, or netting at the base of the screen can make even a good simulator look unfinished. Since the bottom edge is always in view, concealing fixings with dark foam panels, fabric borders, or integrated weighted pockets creates a much cleaner, professional look.
Ball Bounce and Ball Return
Even if your screen absorbs most of the energy, balls can still bounce unpredictably if they strike a hard floor beneath the screen. Adding energy-absorbing material such as putting turf, thick carpet, or modular foam tiles in front of the screen reduces noise and bounce back. With the right slope or ramp, you can even encourage balls to roll gently back to the hitting area.
Projected Image Alignment
Many golfers want the projected fairway or green to appear to meet the floor seamlessly. In reality, most screens have a bottom border that leaves the image starting a few inches above ground level. To achieve a true floor-to-screen look, you’ll need to build up the flooring with a ramp or raised hitting area so that the projection surface appears continuous with the simulator floor.
Options for Securing the Bottom of Your Impact Screen
There are several ways to finish and protect the bottom edge of your impact screen. The right choice depends on whether you value safety, aesthetics, ball return, or ease of installation.
1. Foam Ramp with Ball Return
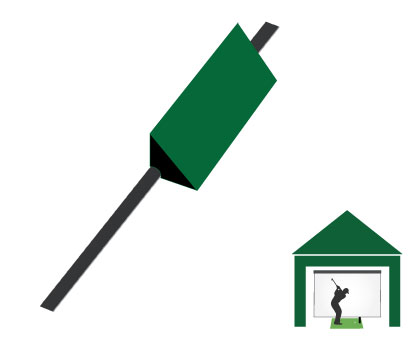
A foam ramp combines protection with function. By placing a triangular foam cushion at the base of the screen, angled back toward the golfer, you create a surface that:
- Cushions low shots to prevent ricochets off the enclosure frame
- Helps balls roll gently back to the hitting area
- Provides a clean, professional look when covered in black fabric
You can build one yourself by cutting foam into wedges, covering them with fabric, and fixing them together across the width of your screen. The wider the diagonal surface, the more consistently balls will return to you.
2. Cylindrical Foam or Pipe Insulation
For a simpler DIY approach, you can cover the bottom enclosure pipe with cylindrical foam, such as pool noodles or pipe insulation. This absorbs some energy from low strikes and is easy to install. However, it does not look as polished as a ramp or cushion system, and offers limited ball return functionality.
3. Premium Foam Cushions and Insert Kits
If you’d prefer a ready-made solution, Carl’s Place offers foam insert kits designed to integrate with their DIY and Pro enclosures. These panels are pre-measured to fit your screen and frame, providing strong protection and a professional finish. They also help cover up grommets and fixings for a cleaner look.
How Much Space Should Be Behind Your Screen?
Leave at least 12 inches of space between your impact screen and the back wall. This buffer allows the ball to slow down safely after striking the screen. Without it, balls may hit the wall behind, causing violent bounceback and risking both safety and screen damage.
The exact space needed depends on screen tension and material. Tighter screens and thinner fabrics require more clearance, while premium multi-layer screens can absorb more energy in a shorter distance.
What About the Top and Sides?
The top and sides of your impact screen also need protection from stray shots. While they don’t have the same junction issues as the bottom, they are exposed to:
- High wedge or skyed driver shots at the top
- Wide mis-hits into the sides of the enclosure
Options include using the same foam panels as the bottom edge, pipe insulation, or fabric borders. Keeping the finish consistent around all edges improves both safety and aesthetics.
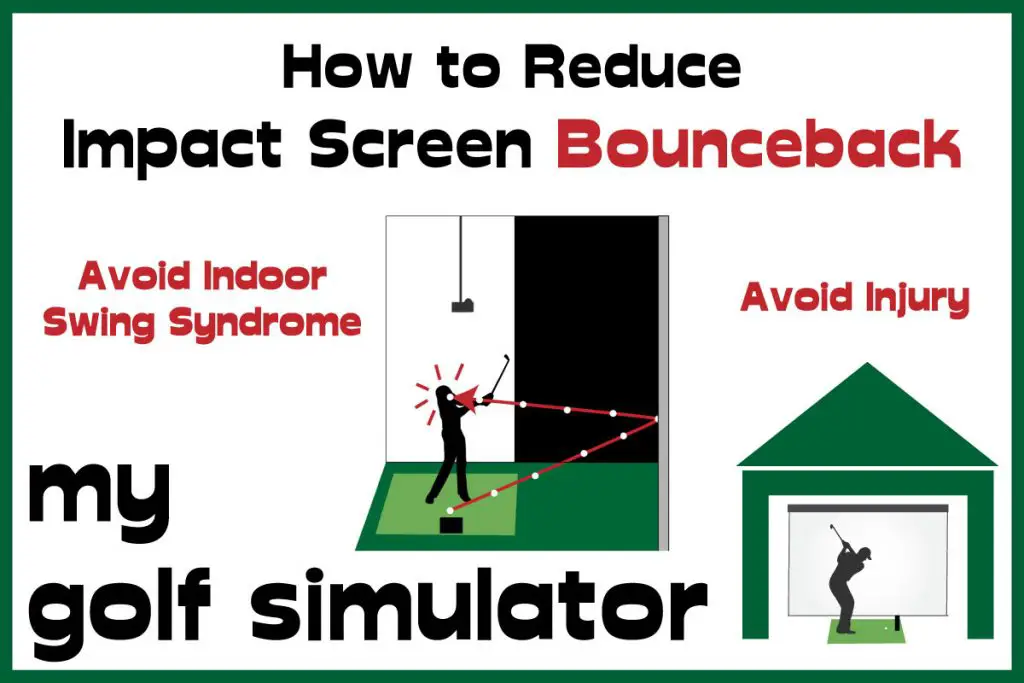
Learn more about Bounceback and How to Attach your Golf Simulator Impact Screen
Here are two articles about bounceback and attaching an impact screen to a golf simulator enclosure. I hope you’ll find them useful in your journey towards a complete home golf simulator.
To Sum Up – Protect the Bottom of Your Impact Screen
The bottom of your impact screen plays a bigger role in your simulator build than most people realise. It’s not just about looks — it’s about safety, bounce control, and screen longevity. Done properly, this area prevents dangerous ricochets from thin shots, keeps balls from sneaking behind the screen, and gives your setup a polished, professional finish.
Here’s a quick comparison of the most common options:
| Option | Pros | Cons | Best For |
|---|---|---|---|
| Foam Ramp with Ball Return | Safe, improves ball return, clean look | Requires DIY cutting and fabric work | DIY builds aiming for function and appearance |
| Pipe Insulation / Pool Noodles | Very cheap, easy to install | Limited durability, less professional look | Quick fixes, budget builds |
| Premium Foam Cushions (e.g. Carl’s Place kits) | Pre-measured, sturdy, tidy finish | Higher cost | Permanent builds, premium enclosures |
| Weighted Pockets / Floor Integration | Reduces wrinkles, neat seamless look, integrates with flooring | May require custom screen or kit | High-end or custom installs |
Getting this section right can transform the overall feel of your simulator. It’s one of those finishing touches that separates a DIY project from a setup that looks and plays like a professional installation.
If you’re going the custom route, foam ramps and DIY cushions can work very well. But if you’d rather have a ready-made solution that’s designed to fit, Carl’s Place enclosures with foam inserts and premium impact screens make the job far easier.
My Recommended Impact Screen
Carl's Place Premium Impact Screen
- High-Quality Images: Tightly woven, multilayer screen for a smoother, crisper image up to 4K.
- Durability: Designed to withstand direct impact from golf balls traveling up to 250 MPH.
- Custom and Standard Sizes: Available in various sizes to fit different room dimensions.
- Material Quality: Made of three layers of heavy-duty, tight-knit, impact-resistant polyester.
- Noise Reduction: Features a cushioned center layer to quiet noise from the golf ball hitting the screen.
- Versatile Finishing Styles: Options for edge finishing to suit installation needs.
- Compatibility: Can be attached to different frames, used with golf enclosures, or as part of a DIY golf simulator.
Carl’s Premium Golf Simulator Screen features a bright white surface with ultra-tight weaves, enhancing image detail and quality. There is a central cushioning layer that allows a reduction in light bleed, bounceback, and noise.
- Excellent Image Quality: Realistic golf simulation experience.
- High Durability: Suitable for intense use with high-speed impacts.
- Customizable Size and Finish: Tailored to specific room sizes and design preferences.
- Noise Reduction: Less noise disturbance during play.
- Versatile Installation Options: Flexible setup or integration into existing setups.
- Few - more expensive than budget screens, but this screen is worth it in my opinion
Alex’s Expertise and Experience with Golf Impact Screens
I am to provide clear, detailed, and specific information on golf impact screens within the broader context of golf simulators. I understand the critical role that a high-quality impact screen occupies in the overall experience and strive to guide my readers through the complexities of choosing and installing the perfect screen for their needs.

- My Specialized Knowledge in Golf Impact Screens: Since starting mygolfsimulator.com, I’ve honed my expertise specifically in the area of golf impact screens. My extensive research and writing have been centered on understanding every nuance of impact screen technology and its application in golf simulator builds.
- My Deep Dive into Impact Screen Quality: I’ve dedicated significant time to exploring the intricacies of impact screen picture quality. Understanding the importance of a clear, sharp image for an immersive golfing experience, I’ve analyzed various screen materials and their impact on image clarity and resolution.
- My Insights on Sizing and Aspect Ratio: Recognizing that the size and aspect ratio of an impact screen are critical for a perfect simulator setup, I’ve delved into the specifics of how to choose the right dimensions. I provide detailed guidance on selecting the right screen size and aspect ratio to ensure a seamless fit within any simulator space, additionally covering issues with the bottom of the impact screen. I have also written in great depth on curved impact screen builds.
- My Experience with Impact Screen Installation: I’ve personally experimented with various methods of attaching impact screens within golf simulators. My hands-on experience allows me to offer practical advice on the best practices for mounting screens, ensuring both safety and optimal visual quality.
- My Focus on Practical Solutions: In my work, I emphasize practical solutions to common issues like minimizing bounceback and noise. I explore different screen tensions and additional cushioning techniques to enhance the safety and comfort of using a golf simulator. I have also compared impact screen simulator builds with alternatives such as golf simulator nets.
- A Detailed Knowledge of Projector Specifications: I have developed strong expertise in selecting the ideal projector and impact screen combination for golf simulators. My knowledge extends to understanding projector specifications in detail, enabling me to recommend the perfect projector for any given space. I ensure the projected image aligns flawlessly with the screen, considering factors like throw ratio, keystone correction, and resolution. This expertise allows me to provide tailored advice, ensuring an immersive and accurate golfing experience for every setup.
- Hands-on Experience Building Enclosure Frames: I have built a variety of golf simulator enclosure frames over the last four years, from fully DIY builds to pre-packaged premium enclosures. I have experience cutting metal conduit pipes to size as well as tinkering with bungees and zip ties to create the perfect impact screen tension.
- Putting it all together: I have amalgamated all of the above in-depth information into a comprehensive impact screen buying guide.
Mevo Gen 2 Space Requirements
Gray Impact Screens – Pros and Cons
ABOUT THE AUTHOR
Hello! My name is Alex and it is my mission to bring you all the information you need to build your own home golf simulator! I hope mygolfsimulator.com helps you on your journey to better golf at home!
LEGAL INFORMATION
On this site, you'll find articles on all aspects of building a golf simulator. I will also link to other sites where you can buy some of the simulator components. Some of these links may be affiliate links, which means if you click them I gain a small commission at no extra cost to you. This really helps out me and my site so thank you in advance! mygolfsimulator.com and all related social media accounts are property of Awonline LTD.
