Golf Simulator Sheds – Size, Cost, Options & Ideas
Posted in Enclosures, Room Setup, Your Swing Studio
A shed is one of the best homes a golf simulator can have — IF the interior clears about 10 feet of ceiling at the hitting area, 14 feet of width, and 18 feet of depth, and IF you budget for the three systems that actually make or break the build: power, climate, and moisture control. That’s the whole thesis. What’s changed lately: real build economics are now public — actual invoices from this summer’s builds — and the community has settled its heating-and-cooling argument once and for all, in favor of the mini-split (a ductless heat-pump unit that both heats and cools).
In a Nutshell
A shed makes a good golf simulator room if the interior clears about 10 feet of ceiling at the hitting area, 14 feet of width and 18 feet of depth, and you budget for power, climate control and moisture control; modest DIY builds land at $10–16k all-in.
👉 Bottom line: the shed is the cheap part. Electrical runs, climate control and fit-out are where budgets double — one builder’s summary: “You think shed is the cost. Then electrical run, foundation prep, permits. Costs double.”
In this guide: Size · Sourcing the shed · Permits · Power · Heating & cooling · Moisture · Lighting · Equipment · Flooring · Noise · FAQ
Dimensions:
| Minimum | Comfortable | |
|---|---|---|
| Ceiling (at the hitting area) | 9ft | 10ft |
| Width | 10ft (offset stance) | 14–16ft (centered / dual-handed) |
| Depth | 18ft (installer minimum for an enclosure build) | 20ft+ |
Money — rows 1–3 are cumulative all-in totals; rows 4–5 are separate reference points, not extra layers on row 3:
| Rung | Recent signals (dated) |
|---|---|
| Shed structure only | $7,000–7,500 (one builder’s itemized DIY: insulated floor, no siding, no electrical — Aug 2026) |
| + fit-out & electrical | Modest DIY totals land at $10–16k all-in (structure included) |
| + year-round climate | $25k+ all-in territory |
| Professional sim install | $30,000–34,000 for system + labor — ON TOP of the shed (two installer jobs, Jul–Aug 2026) |
| Mini-split line item | $700–1,500 DIY kit · $1,300–7,000 installed quotes |

Shed size: the numbers that matter

Height
Ten feet at the hitting area is the target. I recommend 10ft of ceiling height however for golfers to comfortably hit all clubs. Some taller golfers may need higher.

The physics behind it: your required ceiling equals the highest point of your follow-through — not your backswing — plus a 6–12 inch buffer. That varies by golfer and swing plane, which is why the community’s table looks like this:
| Your height | Flat swing | Neutral | Upright |
|---|---|---|---|
| Under 5’6″ | 8.5ft | 9ft | 9.5ft |
| 5’6″–6′ | 9ft | 9.5ft | 10ft |
| 6’–6’4″ | 9.5ft | 10ft | 10.5–11ft |
| Over 6’4″ | 10ft | 11ft | 11–12ft |
Fresh corroboration from this summer’s builds: a builder replying in a New England thread reported “10 foot ceilings will be best. Mine are a little over 9 and will work but 10 is better” — one builder’s account, echoed by the broader pattern across three separate threads landing on the same 9–10ft target. And a professional installer clarified the pitched-roof confusion neatly on an August job: “we didn’t build the shed but it is 13.5 at the peak – you only need 10”. Peak height is trivia; height at the hitting area is the spec.
Two build details that matter: frame a FLAT interior ceiling even under a pitched roof (the installer’s standing advice — “Need a flat surface to attach the screen on the ceiling”), and if you’re marginal, a shorter 43-inch driver buys you 50–75mm of arc height, or recessing the hitting-position floor 150–200mm can rescue a borderline room.
Width
Fourteen feet is the real threshold for hitting from the center of the room. The installer’s own job note tells the story: a shed built 13’5″ wide instead of a full 14 feet came up “about half a foot too short” for both-handed comfort from center — “anything less than 14 hitting from the middle of the room starts to feel tight.” Ten feet works if you accept an offset stance toward one wall (and the projector mounting complications that follow); 14–16 feet gives you centered aim and dual lefty/righty setups. One consolation for floor-unit owners: “If you have a ground launch monitor than it doesn’t matter as you’re able to move the hitting area around by moving the LM.”
Depth
Eighteen feet is the installer’s minimum for an enclosure-style shed sim — “at least 9 ft high 14 ft wide and 18 ft deep.” The chain that fills it:
- Ball-to-screen flight
- Screen clearance behind: 12 inches for a fully-framed screen, closer to 20 for a top-hung one that billows
- Your stance and walk-around room
Depth also depends on your launch monitor’s architecture: camera units beside the ball live happily in 10–15ft of total depth, overhead-mounted units want 14–18ft, and radar units that sit behind you need 16–21ft — a slightly wider band than the 15–20ft quoted in the site’s master space guide (How much space do you need for a Golf Simulator?); owner reports have stretched the comfortable end. Pick the launch monitor before you pick the shed depth.
Sourcing the shed: the prefab ceiling trap
Here’s the trap that catches most first-time shed shoppers: prefabs rarely ship with sim-height ceilings. As one builder put it after a long search: “Prefabs max out at 8ft [ceiling]. Simulator needs 10-13ft. Custom build is the only option.” An August builder confirmed the delivery-side reason — “a prebuilt can’t be delivered with ceilings as high as we need for a sim” — and offered the clever workaround he wished he’d used: buy a shed kit with no floor and build the walls up 2–3 feet on a block foundation.
The sourcing routes, each with its evidence:
- Full DIY: the $7,000–7,500 itemized build above — most control, most labor.
- Pole barn: “much easier and sturdier in my opinion… Your biggest enemy will be local building codes/permits,” per one builder who went that way.
- Steel kits: Versatube got named as the cheaper-than-wood route.
- National chains and Amish builders: Tuff Shed and Pennsylvania Amish shops both ship widely — with a cautionary tale attached: one customer’s Amish-built shed “was not properly built for a sim” before the installer got involved. Order with your sim dimensions in hand, not after.
- Sim-specific prefabs are emerging: a Vancouver Island company announced a golf-sim shed line this August (20’×10’×10′ prototype) — the company’s own announcement, not a review, but notable that new entrants are building to the 10ft spec.
Whatever the route: I believe it pays dividends to invest in a quality shed that has well sealed doors and windows and a proper roof. You don’t want gaps and holes sapping all your heat and making it feel like you’re effectively outside. You will tend to get what you pay for here.
Planning permission & permits
UK: permitted-development rules allow outbuildings without planning permission within limits — the trap for sim builders is the boundary rule: a maximum height of 2.5 meters for any building within two meters of a boundary, against a sim’s need for 10 feet inside. Site the shed away from the boundary and the overall limit rises (4 meters for a pitched roof), which is what makes an interior 10 feet possible. The rules do get revised — check the current Planning Portal wording before committing.
US: it’s county-by-county, and the community’s experience genuinely spans the range:
- “Got it in 2 weeks, cost $120. No big deal.” — the easy end
- Contractors wanting $2,000 just to handle the paperwork — the hard end
- Staying under the local no-permit size threshold — the workaround
Call your building department before you order anything; the answer changes your budget and sometimes your shed.
Shed power
I like having the option of a socket on the inside of the house that controls the whole power supply to the shed. My security system is separate to this.

The community’s wiring doctrine, learned the expensive way:
- More outlets than you think. “I put 8 outlets in the garage. Now I have 6 devices plugged in and I’m out of space. Should have done 15.” Projector, launch monitor, PC, TV, heater, lights, speakers, chargers — they pile up.
- A ceiling outlet at the projector mount. One clean cord, no extension-cable webs.
- Conduit while the walls are open. Smurf tube with a pull string costs almost nothing during framing and saves cutting drywall forever after.
- Plan the 240V run early if a mini-split is in your future — panel proximity decides the cost (“Panel is on the far side of the house, so it was a $1,500 run. If it was close, $300”).
- Respect the load math. A gaming PC, projector and space heater on one 15A circuit trips breakers routinely. And the safety line that isn’t negotiable: never upsize a breaker without upsizing the wire, and never run heaters on extension cords — that’s how sheds burn down.
Honest gap: shed-specific trenching and sub-panel sizing has thin public documentation — get an electrician’s quote early rather than budgeting blind.
Heating & cooling: the mini-split settlement
Trust me, if your simulator is cold, you won’t use it!
The community spent years arguing heating and cooling; this summer it settled. In the most-engaged climate thread of the season, the dehumidifier-versus-AC question died on the physics — “The dehumidifier is basically a portable AC that’s running backwards and heating the air” — and an ex-HVAC tech delivered the verdict: “minisplit is the answer. I have my 2 car uninsulated and very leaky garage at 68 with low humidity and I’m in Miami, FL.” Asked how a shed handles year-round humidity, a professional installer’s complete answer was one word: “Minisplit.”
The cost ladder, dated and honest:
- DIY pre-charged mini-split kits: $700–1,500. The community’s most-loved purchase — “DIY mini-split kit. $1,200. YouTube tutorials. Took a weekend. Works perfectly, even at -10F.”
- Installed: quotes historically ran $5,000–9,000, though one June invoice landed a full install at $3,240 out the door, and a recent quote-collection thread spanned $1,300–7,000 for a ~600 sq ft space. Shop the quote hard.
- Deep-cold climates: standard units struggle below freezing; cold-climate “hyper-heat” models hold temperature at -20°C, per the owners who upgraded. Both camps are represented — buy for your winter.
The doctrine that multiplies whatever you buy: insulate FIRST. “You can heat an uninsulated garage, but it’s like heating a barn.” Sealing and insulating the big door and openings is the highest-leverage single fix — one owner’s whole materials bill for it was about $200.
💡 Then adopt the preheat ritual: run the heat 20–60 minutes before a session and let body heat finish the job.
Budget alternatives that work:
- Vented propane and natural-gas heaters warm a space from freezing in 10–30 minutes (mind the fumes and CO detectors — several owners stay wary even with ventilation)
- Plain electric resistance heat runs $50–75 a month if you lean on it — fine for sessions, expensive as a lifestyle
R-value specifics by climate zone: see the gap noted in the moisture section below — a local insulation contractor fills it best.
Moisture: the actual enemy
Cold doesn’t kill sim electronics. Condensation does. The clearest technical explanation of the season: “cold electronics + humidity = condensation, which is what actually kills PCs out there.” And the one-liner worth taping to the wall, from a fully-insulated-build owner: “Be vigilant, as moisture is your sim room’s mortal enemy.”
What the record shows: equipment survives astonishing temperature extremes when it stays dry — owners report projectors and PCs living through years of unheated winters without issue, including one two-year garage PC report with a mini-split smoothing the swings. The failures cluster around rapid warm-up and trapped humidity. So:
- Let cold equipment acclimate before powering on; run a dehumidifier while the room warms.
- Don’t seal a shed blind. One builder insulated and sealed tight — and grew mold inside three months. Ridge and soffit vents fixed it. Deliberate ventilation is part of insulation, not its opposite.
- Keep the PC indoors if you can — a long DisplayPort/USB run or KVM into the house sidesteps the whole question.
- Mount electronics off the slab (a cold sink) and consider a humidity-rated projector.
My own rule from years of shed sessions: preheat isn’t just comfort, it’s data hygiene — owners measure noticeably shorter carries in a cold room (“10 degrees colder, ball speed is down 5mph. Just the cold. Throw away that data.”). Warm the room, trust the numbers.
One disclosed gap: nobody publishes insulation R-value guidance by climate zone for sim sheds — the community record is thin there, so lean on a local insulation contractor for that spec.
Lighting & windows
Two rules cover most of it:
- Camera-based launch monitors are light-sensitive by design; radar units are light-immune. Manufacturer guidance now says it outright — keep direct sunlight off a camera unit’s face and out of its lenses, and avoid reflective surfaces in view. Flickering lights remain the classic radar-era warning, and premium camera systems can be pickier still — Trackman famously specifies its own lighting recipe — so check your unit’s current setup guidance rather than any article’s snapshot.
- Windows wash out screens and catch stray balls. The installer’s blunt answer when asked if window light hurts the image: “Yes, it definitely does. I’d recommend getting blackout shades/curtains for the windows if you’re doing a shed.” — seconded unprompted by another builder in the same thread. Blackout or skip the windows on the screen wall entirely.

Even, indirect lighting over the hitting zone serves both the cameras and your eyes. Premium setups add track lighting; a shed does fine with well-placed LED panels.
Launch monitors & equipment for sheds
Security and portability first. A detached building full of electronics deserves locks, an alarm or camera, outdoor lighting, and a word with your insurer. The underrated option battery power gives you: carry the launch monitor into the house after sessions.
| Unit | Battery life (manuals) |
|---|---|
| Garmin R10 | Up to 10 hours |
| Bushnell Launch Pro | 5–7 hours (the “i” variant has no battery — mains only) |
| SkyTrak family | About 5 hours |
| Mevo+ | Roughly 1.5–3 hours — its manual says 1.5hr in sim play and 2hr full-swing while FlightScope’s site says 3; take the conservative number until FlightScope reconciles its own figures |
I recommend keeping the computer station tidy and ready for replacing the laptop, I have cable ties that hold all the cables on the edge of the table ready for reconnection.
The shed-specific selection table:
| Consideration | What the record says |
|---|---|
| Depth by tech | See the Depth section above — camera units are the shed’s space-efficient default |
| Outdoor/environment ratings | They’re per-product, not per-technology: Uneekor’s EYE MINI is rated indoor AND outdoor (not rain) while its own LITE and CORE siblings are indoor-only — same family, different ratings. GCQuad is “outdoor capable if fully covered.” Square Omni carries an IP44 splash rating. Check YOUR unit’s manual, not its category. |
| Cold performance | See the moisture section — the sensor survives; your data quality wants a warm room |
Camera units remain the shed’s space-efficient default; the full current market rundown lives in Best Launch Monitors for a Home Golf Simulator (2026), by Budget.
Containment deserves respect in a fresh build: nets sag, stretch, and occasionally let one through — outdoor-adjacent setups especially (“Saw a 5-iron go clean through. Now running archery netting on all sides”). Layer the protection around and behind the screen. You wouldn’t want to punch a hole in your new simulator shed as soon as your start.
Shed flooring
The community’s most-standardized recipe, assembled from its largest advice cluster:
- Horse-stall rubber mats as the base. “$40-60 each, they’re indestructible, and they stop all the bounce. Best $300 investment.”
- 1-inch EVA foam tiles over them — the de facto standard. Not half-inch: “1/2-inch tiles bounce the ball like crazy. Should have gone 1 inch. Regret that choice.”
- Stack layers to sit flush with your hitting mat so nothing catches a club or a step.
- Golf-rated turf only where balls are struck. Big-box landscaping turf shreds in weeks as a hitting surface.
- Carpet tape at seams and the perimeter — holds firm, peels clean when the turf eventually wears.
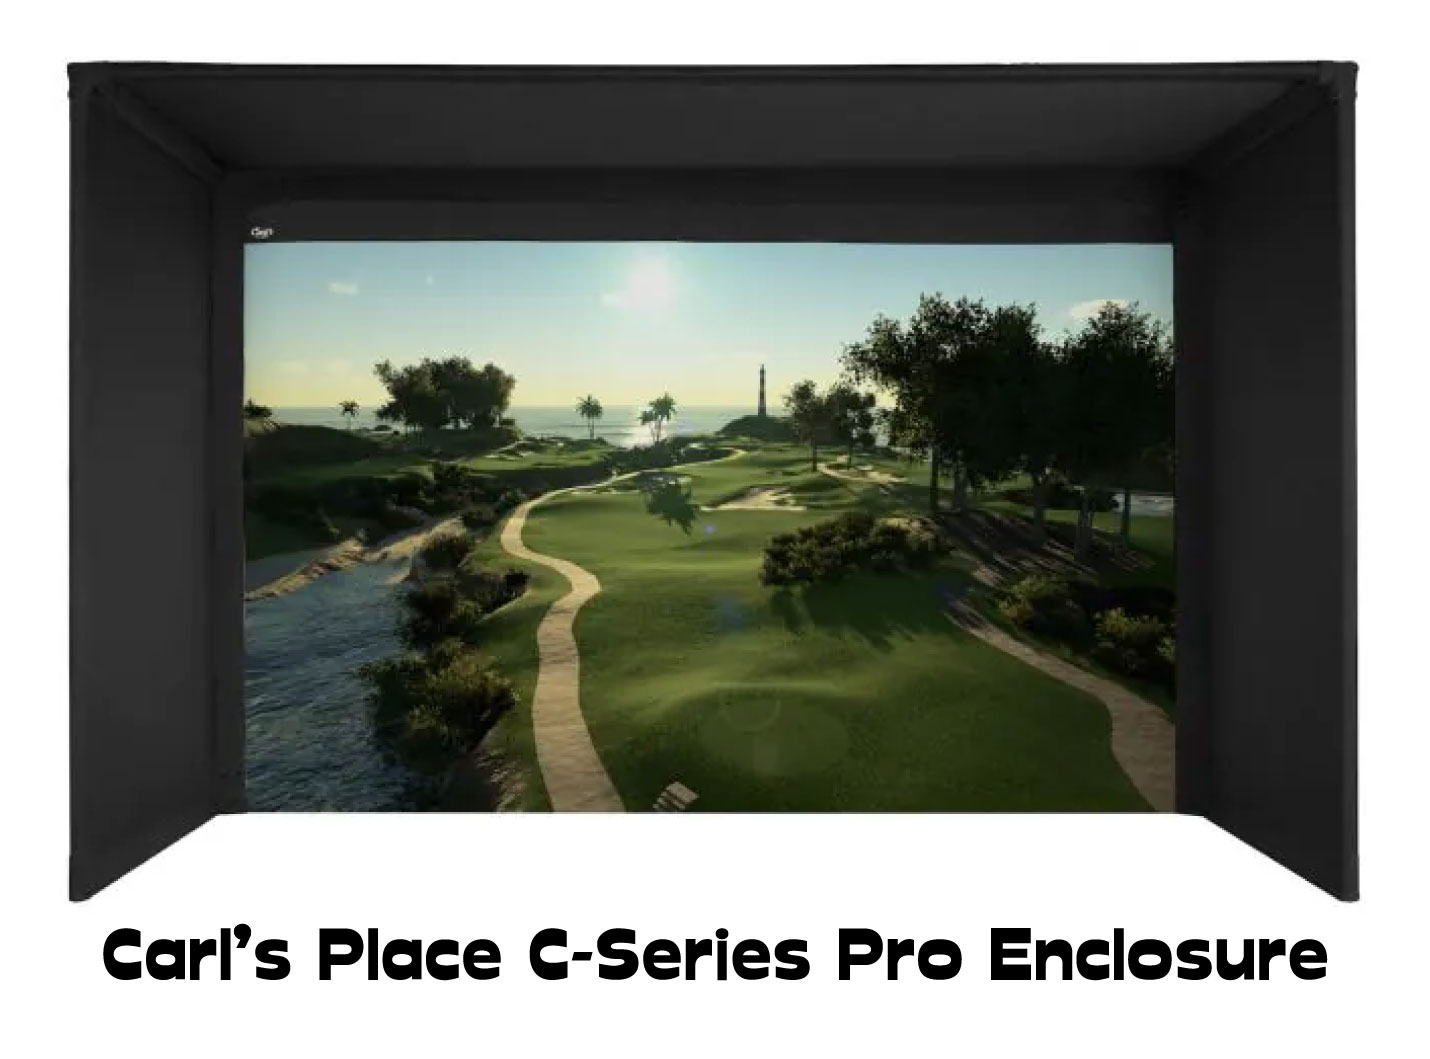
Two honest debates, shipped as debates: Carl’s Place premium tiles versus cheap gym tiles is a genuine value argument (3–5× the price for real but not always necessary durability), and the vapor-barrier-on-slab question is legitimately contested.
💡 The practical vapor-barrier tiebreaker is the 48-hour test: tape plastic sheet to the slab; condensation underneath means you need the barrier, a dry sheet means skip it.
If it were my build: stall mats plus full-inch tiles, whatever the tile brand — that stack gets the extra hour of fitting every single time, and the thickness matters far more than the label. It’s the difference between a floor and a facility.
Noise
The shed’s quiet advantage: detached buildings isolate impact noise well — owners of detached garage builds report the house hearing nothing, and the same logic favors sheds, though shed-to-neighbor transmission specifically has no published measurements yet (even the professional installer demurred when asked). The loudest source is ball-on-screen, not club-on-ball; acoustic foam panels are the cheap, effective damper and double as mishit protection. If a neighbor’s window sits close, irons are dramatically quieter than driver. The deeper soundproofing rabbit hole is its own topic — Building a Quiet Golf Simulator – Soundproofing Tips for 2025.
How this changed (2021 → 2026)
- Build economics went public: real invoices ($7.5k structures, $30k+ pro installs, $3,240 mini-splits) replaced guesswork.
- The HVAC argument ended — mini-split, with insulation first. Moisture displaced cold as the recognized electronics risk.
- Sim-specific prefab sheds started appearing, built to the 10ft ceiling spec that generic prefabs still miss.
Golf simulator shed FAQ
How much does a golf simulator shed cost all-in?
Layered honestly: $7–7.5k for a DIY structure, $10–16k modest all-in builds, $25k+ with year-round climate — and professional sim installs run $30–34k on top of whatever the building cost.
Can I use a prefab shed?
Usually not off the shelf — prefab ceilings max out around 8ft. Workarounds: kit-without-floor with built-up walls, pole barns, custom orders placed WITH your sim dimensions.
Do I need planning permission in the UK?
Within permitted development limits, often not — but the 2.5m near-boundary cap kills sim height. Site away from the boundary; verify current Planning Portal rules.
What about a US permit?
County-dependent — experiences run from $120-and-two-weeks to contractor-quoted headaches. Call first.
What’s the cheapest way to heat it?
Insulate and seal first (~$200 well spent), then the preheat ritual with a vented propane or electric heater. The long-term answer is a DIY mini-split kit.
Will winter damage my launch monitor?
Cold storage alone, almost never — condensation on rapid warm-up is the killer. Acclimate, dehumidify, and preheat before sessions (your carry distances will thank you too).
What ceiling height do I need?
Ten feet at the hitting area for everyone; the by-height table above shows where less can work.
Should my shed have windows?
Only with blackout shades — window light washes out the screen and windows catch mishits.
Final Thoughts
A shed sim is the rare project where the golf gets better AND the property gains a room the whole family argues over. Build it once and build it dry and warm: quality structure, insulation before heat, a mini-split when the budget allows, and moisture treated as the enemy it is. The golf part — the enclosure, the launch monitor, the screen — bolts into a well-built shell in a weekend.


Start pricing the build: hitting mats & turf · impact screens & enclosures · mini-split kits · launch monitors
Related builds: Garage Golf Simulator – 13 Key Challenges + Tips & Tricks · What’s the Minimum Golf Simulator Ceiling Height? · How much space do you need for a Golf Simulator?


Overhead vs Floor Launch Monitors: Which Suits Your Room?
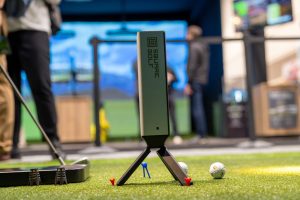
Square Golf Omni Review: What Owners Report
ABOUT THE AUTHOR
Hello! My name is Alex and it is my mission to bring you all the information you need to build your own home golf simulator! I hope mygolfsimulator.com helps you on your journey to better golf at home!
LEGAL INFORMATION
On this site, you'll find articles on all aspects of building a golf simulator. I will also link to other sites where you can buy some of the simulator components. Some of these links may be affiliate links, which means if you click them I gain a small commission at no extra cost to you. This really helps out me and my site so thank you in advance! mygolfsimulator.com and all related social media accounts are property of Awonline LTD.