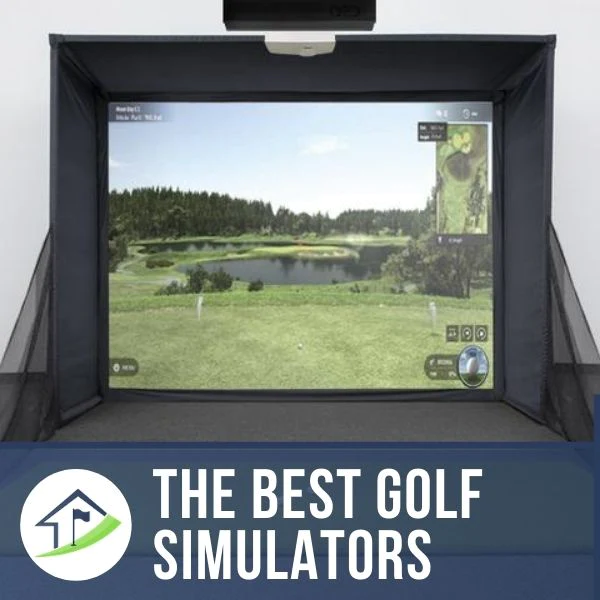
Protect Your Golf Simulator Walls and Ceiling – 12 Simulator Safety Tips
SHARE
Posted in Room Setup, Your Swing Studio
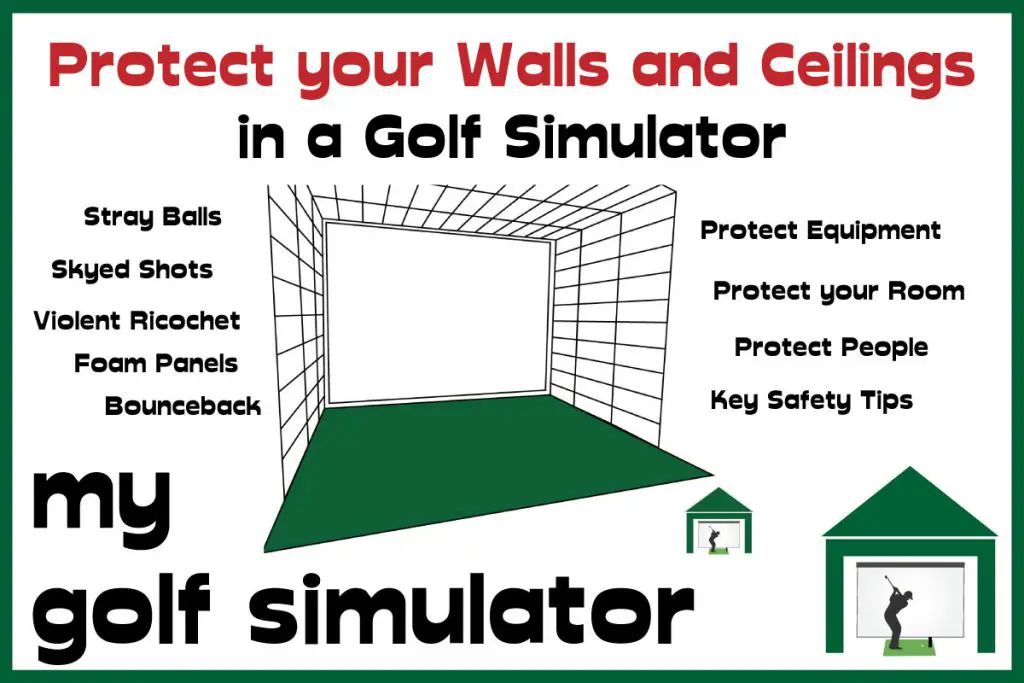
All indoor golf simulator builds require thought about how the walls and ceiling around the simulator enclosure will be protected. Stray, shanked and skyed golf balls can cause great damage, to people or property. Similarly, golf balls can bounce back from the impact screen or ricochet from the enclosure frame.
You can protect your golf simulator ceiling and walls directly by applying physical barriers to flying golf balls such as foam panels. You should build your golf enclosure in a way that reduces bounceback and ricochet as much as possible. The safety of people in your simulator is paramount.
This article will explain exactly how to go about addressing wall and ceiling protection in a golf simulator.
What Damage Can A Golf Ball Do?
Golf balls can be launched at over 200mph by the longest hitters and between 100 and 150mph by the average golfer. A golf ball weighing around 45g, traveling at say 150mph, will impart a lot of energy into whichever unfortunate object gets in its way.
The aim is that this energy is dissipated by your impact screen or golf net, rather than your wall plaster or the skull of your friend who came round for a beer.
On a serious note, a stray golf ball can be extremely dangerous indoors, especially if your simulator setup is not built with safety in mind. I love to get the children in my family involved in using my simulator but I need to think carefully about keeping them safe whilst using it.
The damage from a flying ball may be many times more serious than a dented ceiling.
Golf Enclosure Decisions to Make
When you come to consider the protection given to your golf simulator room, you first need to decide which type of simulator setup you will choose.
Enclosure Frame vs Open Setup
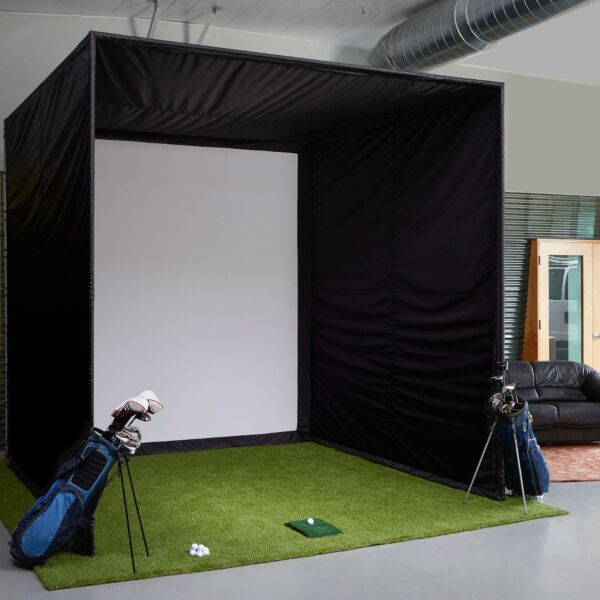
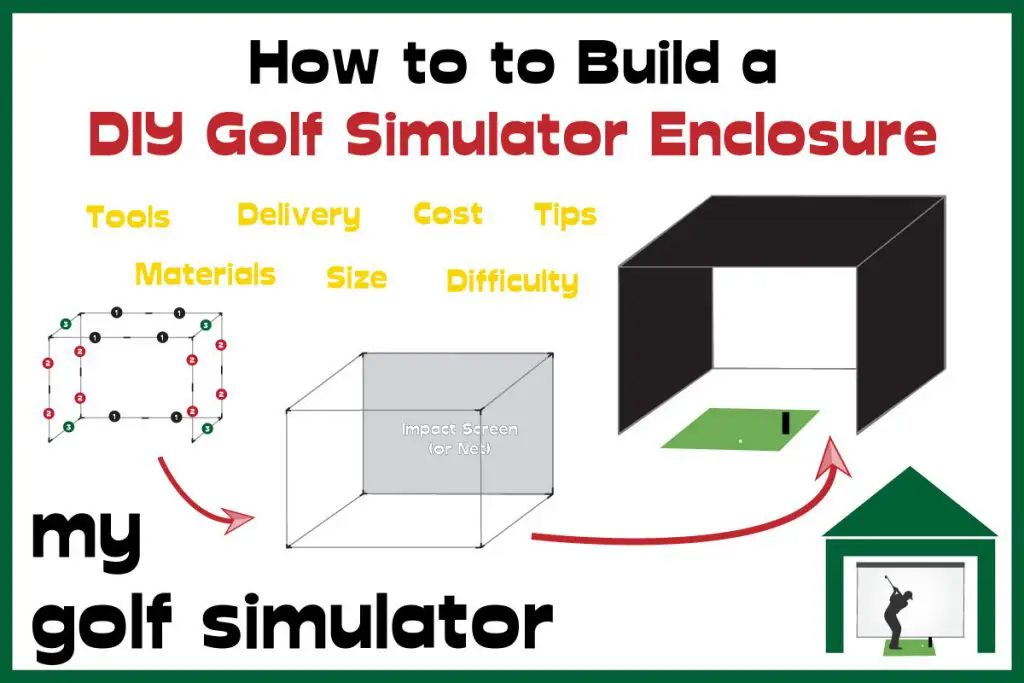
You could opt for a rigid frame, usually constructed of metal pipe in a cuboid shape, or an open setup.
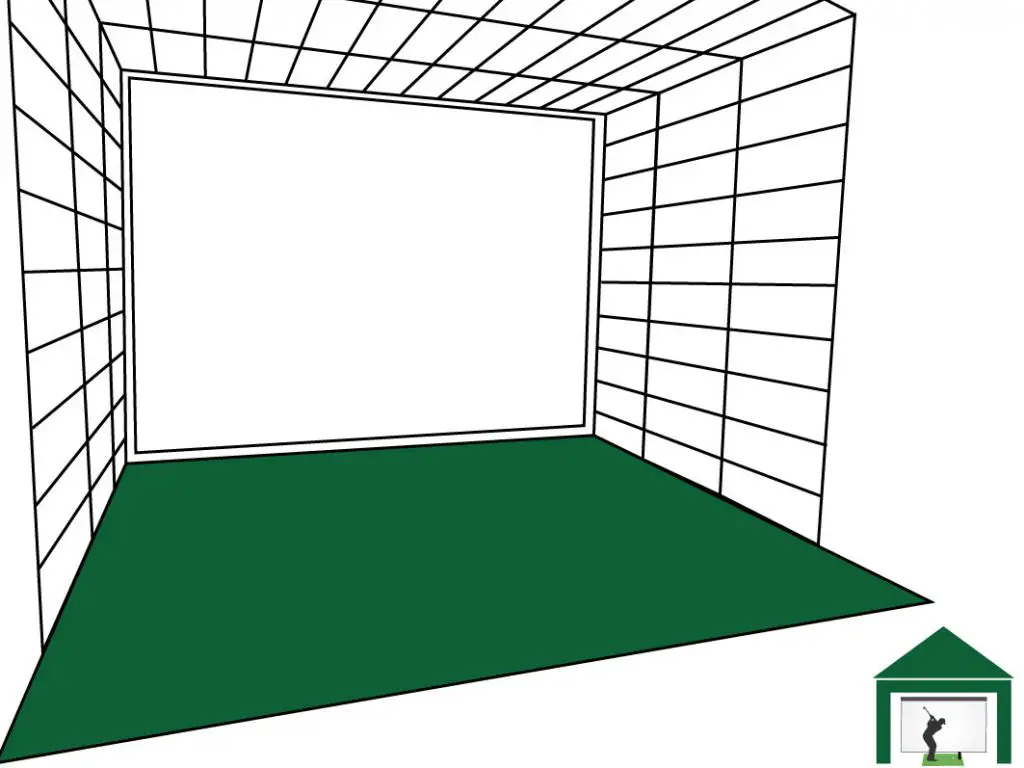
An open golf simulator setup means the wall and ceiling protection choice will form a core part of the room’s aesthetic and will encounter stray balls a lot more than if you were to use a frame.
You could opt for a combined setup, with the extensive ceiling and wall paneling, as well as a rigid enclosure frame, which will give you a safer setup in general, though you’ll still have to deal with the prospect of frame ricochets as I’ll describe below.
DIY Enclosure vs Enclosure Package
If you choose a rigid frame enclosure, then the walls and ceiling of the frame can be expected to catch the majority of stray shots that you hit, provided your hitting position is not too far from the opening of the frame.
You’ll need to choose, however, whether to buy a golf enclosure package or to construct one yourself in a DIY fashion. There are cost savings to be made by sourcing everything locally, though it can be more of a headache for some and requires a small amount of DIY skill.
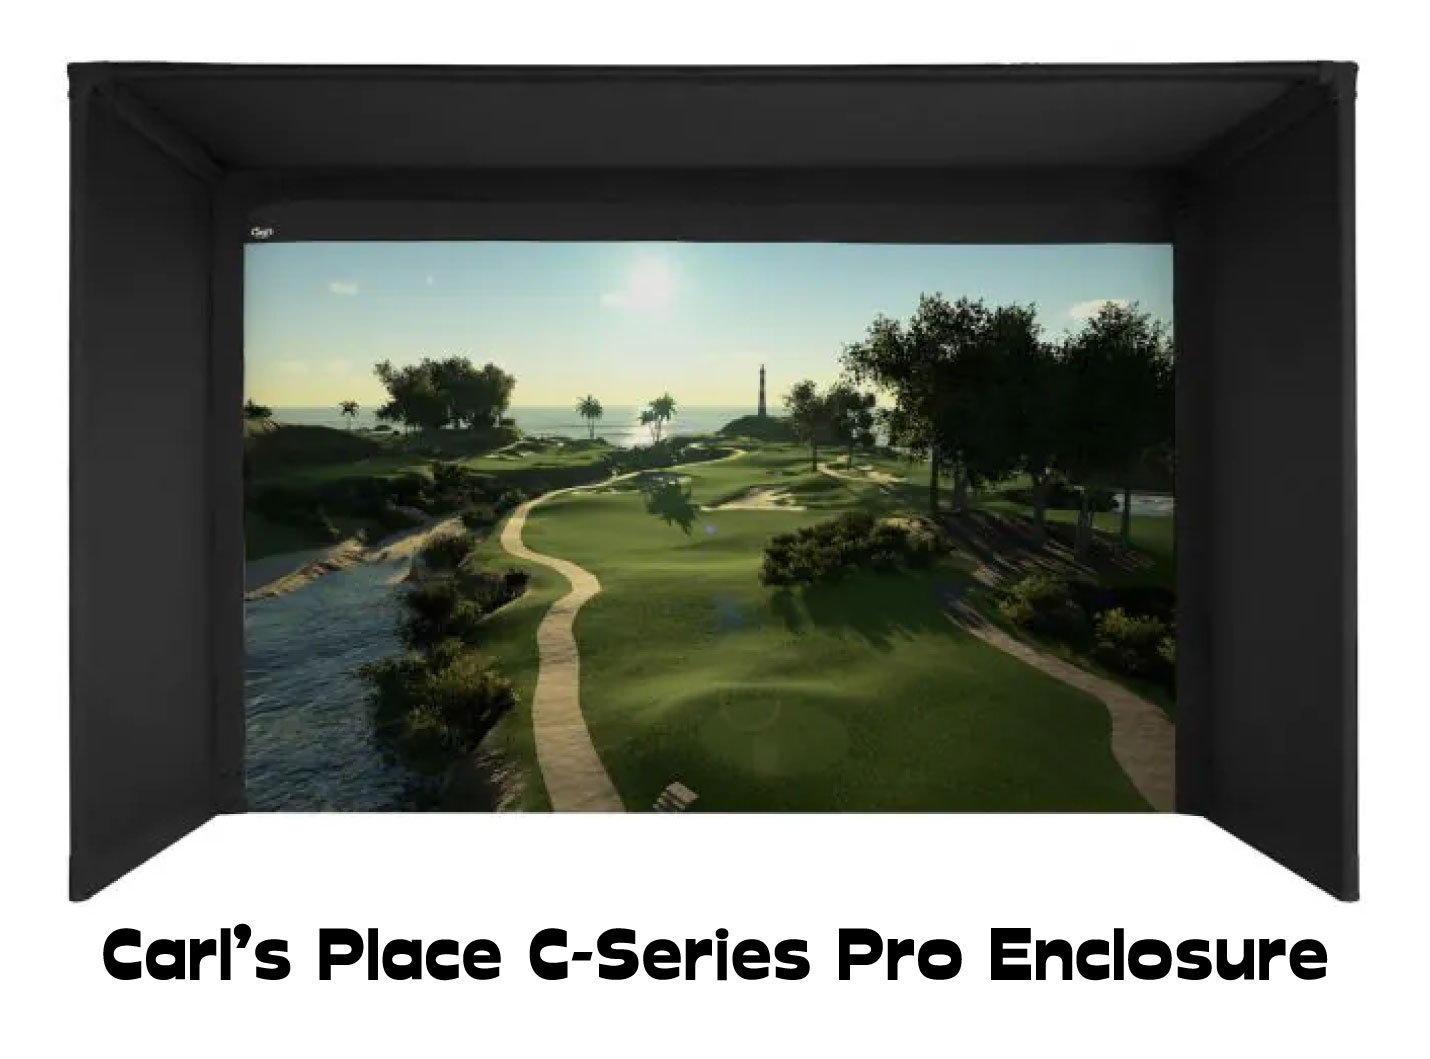
If you’d like to check out my recommendation for an enclosure frame package that offers everything you need without breaking the bank, head over to Carl’s Place and consider their DIY Golf Enclosure Package.
Check out my dedicated article on everything you need to know about golf simulator enclosures here, including how to build your own DIY enclosure frame.
Protection of the Metal Frame
This is a massive point that many golf simulator owners neglect in their builds. You need to protect against the violent ricochet of a golf ball as it misses the impact screen and strikes the frame of your enclosure. This could happen on either the side or top or bottom of the frame.
Often there will still be a square of metal pipe (or wood) used to mount the impact screen in an open room setup like shown above, so you can still have violent ricochets without a full rigid frame.
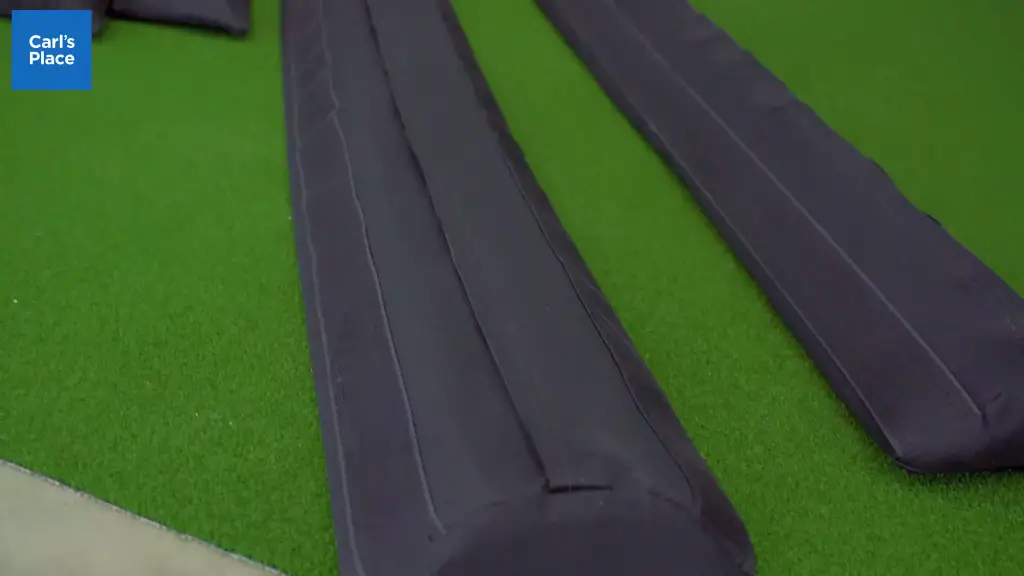
You may choose to use cylindrical foam pipe insulation for this, and it should stop the ball ricocheting off so quickly. It can look untidy though if you go for the cheapest versions.
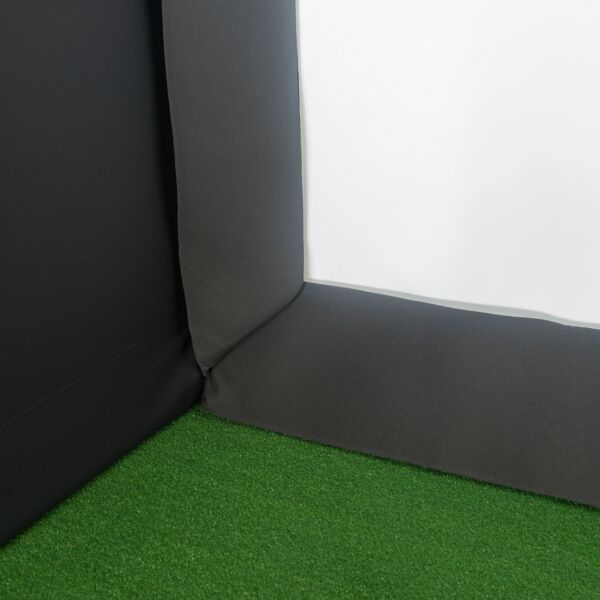
I like the ‘Better Bumpers’ available at One-Stop Sim Shop which frame the gap between the impact screen and frame beautifully.
An alternative is to use triangular pieces of foam wrapped in black cloth, which can be placed around your impact screen to provide a neat black border. You could use the same fabric as you do for the walls of your enclosure.
In the UK, there are online sites from which you can order triangular pieces of foam cut to custom sizes at excellent prices. Search for sites in your area and see what’s available.
If you’re no good at sewing it around the pieces of foam then see if you have any family members who are more confident with upholstery.
Alternatively, Carl’s Place provides foam cushions as an add-on with their enclosure packages, and they’ll be sized to fit the enclosure that you pick.
How to Protect your Golf Simulator Ceiling and Walls
Here are 8 ways to protect the surfaces of the ceiling and walls in your golf simulator room from damage from stray golf shots. Shanks and skyed shots are most likely to miss the safe and soft landing area of your impact screen or net.
So the ceiling and right-hand wall (or left wall for a left-hander) are the most likely places for damage.
Foam Panels and Acoustic Panels
Foam panels can be exactly what you’re looking for with ceiling and wall protection in a golf simulator. Make the right panel choice and they look fantastic, whilst providing stout protection against a flying golf ball, even on direct hits.
These panels often provide good sound protection too, some are even made with a corrugated surface to enhance their acoustic properties. They can be attached to the wall in differing orientations which offer an alternative look.
Check out these premium foam panels available at Rain or Shine Golf which look great and also provide a degree of acoustic protection to your simulator.
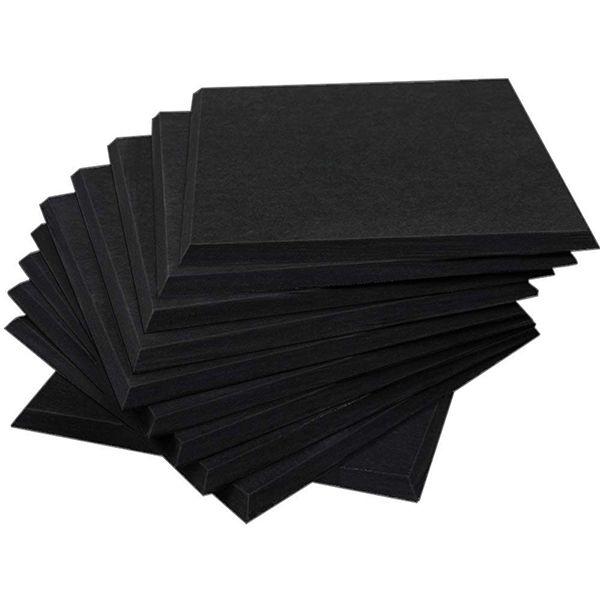
One consideration to make is how you would attach the panels to your walls. Whilst this depends on the underlying wall surface somewhat, you have a couple of options.
If your wall panels are lighter (eg those made of a foam material), you could use a strong double-sided tape so you don’t end up with lots of holes in your walls and ceilings from nails or screws (or glue marks that may pull the wall to bits when the panels are removed).
You could also use strips of velcro to fix the panels to the wall, or a combination of double-sided tape and velcro strips.
If the panels you’ve sourced are too heavy for tape then you might have to go for a screwed-in mount system like in the video below. I would consider screwing large sheets of plywood or similar sheet-like wood to your wall or ceiling (you’d need a few screws but not many) and then gluing the panels to the plywood.
Always check that plans like this won’t adversely affect your room width and height too much.
Vant Panels (Upholstered Fabric Wall Panels)
Upholstered fabric wall panels can be perfect wall and ceiling protection for a golf simulator. They are headboard-style rectangular panels (occasionally you’ll find squares) that fit together to cover the whole wall. Most are made from a wooden backboard, with around 3-4 inches of foam on top and then a strong fabric cover.
Panels can be customized to a wide variety of colors, textures, and fabrics. Usually, a flying golf ball will strike a foam fabric panel and drop down with a low amplitude dead sound, providing excellent noise and bounceback protection, even on direct strikes.
It is uncommon for the fabric cover on these panels to break, even with a direct strike. If you do suffer torn fabric on the panels, you only need to replace one.
A premium option for these panels is a company called Vant, which offers a wide range of options (colors, textures, materials). Vant has developed a reputation in this area so much so that similar panels are often termed ‘Vant’ panels even though Vant is the name of a specific brand.
The panels available from Vant are high quality but are higher in price. You may require a grid of 15-20 panels for one large wall, which can become expensive, especially if you wish to cover your back wall, both sidewalls, and ceiling.
Depending on your location you will probably be able to source similar panels on Ebay by searching ‘upholstered wall panels’. I recommend buying one or two extra panels in case any do succumb to golf ball-related tears.
If you have any level of skill in upholstery and DIY, then these panels could be made at home, saving quite a bit of money. You’d need pieces of wood and foam cut to size, your choice of fabric, scissors, and a stapler.
Check out this link with instructions on making your own panels and this video from Sailrite on Youtube showing you the process.
Floor Tiles and Gym Tiles
Some golfers use floor tiles like you might find in a gym for the flooring of their golf simulator, or perhaps as an underlayer beneath some artificial grass turf. This provides an extra cushion to a falling golf ball to stop balls bouncing off into equipment with every shot.
There is nothing to stop golfers from using these tiles on a wall or ceiling too, as long as the aesthetics worked. They would provide a good degree of cushioning even on a direct strike.
Insulation
Insulation materials are often used in golf simulators to provide soundproofing and heat protection.
Large panels can be placed in wall cavities, beneath floorboards or above ceilings. Insulation can be bulky so its important to consider the implications on your room dimensions.
Occasionally, the insulation material is used as physical protection for walls and ceilings, but you might choose to cover it with another material to improve the look of the room.
Fabric
Black fabric is often used as the walls and ceilings of a golf simulator enclosure. You don’t have to spend big bucks on this fabric, as long as it looks good and can catch a wayward ball. Thicker fabrics hung loosely are less likely to break on impact with the ball.
There is a wide variety of options for this fabric. You could approach a textiles or upholstery store, or seek fabrics online. I’ve used photographer’s cloth in the past when I replaced my original curtain fabric and this worked great.
Ceiling Baffles and other Ceiling Considerations
Many golfers find that high lofted shots, for example, those struck using a 60-degree wedge, launch up towards the top of the screen. Sometimes these shots even miss it entirely and strike the frame. Setups with a screen that is wider and less tall, and those with a hitting position far from the screen are more prone to this.
Bounceback and ricochet can be unpredictable when the ball strikes the top of the screen and ceiling of your setup, just like if you struck the side frame. If you don’t have protection above you, these balls will just strike the ceiling directly. Of course, skyed driver and 3 wood shots can launch vertically upwards too.
That’s why many golfers use baffles, which are lengths of fabric, mesh tarp, foam, or other deadening material that ‘catch’ the golf ball as it launches upwards. Some setups use more than one baffle at different intervals in the simulator ceiling. The need for baffles is reduced if you have a robust ‘ceiling’ to your golf enclosure made from fabric or netting.
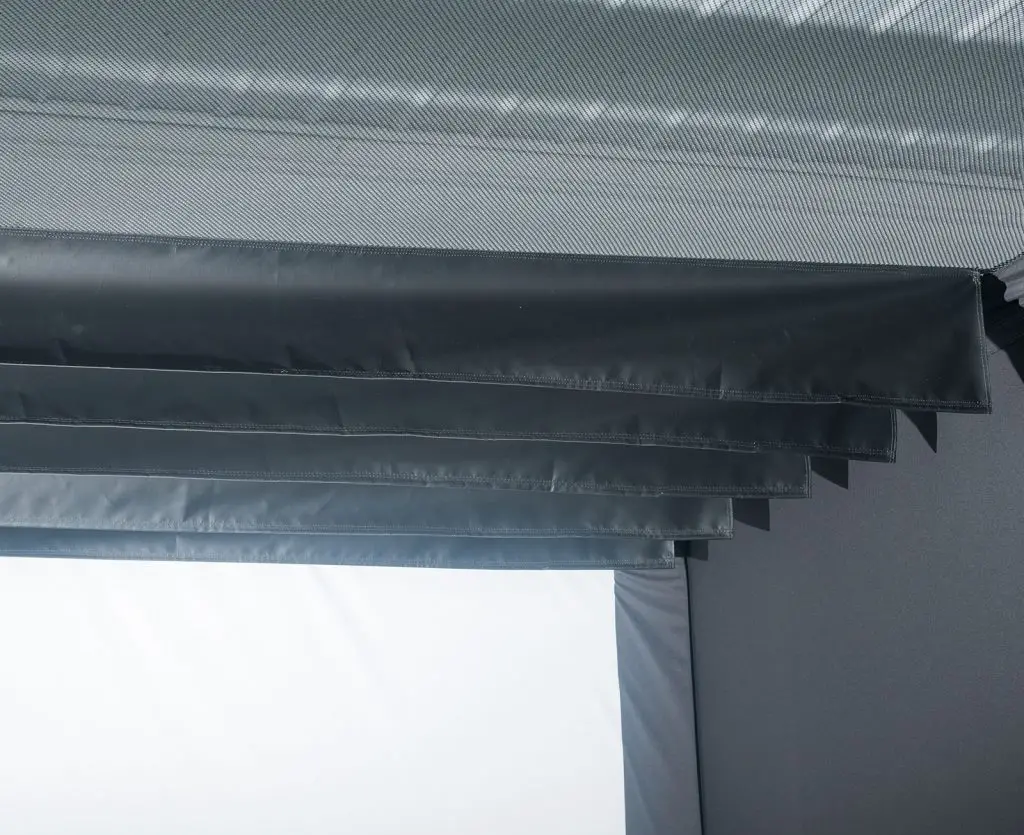
Baffles are also an optional extra when you purchase a Pro golf enclosure package from Carl’s Place.
You should consider the deformation of such a net or fabric ceiling in golf simulator enclosure. A ball striking the ceiling material will deform it as it dissipates energy. This is the same process as happens in your impact screen and the same reason you need space behind the impact screen for the ball to slow down.
If you have your ceiling netting or material nearly flush with the ceiling, the ball will still strike the ceiling before its energy is dissipated by the material, meaning it could bounce back down onto your head.
Netting
Nets can be used in a variety of ways in a golf simulator.
You may choose netting in lieu of the impact screen to catch shots directly. The Net Return nets are very popular and excellent choices for golfers who aren’t looking for a projector and screen setup.
Nets can also form the walls and ceiling of a golf simulator enclosure, you often see this in outdoor golf cages at golf clubs. Check out this great site selling a variety of types of netting which could form part of your enclosure and room protection.
You may find netting aimed at other sports such as hockey just as effective against golf balls and sometimes at better prices too.
Side netting extensions add extra protection against shanks, especially for those whose golf hitting mat is a little further back from the edge of the simulator enclosure.
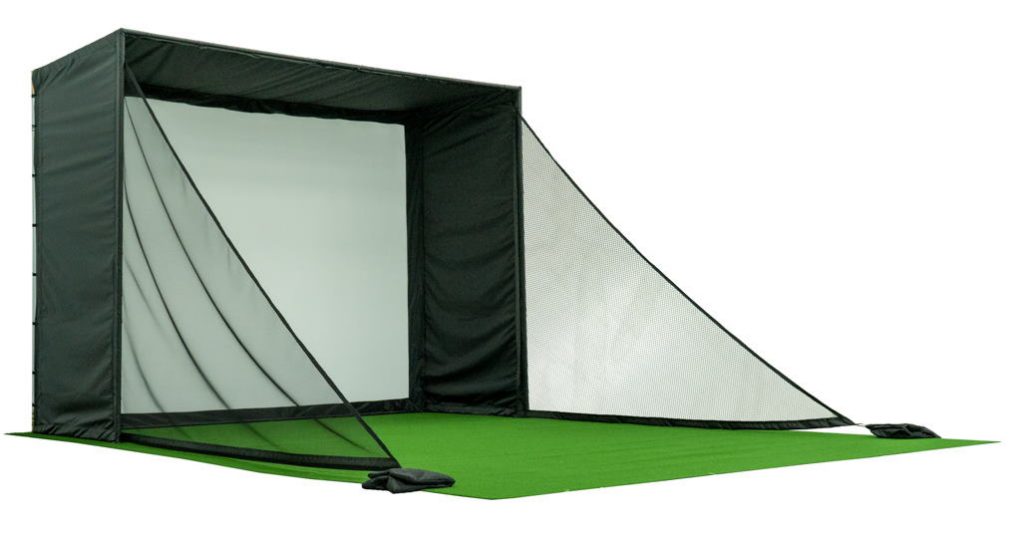
Sometimes you see golf nets hung up towards the ceiling in a golf room to provide protection against skyed shots. As above, consider the required distance for the net to deform before the skyed ball or wedge shot strikes the ceiling.
The choice of net quality is important, you should consider both the woven material that forms the net and the size of the holes in the netting itself.
You will need stronger netting when you anticipate frequent direct strikes (eg when netting is used as a target instead of an impact screen), compared to nets taking stray hits off to the side.
Nets are best hung loosely as this will mean more of the kinetic energy imparted by the golf ball will be dissipated into the net and the ball is less likely to breakthrough.
Curtains
Curtains can be hung on rails, forming the sides (and the back) or your simulator enclosure. They could either be used to form your actual golf enclosure or extra wall protection outside the enclosure area.
I’ve not seen curtains used for ceiling protection before, but theoretically, you could ‘hang’ the curtain as fabric on the top of an enclosure frame.
Using curtains is a good way of making your simulator amenable to frequent assembly and disassembly if you need to use the space for other activities or items on a regular basis (eg parking cars inside a garage)
To protect against flying golf balls, you probably need to invest in very heavy curtains and depending on where you live these can be easy or hard to source. Many curtains are quite short in length too so check the length against your simulator dimensions before buying.
I recommend long thermal curtains if you’re going this route, which tend to be thicker than those used in living rooms and bedrooms.
You can use velcro to fix curtains and other fabrics around corners of your frame, to foam and insulation pieces and any other material you use. Velcro is great for golf simulator enclosures.
When used in a golf simulator, curtains will of course be hung in a way that they’re not under tension. This means they should absorb lots of energy from the golf ball when struck, but they will look puckered/hemmed, which may not be to everyone’s liking from an aesthetics perspective.
Memory Foam
Many golfers use a thin memory foam mattress, attached to the wall directly behind the centre of their impact screen. This technique is used by golfers who are really struggling with bounceback problems.
Its probably unrealistic to attach memory foam to the entirety of your walls or ceilings, but it will provide protection to the wall behind your screen.
Hidden Benefits of Ceiling and Wall Protection in a Golf Simulator
A solid choice of foam wall panels for your ceilings and walls can help hide any untidy surfaces, cracks, holes or cable management problems.
Often, extra padding for your room surfaces can double up as thermal and sound protection too.
Aesthetically, foam panels on the walls and ceilings of a golf simulator can look fantastic if done well.
Remember to Consider Room Height when Adding Padding to Ceilings
Be wary of ceiling height and the total available headroom when thinking of adding to ceilings and floors.
Adding an inch or two of foam panels or similar material to the ceiling could be the difference between just being able to swing the club, and the simulator being unusable. This effect will of course compound if you also add some sort of golf simulator flooring or floor protection.
I always recommend 10 feet of headroom for any golf simulator build. You may well be able to get away with a bit less than this depending on your height and swing, but 10ft is usually safe. Check out my posts all about golf simulator ceiling height and golf simulator space requirements in general for more information.
How to Protect People and Equipment in your Golf Simulator
Ricochet
Violent ricochet of a golf ball off the rigid metal frame of your enclosure can cause serious injury or damage to equipment. The ball only needs to veer off towards a sensitive area such as your launch monitor, computer screen, eye, or throat and there’s trouble.
As we mentioned above, the two main ways of protecting against golf simulator ricochet are enclosing the metal frame in cylindrical foam pipe insulation (or pool noodles) and covering the enclosure frame with foam padding on all sides. I think the foam padding option looks a lot better.
Impact Screen Bounceback
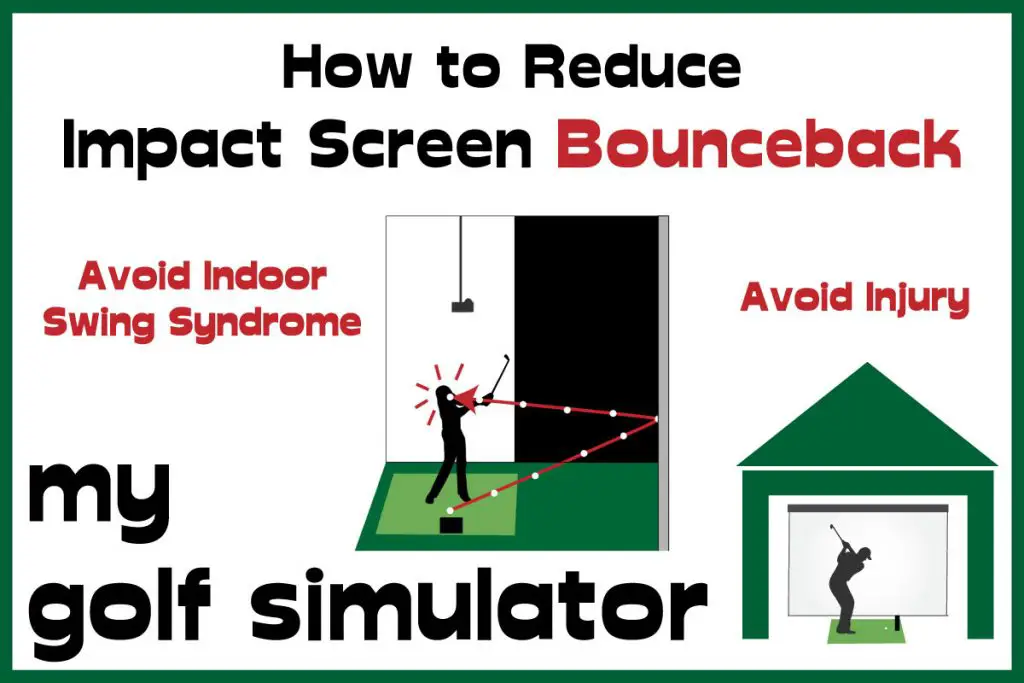
An impact screen may be the back wall of your simulator and while it may not be structurally part of the room itself, bounceback is a vital safety consideration in your simulator.
You need to ensure there’s enough space behind the screen to allow the material to deform on impact and the golf ball won’t strike the wall behind (usually about 1ft of space).
A quality impact screen material I’ll have a cushioning layer to reduce bounceback, as the Carl’s Premium screen does.
It’s also really important to hang your screen with the right amount of tension. Too much tension and bounceback will be a big problem, too little and the screen will pucker and look loose.
Ensuring equal tension on all sounds will minimize unexpected high bounceback shots too.
Check out my dedicated post all about reducing bounceback in a golf simulator.
Introducing Children to your Golf Simulator
I can’t wait to introduce my son to my golf simulator. He’s a little young at the moment but as soon as he’s able to swing a club he’ll be in there. But before he starts making swings in there and tearing the place up, I need to make sure the bounceback and ricochet protection is absolutely on point.
A golf simulator can be a great way to get kids interested in golf whilst having fun at the same time. The games available on programs like Creative Golf 3D and Golfisimo are great fun.
The safety features in my simulator will have to be perfect as I can’t risk any flying golf balls coming back and causing injury to my son and the kids of my friends who will undoubtedly want to come and have a go.
Try Foam balls
When you first introduce children to your golf simulator, it might be best to start with foam balls, especially if they’re young.
Foam balls can still be shanked and skyed, and using them will give you an idea of how much extra room protection you need with kids hitting the golf shots compared to yourself.
These balls allow you to get going with your simulator whilst still optimising your room protection if you’ve not fully completed the design.
Foam balls still work in many launch monitors, often they’re better on camera-based models than radar systems. You can still play fun games and challenges and help your kids practice their swings or simply learn to hit the ball.

Thermal and Sound Protection in as Golf Simulator
Protection against cold weather and loss of heat can be a huge consideration in a golf simulator. Trust me, if your simulator room is always freezing cold, you won’t use it much. You’ll also want to make provisions to stop excess noise carrying out of the room and causing irritation for other family members or neighbors.
Check out my two articles on heating and soundproofing in a golf simulator room.
Safety and Wall and Ceiling Protection in a Commercial Golf Simulator
Safety should be of paramount importance to anyone wishing to operate a golf simulator business.
To have paying customers spending time in an environment with golf balls flying indoors at 150+mph, you need to ensure you’ve taken every step possible to optimise safety.
I recommend putting into practice all the techniques above with protection against ricochet and bounceback in particular.
Protection of people in a golf simulator should always be a first concern, higher than any worries about equipment, walls, or ceilings. This is even more true in a commercial golf simulator business.
Some golf simulator business owners may ask customers to sign a waiver stipulating that they understand the risk of stray golf ball shots.
From an insurance perspective, you’ll need to make sure you have enough public liability insurance to cover for any injuries that occur in your simulator. I recommend speaking to an insurance expert about this.
Conclusion
I always recommend prioritizing safety and room protection in any golf simulator build. It should be one of the central themes of your golf simulator plan at the outset.
You should aim to be able to swing hard with your driver and not worry about the ball damaging your room your equipment or anyone present within. Subconscious concerns about bounceback, ricochet, or damage to the ceiling or walls all play a role in the development of indoor swing syndrome.
To maximize your golf simulator room protection, invest in a solid golf simulator enclosure, work to minimize bounceback and ricochet, and cover your ceiling and wall surfaces with some quality foam panels.
You should be able to apply protection to your ceilings and walls without compromising the looks and feel of your simulator. Plus, panels can help hide any untidy areas, cracks, or poor cable management in your space. Often, its the choice of wall panels that really makes a golf simulator look amazing!
Check out these Premium Foam Panels at Rain or Shine Golf which will suit any golf simulator build.
Putting with Hackmotion – Step by Step Guide
HackMotion in a Golf Simulator: All the Data you need!
ABOUT THE AUTHOR
Hello! My name is Alex and it is my mission to bring you all the information you need to build your own home golf simulator! I hope mygolfsimulator.com helps you on your journey to better golf at home!
LEGAL INFORMATION
On this site, you'll find articles on all aspects of building a golf simulator. I will also link to other sites where you can buy some of the simulator components. Some of these links may be affiliate links, which means if you click them I gain a small commission at no extra cost to you. This really helps out me and my site so thank you in advance! mygolfsimulator.com and all related social media accounts are property of Awonline LTD.
