Retractable Golf Simulators – Ultimate Guide
Posted in Golf Impact Screens, Room Setup
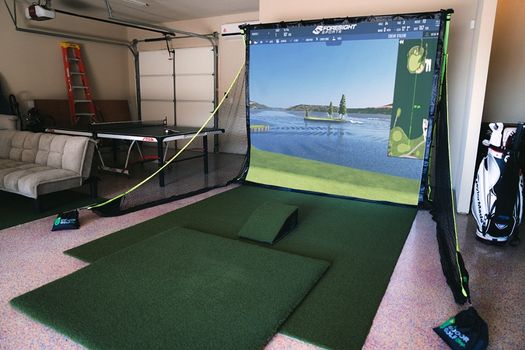
A retractable golf simulator means a setup that can easily be taken down so that you can use the space for alternative uses. A functional yet retractable golf simulator can be hard to plan and execute.
Retractable golf simulators can be divided into setups with a rolling retractable impact screen, and setups that can simply be dismantled in a short amount of time. Golfers choose a retractable simulator design when they need to use their space for alternative uses such as storing vehicles.
This article will explain both types of retractable golf simulator setups and the key issues involved with building a non-permanent indoor golf area.

Why do Golfers want their Golf Simulators to be Retractable?
Golfers looking to build a simulator are often pushed for space. You need a large area with good headroom, and for many people, these spaces are used for other things.
Often, a garage will be used for storing vehicles or other equipment for part of the year. You may have other hobbies that require the use of the space in the summer when you’re golfing outside.
Retractable golf simulators are designed to be set up and taken down quickly and easily. One of the main benefits of retractable golf simulators is their versatility. They can be set up in a variety of different locations, including basements, garages, and even outdoors, as long as there is enough space and a flat surface to mount the screen.
Portable components are usually smaller and often cheaper than their fixed-position competitors too. Another benefit of these builds is that you can often enjoy the same equipment outside in the summer and inside in the winter.
The problem with a permanent golf simulator setup is that it’s difficult to use the space for other storage purposes. This article will help you reclaim your space when you don’t need your simulator, and build it back up again quickly when you do.
We’re talking about retractable golf simulators. These setups will be collapsible, storable, and easily portable.
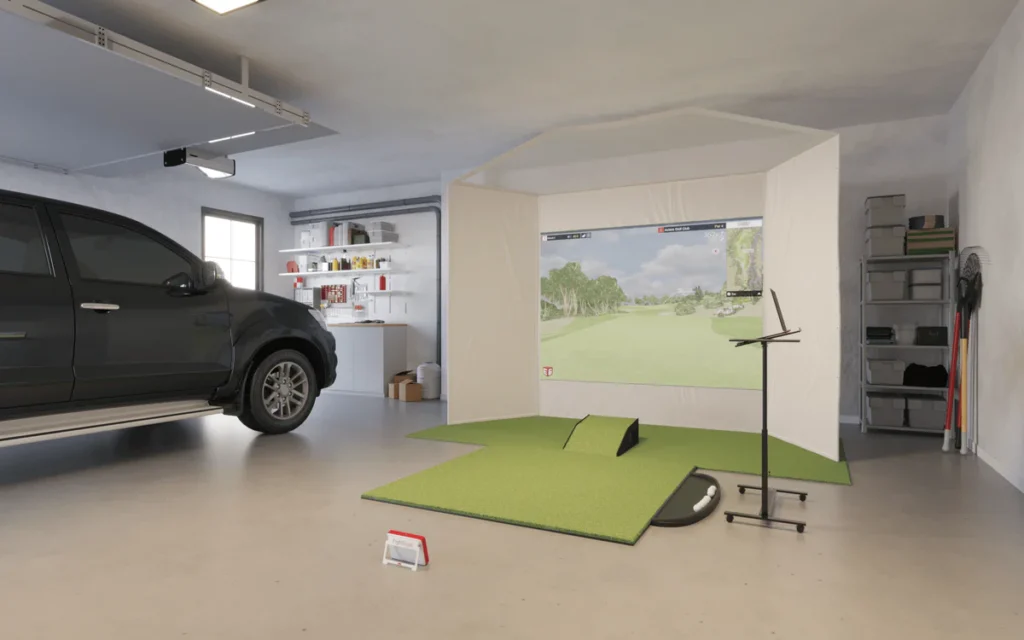
3 Types of Retractable Golf Simulator Explained
Want to use your golf simulator space for other activities or storage during the summer months or just now and then? You’ll need to decide between the following two strategies:
- A golf simulator setup that uses components and fixings that can be easily assembled and disassembled in an acceptable amount of time
- A retractable impact screen that can be rolled up out of sight and out of mind.
- A quick-assembly golf net, with or without associated impact screen (this is the easiest option for garden and outdoor setups)
It is the impact screen and enclosure we need to think about in our quest for a retractable simulator setup.
Projectors and launch monitors can usually be unmounted and placed to the side with the assistance of a drill and a second pair of hands.
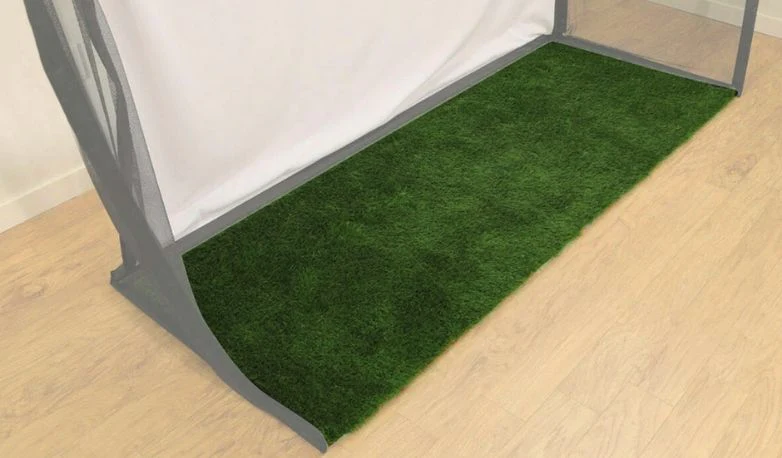
Golf mats are the other item that can be hard to shift, though there is a wide spectrum. Some mats are lightweight and can even be rolled up (see the Cimarron Ultimate Mat) and others are heavy, sturdy beasts that take some muscle to move.
Your mat may even be attached to the floor structure, which makes it even less portable. The only downside (other than a small compromise of room height) of a putting-turf golf simulator floor is the difficulties faced if you want to use the space for different things.
Retractable Impact Screens (Roll-up Screens)
Impact screens (and their associated metal cage golf enclosures) usually comprise the bulkiest and most difficult-to-move items in a golf simulator setup.
This option does not include a heavy-duty golf enclosure like many impact screen setups.
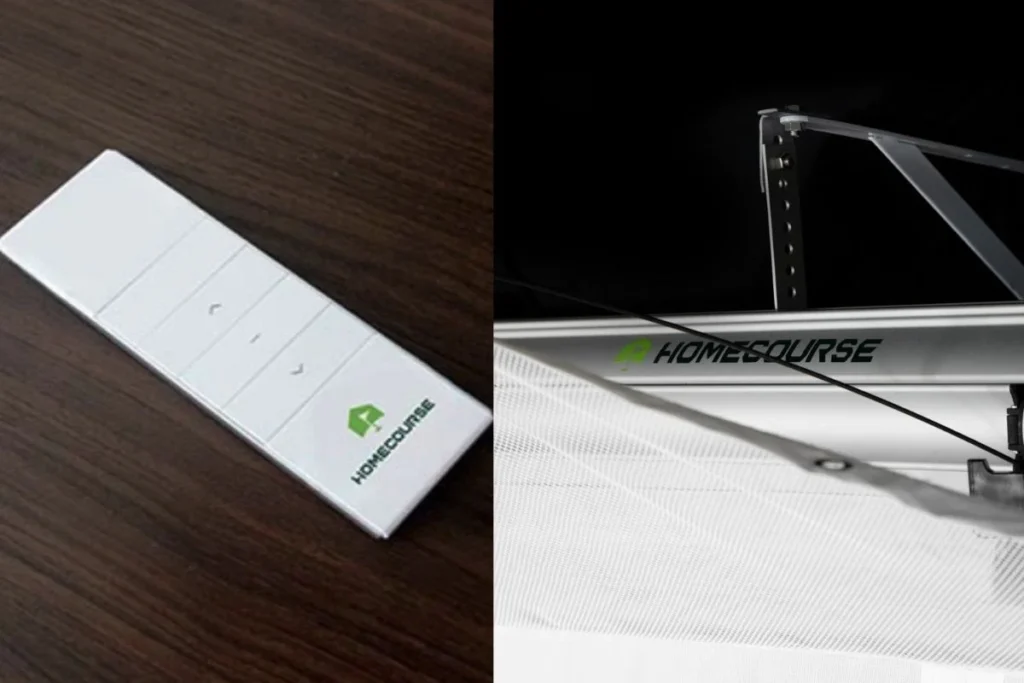
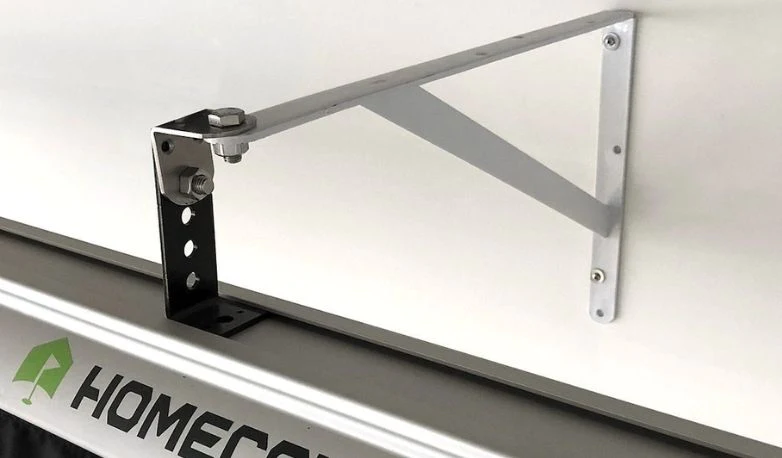
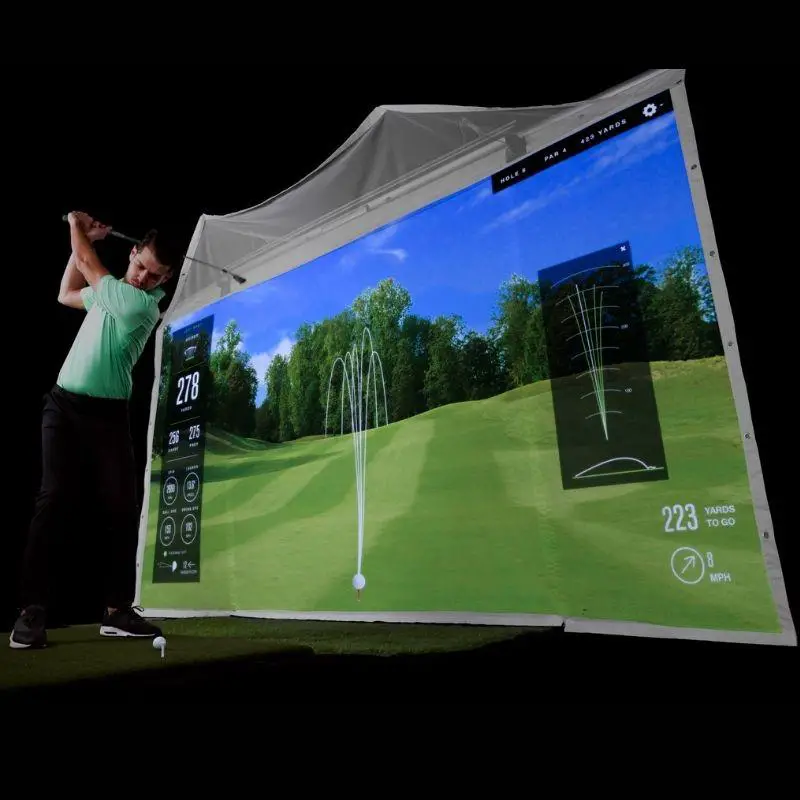
Retractable impact screens are attached to a roll-up mechanism and housing, which allow the whole surface to be folded up and out of the way, usually just at the press of a button.
I recommend the HomeCourse Pro Retractable Impact Screen, which features a high-quality ballistic-grade surface, side protection against mishits, and an easy-to-use wireless remote that rolls up the whole screen with just one press.
The HomeCourse Pro Retractable Golf Simulator Screen
The HomeCourse Pro is my recommended option for a roll-up golf simulator impact screen. You can roll up and roll down this screen setup in less than 30 seconds wirelessly with the push of a button.
This impact screen combines ballistic grade material and high-resolution imagery with the versatility of a retractable, roll-up screen mechanism.
Fast Dismantle Setups
Your other retractable golf simulator option is a standard setup in which thought has been given to the speed at which the whole simulator can be dismantled.
If you would like to be able to put up and take down your golf simulator setup frequently, then the components you use need to be a little different, particularly attachments and fixings.
Assuming you haven’t purchased the HomeCourse Pro or another specialized retractable golf simulator screen product, then consider the following adjustments to your build in order to make it as retractable as possible:
- Avoid nails, screws, and other heavy-duty fixings wherever possible. You may still need to use a drill or screwdriver to dismantle a golf simulator enclosure.
- Try velcro, easily replaceable cable ties clips which can be reused or replaced at little cost.
- Aim for a lightweight golf mat, perhaps one which can be rolled up with ease like the Cimarron Ultimate Mat.
- A floor-mounted projector is easier to move than a ceiling mount, but ceiling mounts can be adjusted with drills and screws.
- Portable launch monitors are, of course, easier to move than those with fixed positions. For example, Skytrak, Mevo Plus, Bushnell Launch Pro, and GC3/GC Quad are all portable whereas Uneekor QED, Eye Xo, and Foresight GC Hawk are fixed.
- Consider your golf simulator flooring choices if you need a retractable setup. You’ll struggle to use a space with a full-turf putting floor alongside parked vehicles or heavy gym equipment for example, unless you have lots of space.
How long does it take to build and put away a Golf Simulator Setup?
The first time you assemble and disassemble your golf simulator you’ll take the most time, getting more efficient and slick with each further change.
The HomeCourse Pro Impact Screen only takes around 30 seconds to roll up and down. It’ll take a short period of time to mount it to your wall properly with a drill and wall plugs. The SIGPRO Golf Net can be assembled in minutes too.
As discussed above, the other elements of your golf simulator (launch monitor, projector, golf mat, cameras) will take varying periods of time to disassemble and replace. The main determinant on time is whether they’re fixed in position on a mount or not.
You’ll save time if you can leave the mounts (or components) in place whilst you change the use of your space.
A full traditional golf simulator setup, including a metal enclosure and attached screen, will take a couple of hours to disassemble and put away. This could be longer if you’ve used more permanent attachments.
Time periods like this are fine if you plan on doing it twice a year (eg between winter and summer and vice versa), but become cumbersome if you plan on changing things any more often.
Where will you build your Retractable Golf Simulator?
Garage Retractable Golf Simulators
The garage is probably the most common location for a retractable golf simulator setup to be planned out and built.
Golfers want to store vehicles, bulky hobby equipment, house move clutter, and a great deal more in their garages. If you dedicate the entire space to the golf simulator, there isn’t any space left for these other items. Therefore, they spill into the house itself.
It is often the summer when golfers turn their garages back into storage and enjoy golf outside. I love to continue to use my simulator throughout the summer too. I enjoy honing specific parts of my game in the peak of the season to keep myself sharp between competitions and matches.
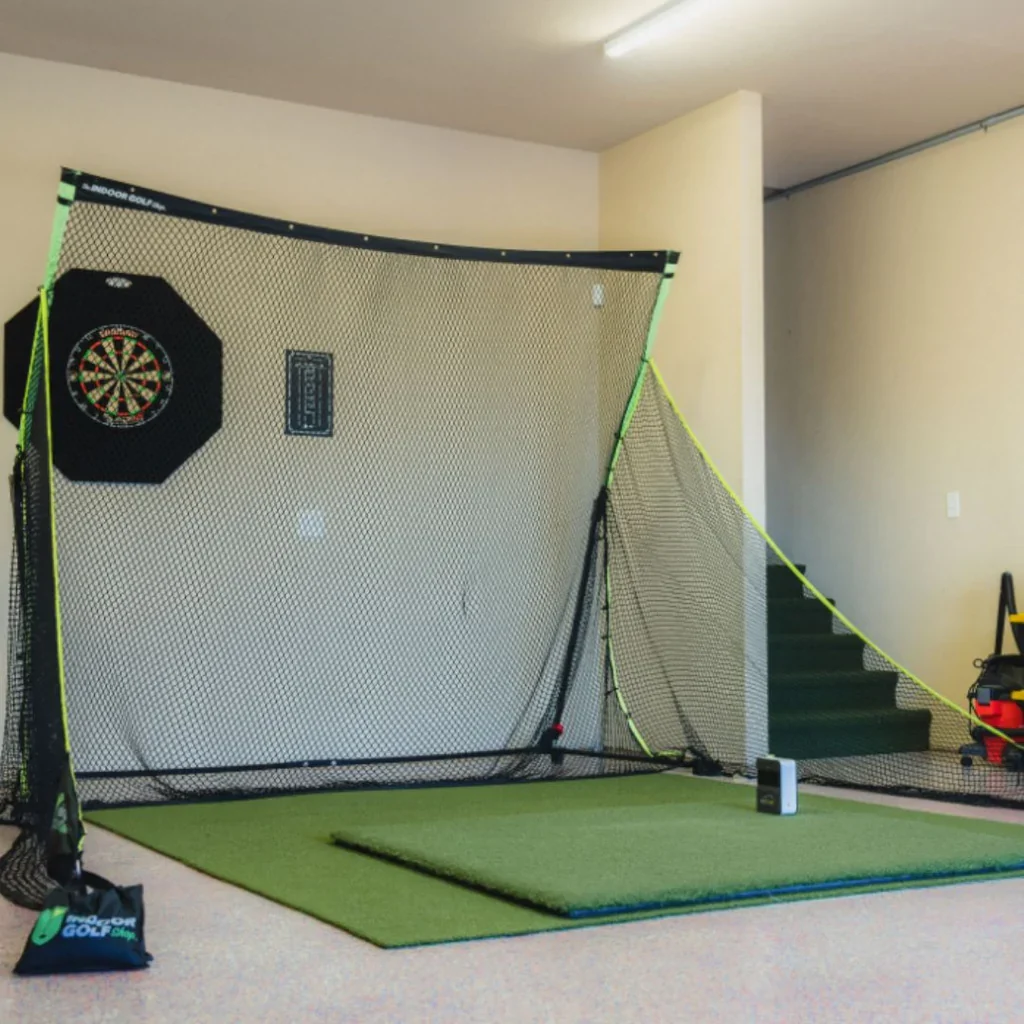
Check out my dedicated article all about garage golf simulators and the key points you need to think about when building your simulator in your garage.
Many of the considerations made in a garage retractable golf simulator setup transfer straight into a build in other locations like a basement, shed or rooms within the main home itself.
Outdoor Retractable Golf Simulators
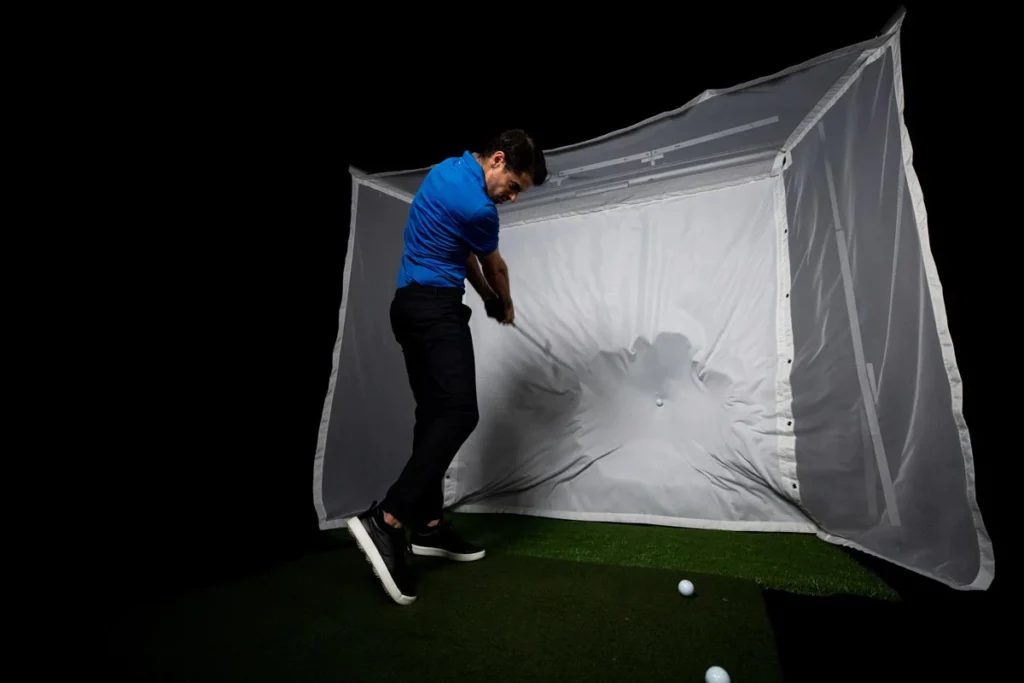
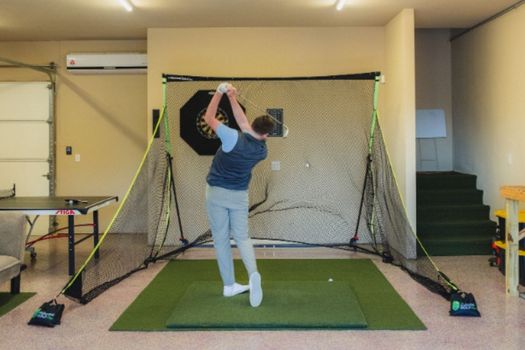
I recommend the SIGPRO Golf Net for quick-assembly and disassembly outdoor setups. This fantastic net is strong and robust whilst offering a snap button system for ultra-fast assembly. The SIGPRO net stands 7ft tall, 8.5ft wide and side nets stretch around the golfer to give a depth of 9ft.
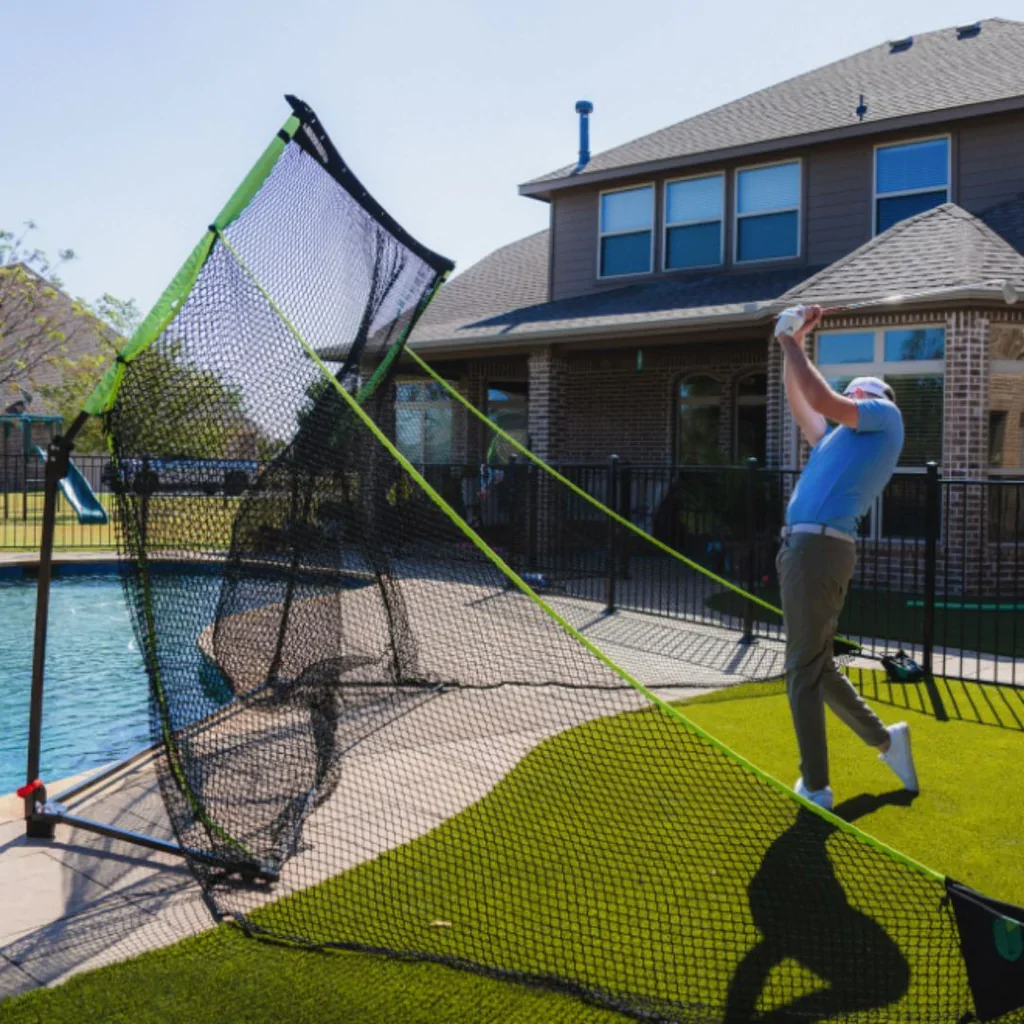
You can even add a SIGPRO Impact Screen to this golf net, adding an extra layer of versatility. Golfers who attach the impact screen to this net will find they have an indoor impact screen setup that can be assembled in literally minutes.
This net is also a great option if you want to use your net outdoors in the summer and indoors in the winter.
Limitations of a Retractable Golf Simulator
Retractable golf simulators still do require effort to take down and reassemble. We’d all like to have a permanent setup without any space constraints but not many of us have such an abundance of space.
One problem with retractable and portable golf simulator setups is that the more impressive enclosure, impact screen, and foam panel setups are more robust, better fixed, and much less mobile than the options discussed in this article.
The really impressive setups you see online are usually the least transportable golf simulator builds possible!
Summary
A retractable golf simulator is a build that you can take down and put back up in a short space of time, allowing you to use the space for alternative activities or storage.
Specialized retractable golf simulator impact screens like the HomeCourse Pro can be retracted in as little as 30 seconds.
There are several adjustments you can make to your simulator build to aid quick disassembly, which we cover above.
I recommend giving thought to whether your build will be permanent, temporary, or semi-permanent before you start, as making the right adjustments is a lot easier when you plan it from the start.
Best of luck with your retractable golf simulator build!
Mevo Gen 2 Space Requirements
Gray Impact Screens – Pros and Cons
ABOUT THE AUTHOR
Hello! My name is Alex and it is my mission to bring you all the information you need to build your own home golf simulator! I hope mygolfsimulator.com helps you on your journey to better golf at home!
LEGAL INFORMATION
On this site, you'll find articles on all aspects of building a golf simulator. I will also link to other sites where you can buy some of the simulator components. Some of these links may be affiliate links, which means if you click them I gain a small commission at no extra cost to you. This really helps out me and my site so thank you in advance! mygolfsimulator.com and all related social media accounts are property of Awonline LTD.
