Lighting in a Golf Simulator – Optimize Accuracy, Practice and Aesthetics
Posted in Room Setup
Lighting in a golf simulator is a topic that every home golfer needs to consider. The exact lighting requirements for your golf simulator will vary massively depending on your space, preferences, and components. Lighting plays a huge role in the aesthetics of your simulator too.
Golf simulator lighting choices must allow optimal practice, and perfect equipment operation whilst not washing out the impact screen. Spotlights can shine upon the hitting area and LEDs are best for cameras and aesthetics. Avoid shining bright lights onto the sensor of your launch monitor.
This article will explain all the lighting issues you will encounter when building your golf simulator.
What are your Lighting Needs in your Golf Simulator?
When you ask yourself what you need from a lighting setup in your golf simulator build, it is not the easiest question to answer straight away.
Think about the following points:
- You need to illuminate your impact screen with a bright enough image from your projector. The image needs to stand out with sufficient clarity and not appear washed out.
- For this, you either need low ambient light (and a normal golf simulator projector), or a high-brightness projector for simulators with high ambient light levels.
- Of course, you’ll need enough light in the room to swing the golf club effectively and to see what you’re doing.
- You need to use light effectively to allow an optimal setup for your launch monitor to give accurate readings (this matters more for some launch monitors than others, as we discuss below).
- Lighting setups are directly linked to the overall aesthetic look of your finished golf simulator. Nail the lighting and you’re on the way to a fantastic finished simulator space.
Ambient light in a Golf Simulator
The amount of ambient light that exists in your golf simulator during daytime is a huge factor when considering the lighting setup in your simulator space.
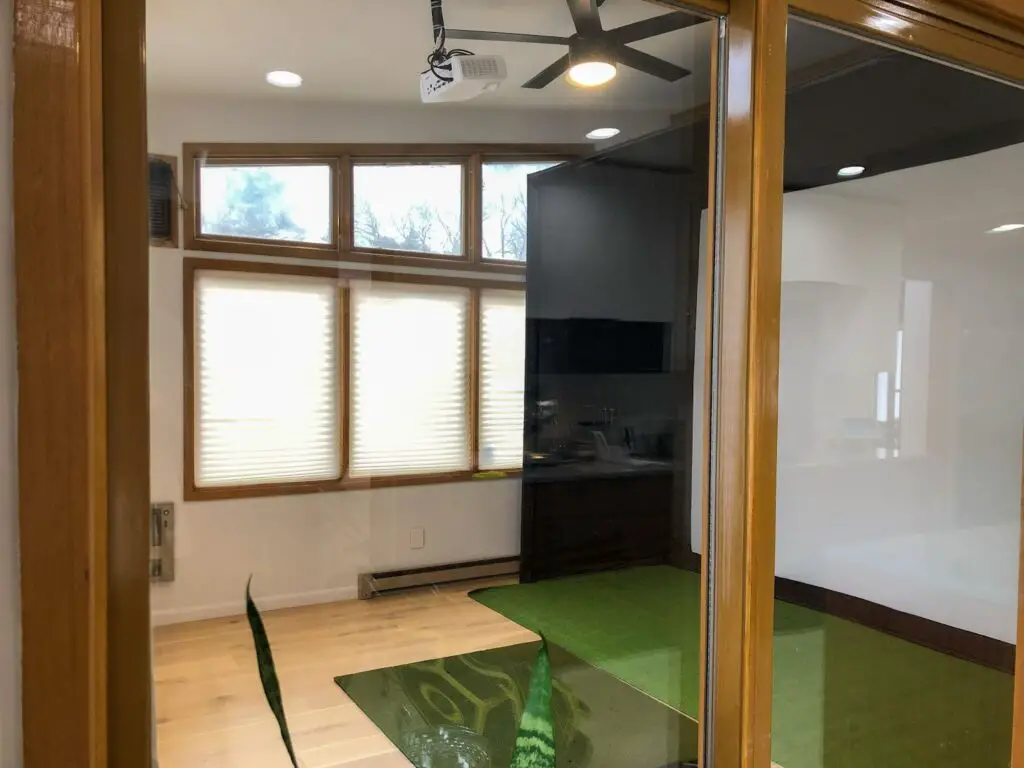
I recommend making steps to reduce the amount of ambient light that will shine into the space. Rooms without windows are best, but well-fitted blackout blinds will suffice to block out the majority of the light.
Windows are also a source of danger in the simulator space as they’re vulnerable to stray shots (usually shanks or ricochets), so the positioning of the impact screen and golf enclosure needs to consider window location from the outset.
Some golf simulator owners place the impact screen directly in front of the windows. This is fine if there is black fabric behind the screen, otherwise, some ambient light can shine through the back of the screen.
Blackout blinds are always recommended here as they can be taken up and down at will.
Ambient light is a massive consideration in projector choice, as we discuss below. Essentially, the more ambient light in your simulator space, the brighter the projector you’ll need.
Depth of enclosure
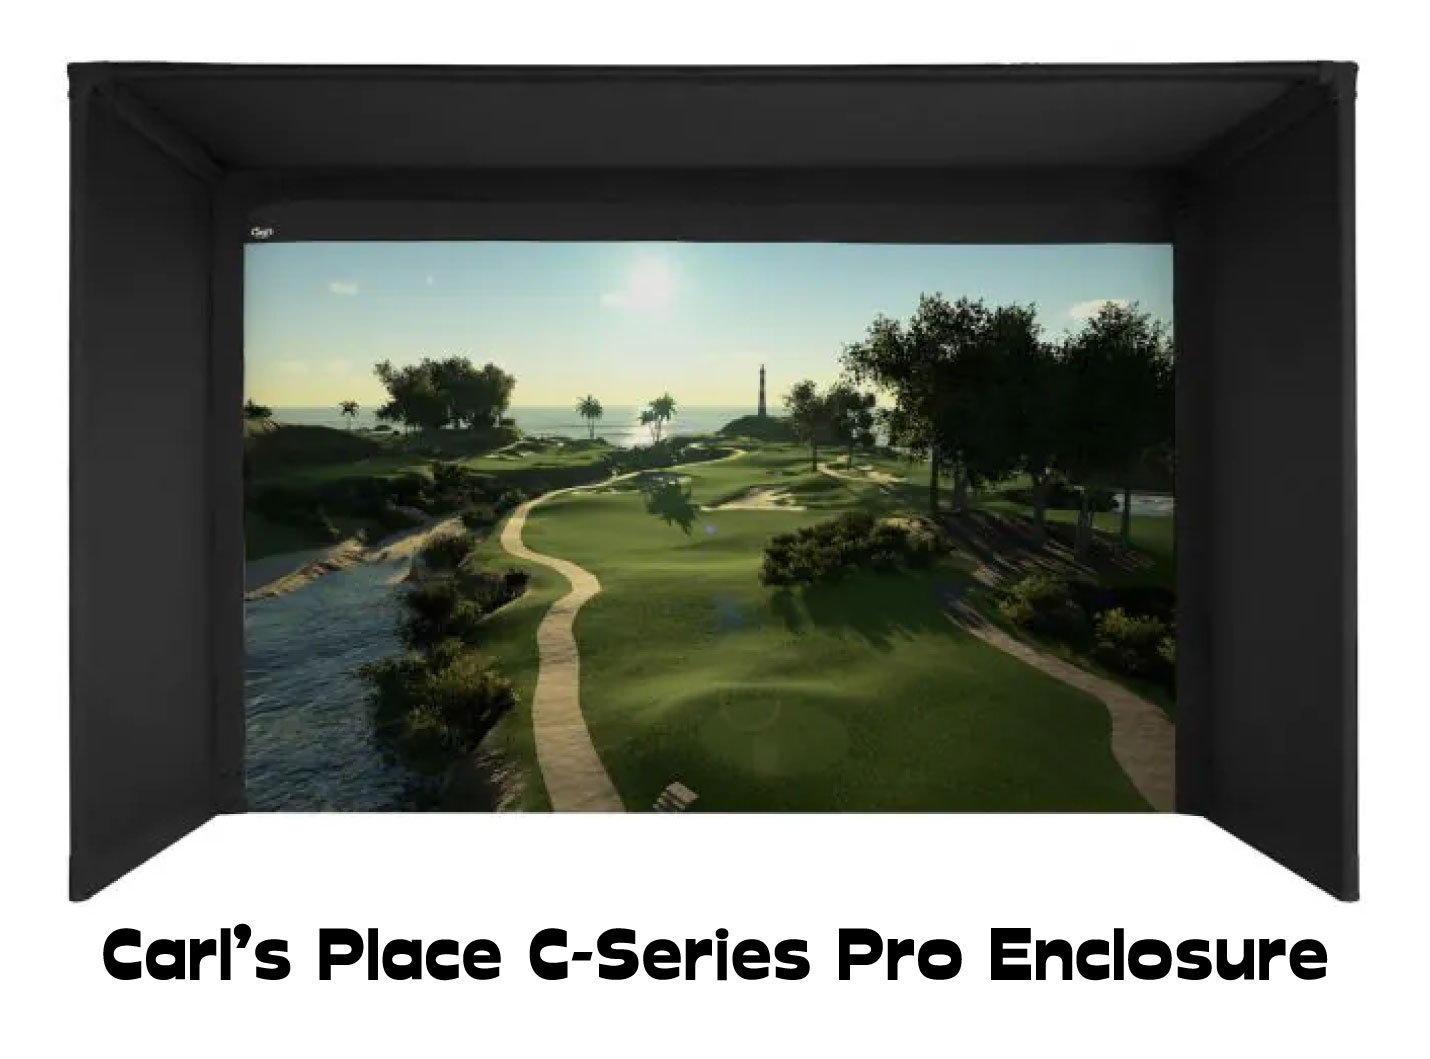
The depth of your golf simulator enclosure should also be factored into the lighting setup in your space. Deeper enclosures mean that more ambient light is absorbed by the black fabric, and less will fall onto the impact screen. You will therefore have less ‘washing out’ of the image on the screen.
Deeper golf simulator enclosures are better in rooms where with lots of ambient light.
Remember to consider the depth of your enclosure in conjunction with your hitting position and room height. If you have a deep enclosure in a room with limited height (eg under 10ft) then the upper central metal bar may encroach on your swing (depending on your distance from the screen).
Where should be brightly illuminated
The impact screen should be brightly illuminated by the projector, but not by other sources of light.
Efforts must be taken to shield the impact screen from non-projection light sources as these will simply wash out the image. Of course, there are other factors that directly impact image quality such as projector resolution and contrast ratio, impact screen material quality, and the tension at which the screen is hung.
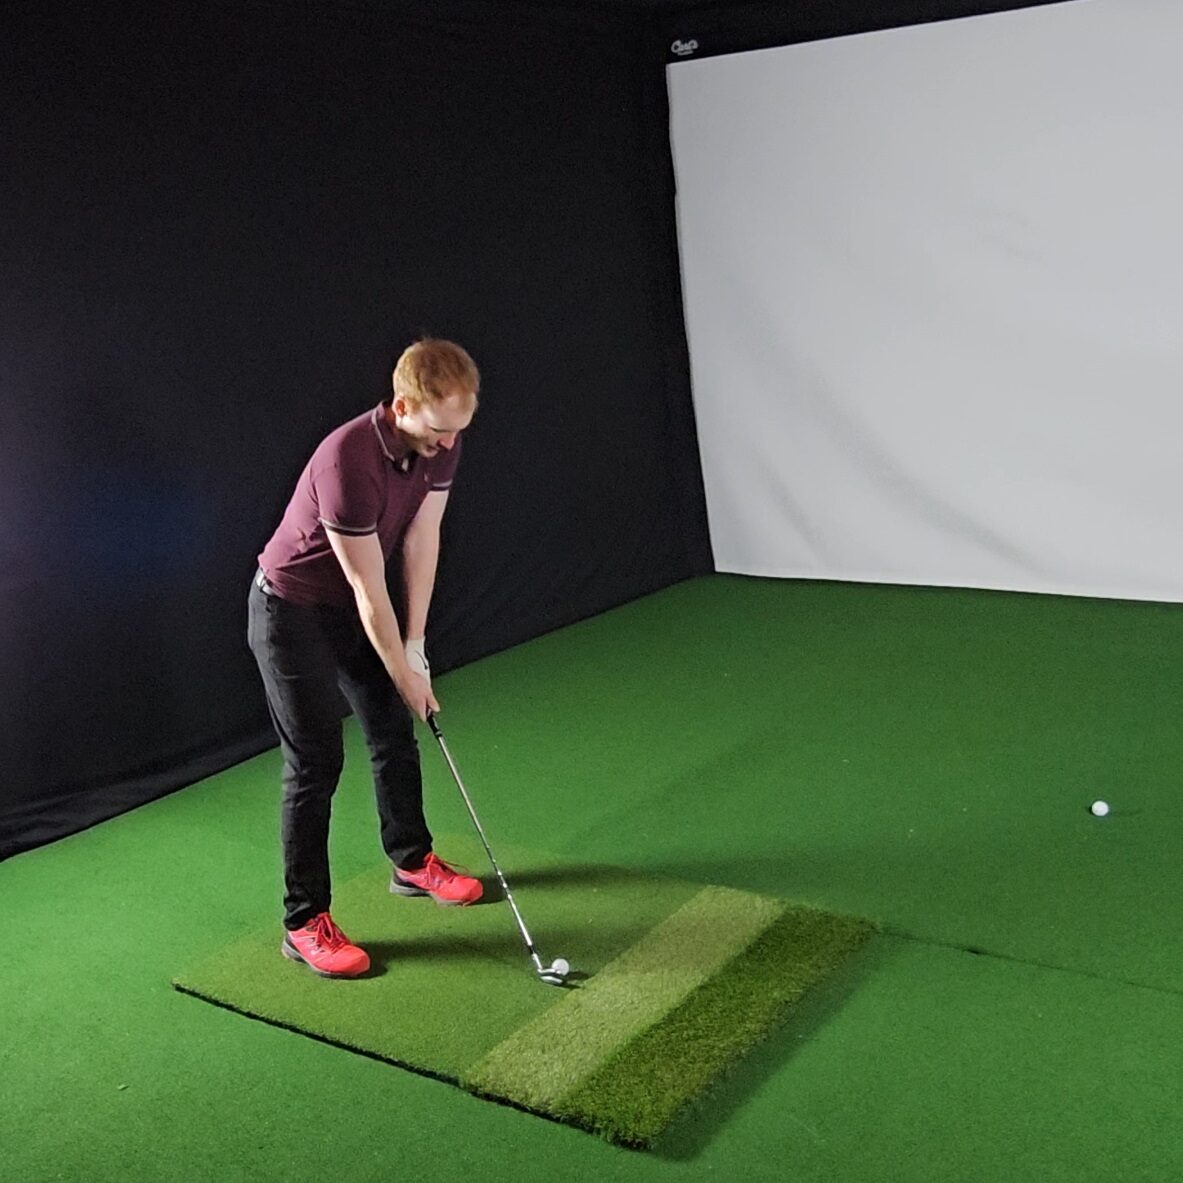
The hitting area should be well-lit. You need to be able to make a golf swing to the best of your ability and adequate lighting is needed to do this. Have you ever tried swinging the club in the dark?
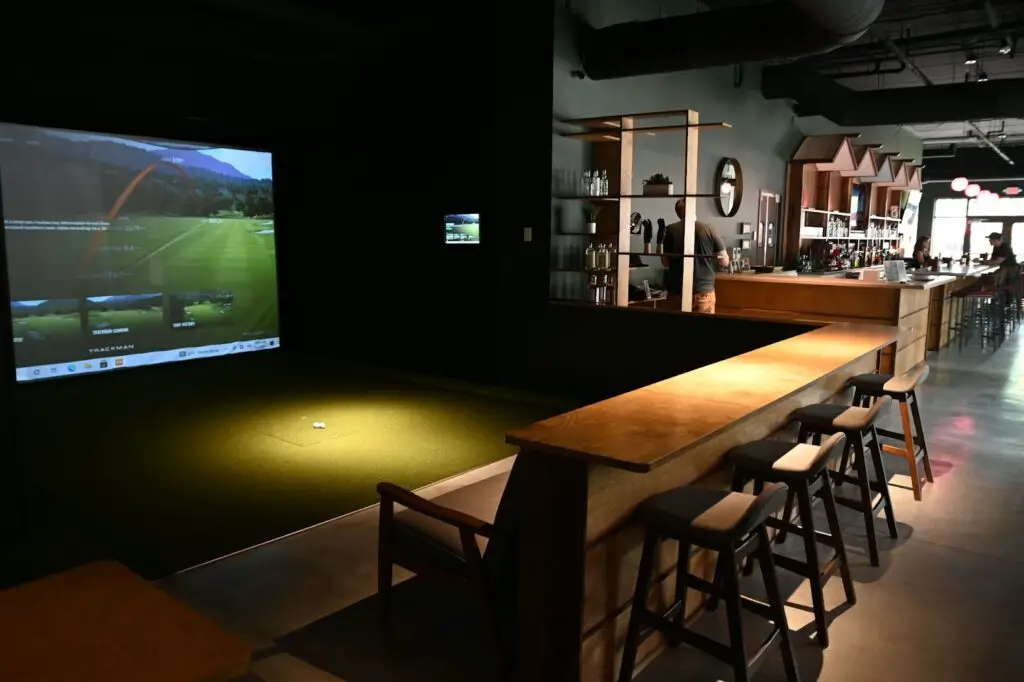
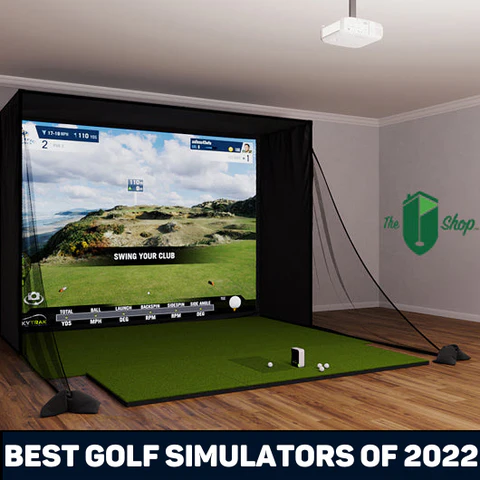
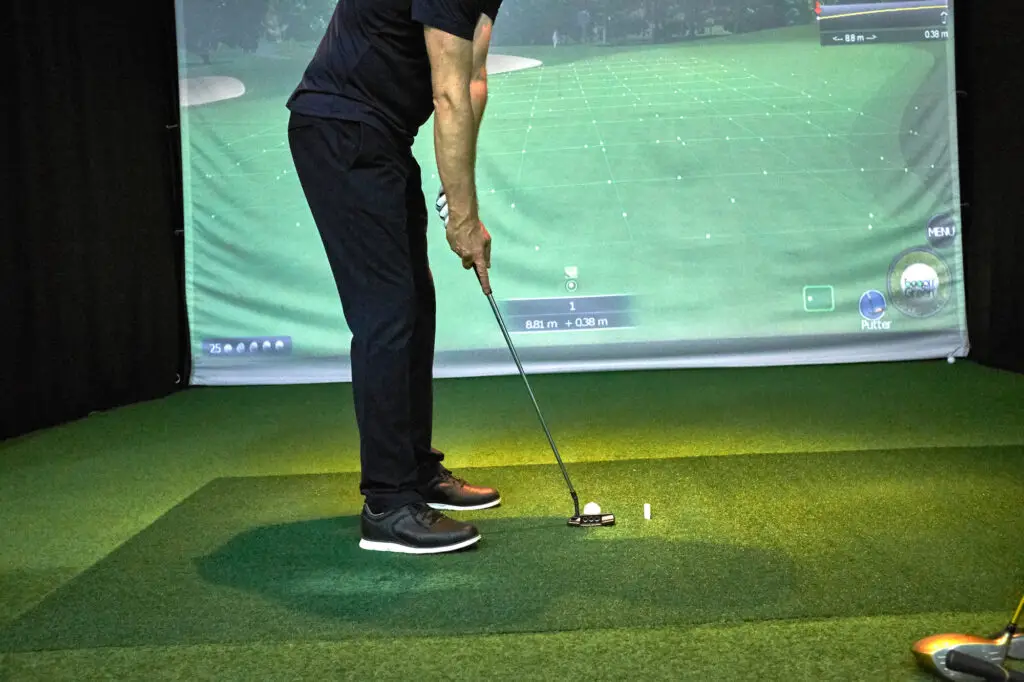
You can see from this picture that there is a nice deep enclosure that blocks much of the ambient light form the impact screen, and the hitting area (as well as the bar area) is illuminated with spotlights. This setup keeps light where it is needed.
Where shouldn’t be brightly illuminated
Whilst we discuss above about a well-lit hitting area, there should not be bright light directly glaring into the golfer’s eyes. It should also not be shone in the direction of the sensor on your launch monitor.
This is more important for camera-based launch monitors, and in particular visual light camera monitors (such as Skytrak, Bushnell Launch Pro, Foresight GC3, GC Quad etc).
Some of these models also use infrared light sources in their operation but a bright light shone towards at their cameras certainly won’t help.
Types of Lighting used in Golf Simulators
Key Considerations for each Golf Simulator Light
When choosing the lighting options to mount in your golf simulator, you should consider more than just their brightness. Think about:
- Purpose of the light – to enhance the look of the room, or to help with the function of the simulator, or both
- Mounting position
- Wiring and power
- Color of the light
- Width of the beam for spotlights
- Do they flicker?
- Cost
- Switches and controls
- and of course, the brightness
Spotlights and LED Lights
Spotlights are now a common feature in golf simulator rooms. You will often see setups online in forums that feature a spotlight mounted above the golfer, illuminating a circle around 2ft wide around the ball and impact position.
The purpose of this is to ensure that camera-based launch monitors have enough illumination of the golf ball in order to record accurate strikes, whilst reducing the ambient light in the simulator space.
Spotlights also allow the correct peak and trough of light in the correct distribution through the simulator space (which is helpful for some radar systems like Trackman).
Aim for narrow beam spotlights (around a 2ft wide beam) to keep the light where you want it and not where you don’t (eg in your eyes, washing out the screen, falling onto the launch monitor sensors).
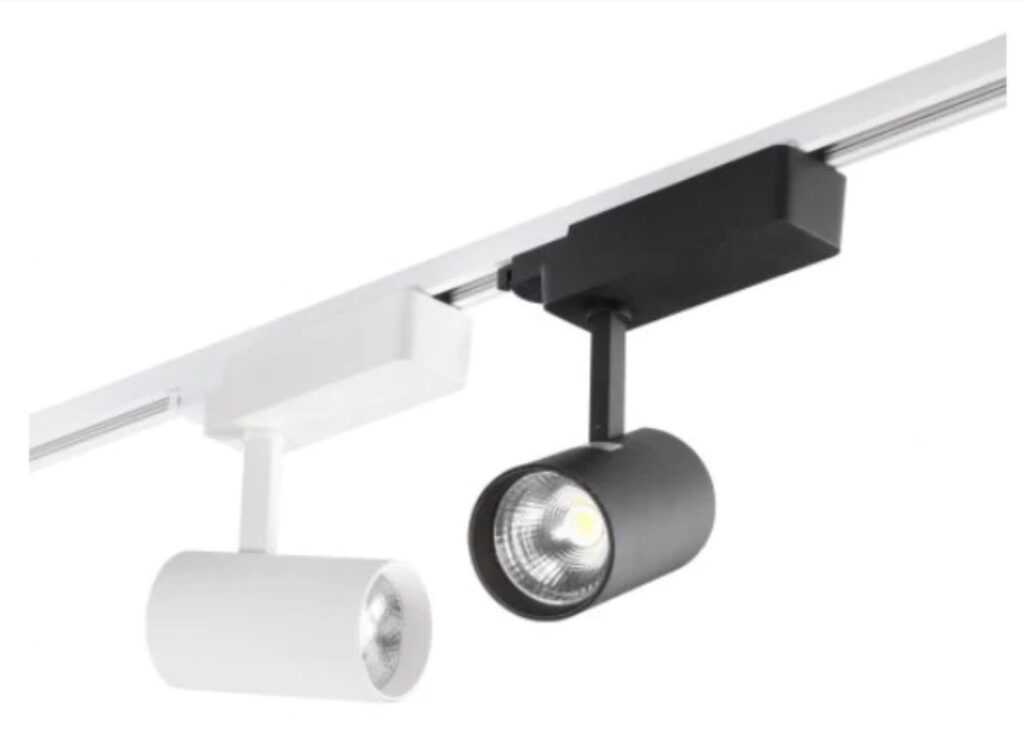
Ceiling and wall lights of course come in all shapes, sizes, colors, and luminosities. You can experiment with different lighting options but remember the wiring and power considerations which we discuss later.
I recommend browsing through the many excellent setups on golf simulator Facebook forums for inspiration here.
LED lights are a great option for those wishing to add the extra finishing touches to their golf simulator. They are generally purely for aesthetic purposes, adding a colored hue to the room. You may see rims of blue, green, purple or red that complement choices of wall or floor finish.
You should seek out non-flickering LED lights in particular. We’ll discuss this more later.
Again, take inspiration from Facebook forums to see examples of LED lighting done well.
Softboxes
Softboxes are designed for video and photography, but can be a great asset to a golf simulator. They can be angled towards the golfer, bathing him or her in light during high speed video. Take a look at this video of softboxes being used in the setup of my golf simulator room:
Projector Brightness in a golf simulator
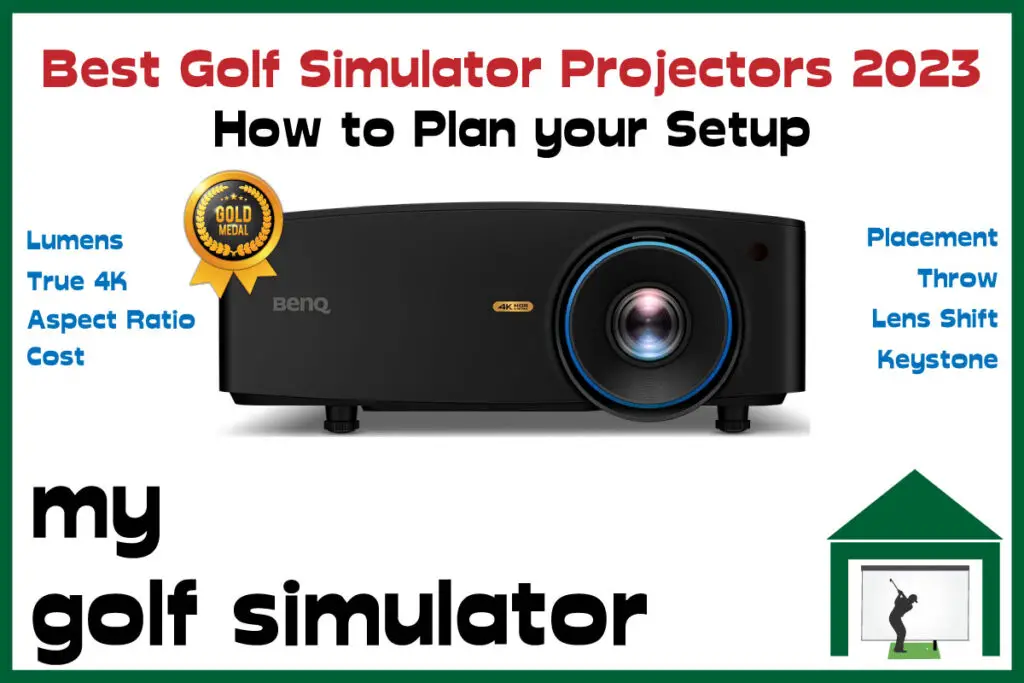
Projector brightness is measured in a unit called ANSI lumens, which is one of several measurements of brightness you may hear (there are also nits, lux, candela, foot-Lamberts, and others). This article from BenQ is great extra reading for understanding each term.
Lumens are a measure of the light source of the projector, the ‘ANSI‘ part refers to the American National Standards Institute.
Nits is potentially a more useful term as it refers to the brightness of the projected image upon a surface area, rather than simply the light source, however, lumens is the term used most often.
Look for a projector with at least 3000 ANSI lumens for your golf simulator.
Most models offer at least this level of brightness nowadays. You could achieve a decent image with fewer lumens (and many people do with older projectors) but 3000+ has become a standard ballpark figure recently.
You will need a brighter image in the following circumstances:
- In larger golf simulator spaces with larger screens. More light will be required to illuminate a larger screen, or when the projector is mounted further from the screen.
- If you have more ambient light in your golf simulator space
- In golf simulators without black enclosure sides (which often block out ambient light from washing out the image.
The most premium projectors will offer >5000 ANSI lumens and produce very bright images.
Lighting needs of different launch monitors
As we discussed above, different launch monitors have varying needs for lighting setup in the indoor golf simulator space. Most will work fine in the vast majority of lighting setups, but there are important points to consider.
Radar launch monitors don’t need a visual light camera view of the golf ball for their basic operation, so they’ll essentially work in the dark. However, models such as Mevo Plus specifically state that fluorescent and flickering lights may interfere with the radar sensor and impact on data accuracy.
Trackman has quite specific lighting requirements. The technology inside Trackman 4 is termed OERT (optically enhanced radar technology) and allows the optical camera within the unit to aid the radar sensor’s ability to pick up golf shots.
Specifically, Trackman ask golfers to place a spotlight 2ft behind the golfer, angled forwards of impact. A minimum room ambient light of 200 lux is also required (specific lux readings are referenced in the instructions here).
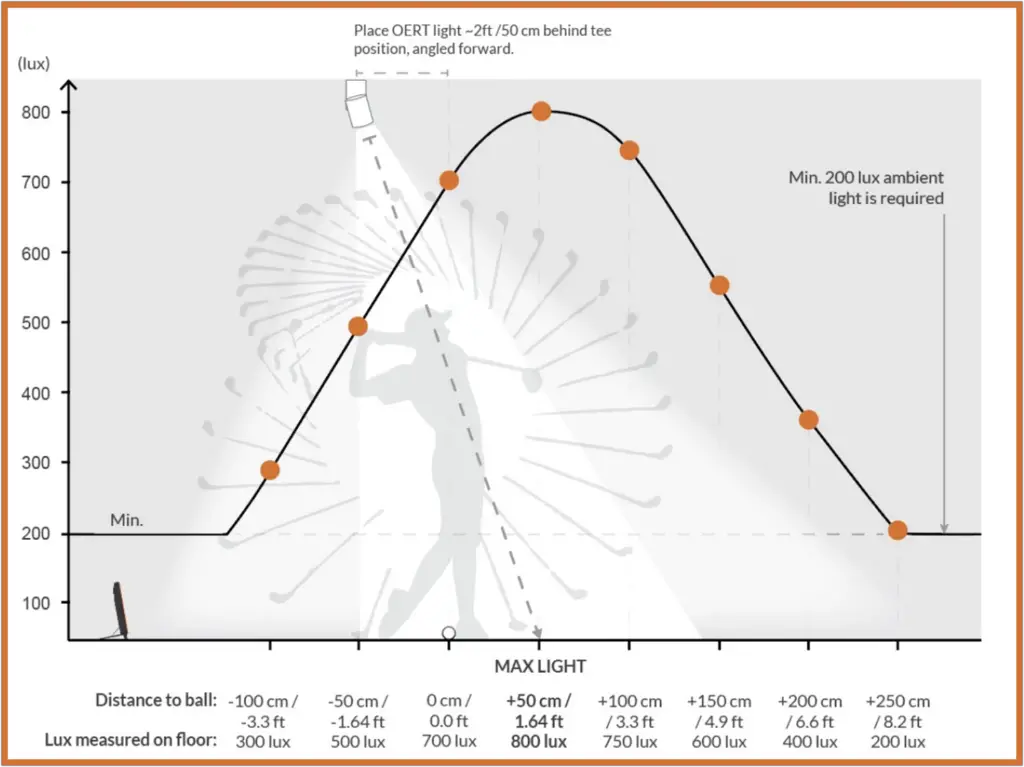
Trackman says that OERT assists the unit in recording the short game and putting strikes, the impact location on the club without using metallic dots, and improved distance accuracy, spin axis, and club data readings.
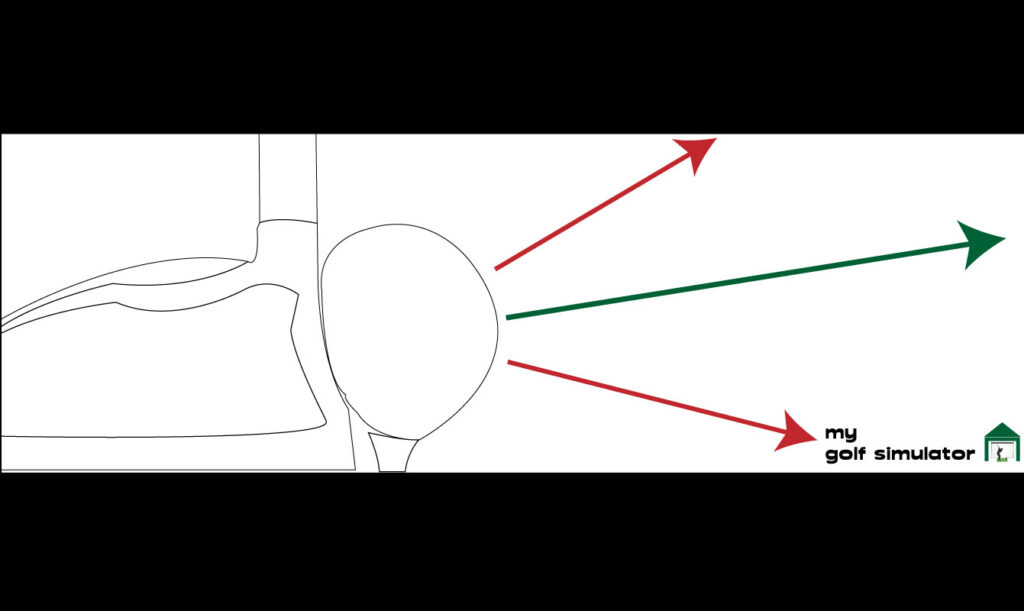
Camera-based launch monitors such as Skytrak and Foresight GC3 need an adequately lit view of the golf ball at impact. Many golfers tend to opt for a spotlight setup to achieve optimal results here.
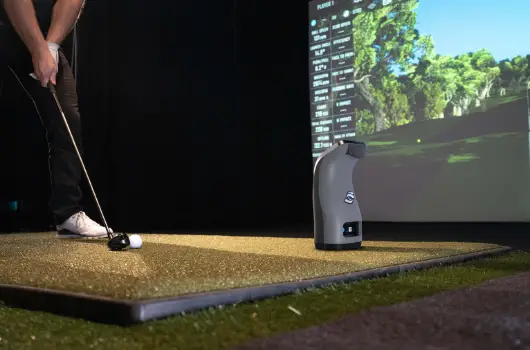
There are several factors that can impact the accuracy of Skytrak which relate to the unit’s view of the golf ball (white tees, contrast between ball and surroundings, and others). I discuss them in detail in posts on Skytrak accuracy and why Skytrak may miss shots in your setup.
Lighting for high-speed swing cameras
I recommend reading the specifications of your chosen high-speed video swing camera to see if there are specific recommendations for room lighting.
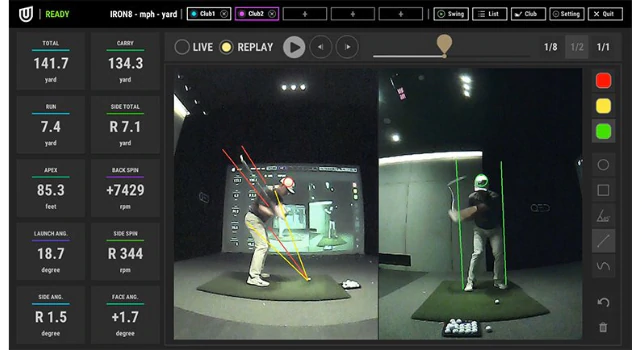
In general, you will need non-flickering LED lights, the non-flickering part is really important. There will be a flicker rate of most conventional indoor lights, though human eyes won’t normally notice.
Each high-speed camera also has a shutter speed/frames per second rate. The shutter may interact with a flickering light meaning all you see on your swing video are flashes of unwanted light. The higher the camera’s frame rate the better.
Remember Lighting choices if your space will be used as a Home Theatre
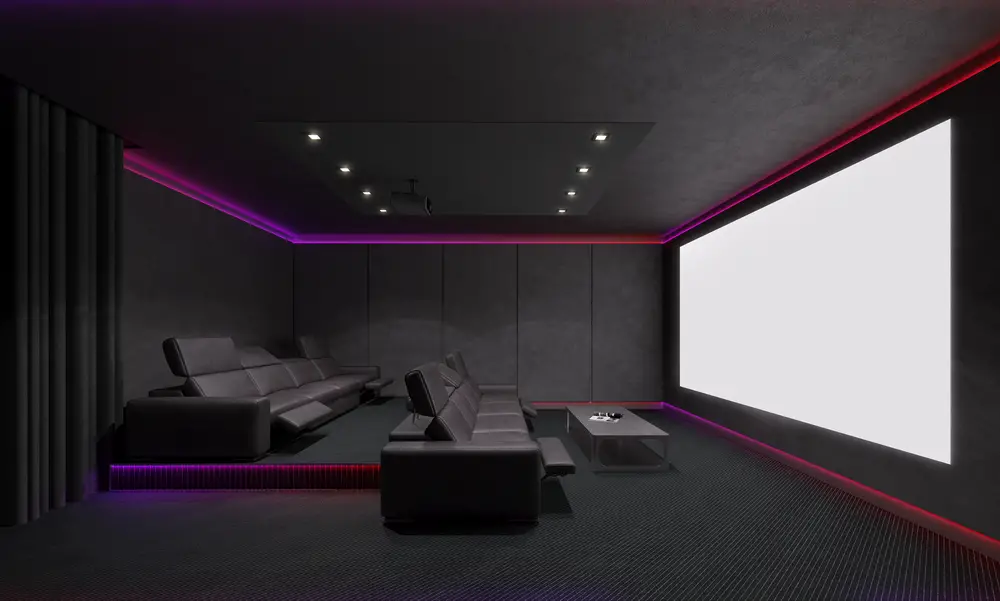
Many golfers aim to utilize their golf simulator space, with its huge projector screen, into a home theatre. Lighting is an integral part of any home theatre setup, so try to consider this from the beginning when you plan both uses for the space.
The lighting needs for both a golf simulator and a home theatre area are similar though. You’ll need a screen surface that is protected from too much ambient light.
You may opt for ceiling lighting, up-and-down wall lights, starry ceilings, hidden LEDs, and many more. There are a vast array of options to give your home theatre (and golf simulator) a luxury feel. Take a look here for more information.
Remember the Electrical and Power Implications of Lighting Choices in a Golf Simulator
As we discuss above I recommend you should consider the base lighting setup in your simulator room before you start planning your build. Think about the number of sockets as well as the number of lights, their type, and their position in the room.
Well-placed lamps, spotlights, LEDs, and other types of lighting will all need power. Your options include the following:
- Use sockets nearby to the new light for power
- Use tidy cable management to keep wires hidden from view, plugging the light cord into a socket a little way away
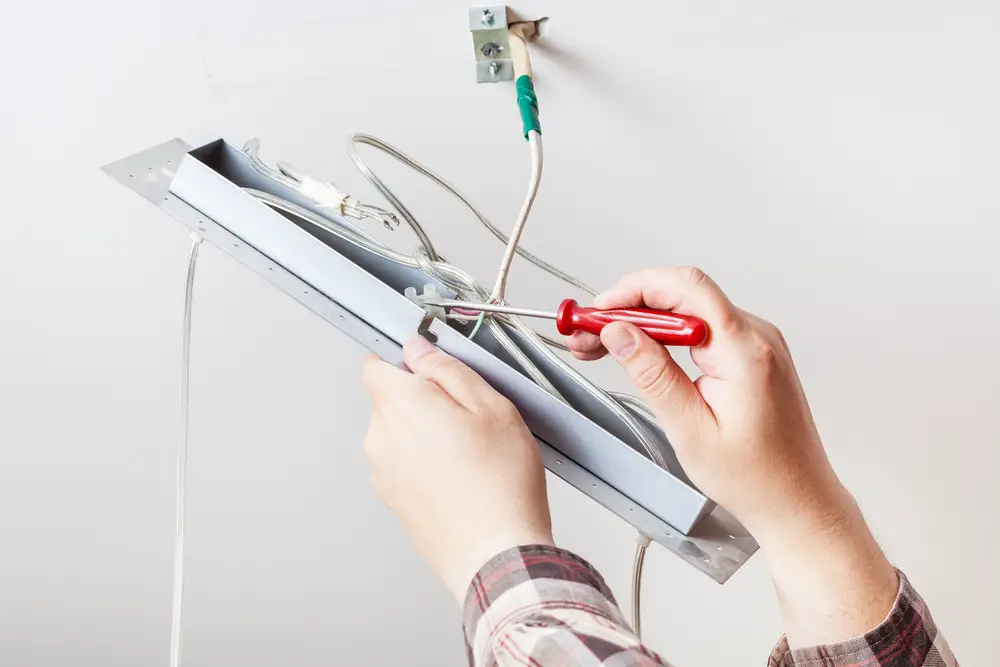
- Wire the light through the walls or ceiling (professional installation recommended)
It is always worth considering the absolute number of electrical sockets within a golf simulator space at the outset. You’ll need them for:
- Projector
- Golf simulator PC
- Charging your launch monitor and other equipment (fixed launch monitors such as the Uneekor QED/Eye XO or GC Hawk will need to be plugged in all the time)
- Any televisions or monitors in the room
- Heating equipment
- Lighting (possibly several)
I strongly recommend against asking an electrician to fit some extra sockets during a golf simulator build. It doesn’t have to be at the start, as going through your build you will likely identify other items that need a local power socket.
Don’t make the mistake of attaching several plugs to one multiplug adapter and risking a fire in your simulator space or a power surge that could damage your equipment.
Proper electrical installation, testing, and certification of sockets and fittings are imperative to ensure the safety of the golf simulator setup.
Aesthetics and Lighting – Making it look great
Lighting is extremely important in your golf simulator setup, not only for optimal image quality and launch monitor accuracy but for aesthetics too.
You may have seen those incredible simulator setups online in Facebook groups that make you stop scrolling all of a sudden, where you just have to admire, or even compliment the owner. I’m sure all golfers would love to enjoy such a setup at home every day!
Optimal golf simulator finishing touches and aesthetics are very subjective and a matter of personal preference.
Some golfers may love colored LED lighting along ceiling recesses or under a bar area, some may prefer a more traditional look. Golfers who are well-versed in interior design will be able to match their lighting and wall finishes perfectly.
Mevo Gen 2 Space Requirements
Gray Impact Screens – Pros and Cons
ABOUT THE AUTHOR
Hello! My name is Alex and it is my mission to bring you all the information you need to build your own home golf simulator! I hope mygolfsimulator.com helps you on your journey to better golf at home!
LEGAL INFORMATION
On this site, you'll find articles on all aspects of building a golf simulator. I will also link to other sites where you can buy some of the simulator components. Some of these links may be affiliate links, which means if you click them I gain a small commission at no extra cost to you. This really helps out me and my site so thank you in advance! mygolfsimulator.com and all related social media accounts are property of Awonline LTD.
