Golf Simulator Cameras Made Simple – Maximise your Improvement!
Posted in Room Setup, Your Swing Studio
Have you ever looked at the different golf swing camera options and felt confused? You’re not alone! This is a complex topic with several terms and concepts to understand. This article will be your guide!
Any fully-fledged golf simulator should feature the ability to record and analyze the golfer’s swing. To facilitate this you will need a high-speed video camera system and a suitable golf swing analysis program. The following table illustrates the essential and desirable features of a golf simulator camera:
We will cover golf simulator camera positioning within the sim room, alternatives to cameras, camera specifications you need to look for, swing video analysis software options, and much more.
What is a golf simulator camera?
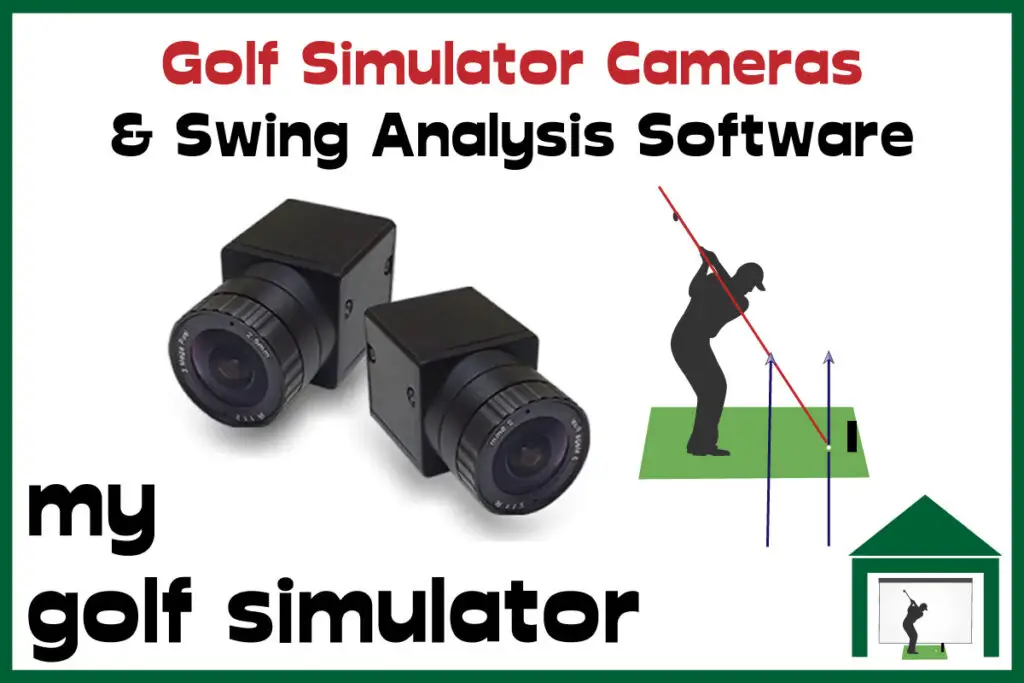
Golf simulator cameras allow high-speed video to be recorded of your golf swing, which means you can work on the mechanics of your swing in detail, alongside the club and ball data provided by your launch monitor.
As is the case with several core components in a golf simulator, there are a range of terminology and concepts to learn when it comes to golf simulator cameras.
It’s not enough to just set up two cameras behind and in front of you. To get high-quality slow-motion footage alongside the ability to freeze frame your golf swing, you need to nail every aspect of your setup.
The main groups of considerations are the specifications of the cameras themselves, their compatibility with your launch monitor and swing analysis software, and your lighting setup.
Where are swing cameras placed in the golf simulator?
Golf swing cameras are usually positioned behind the golfer down the target line and in front of the ball position, giving you the two most common views of the golf swing that are analyzed by golf coaches.
However, you can position the camera wherever you want to, if you feel that position will help your swing.
When positioned behind the golfer, the best specific location is parallel to and at the same height as the hands. This allows a well-proportioned view.
How to Position a Golf Swing Camera within your Golf Simulator
Tripods and other Equipment to Mount Your Cameras
Within a golf simulator setup, positioning cameras optimally is crucial for accurate swing analysis.
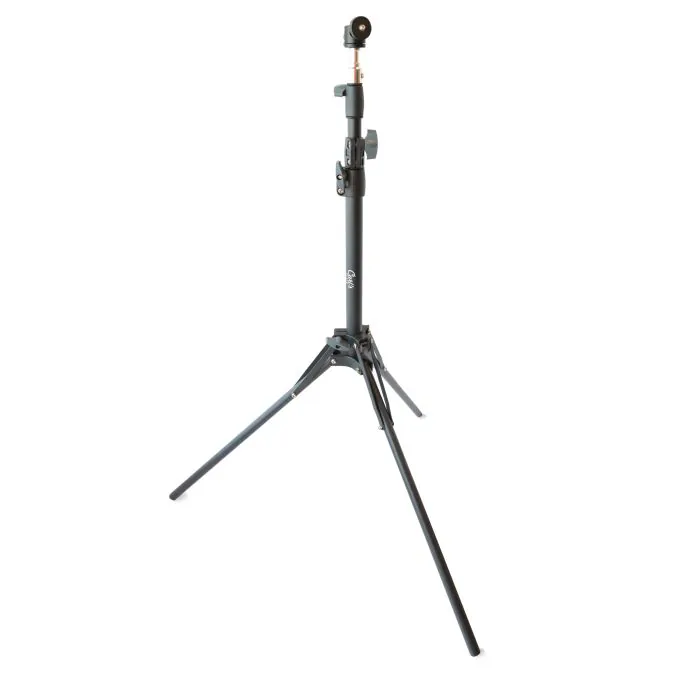
- Tripods: Foundational tools providing stable and adjustable platforms for cameras. Check out Carl’s Golf Simulator Tripod Here
- Boom Arms: Extend from tripods, facilitating overhead or angled shots.
- Clamps: Secure cameras to various structures, adding versatility.
- Articulating Arms: Flexible arms that can be adjusted to various angles and heights.
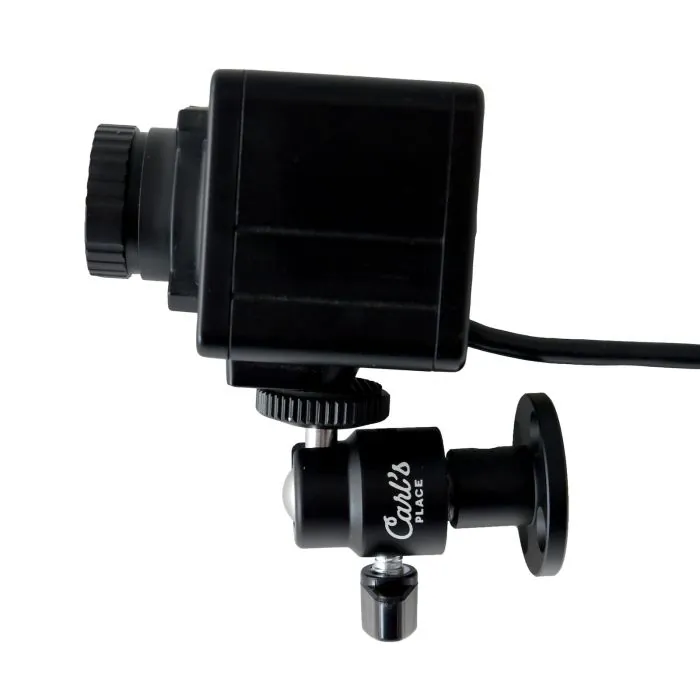
- Wall or Ceiling Mounts: Ideal for permanent camera placements, ensuring consistent angles. Take a look at Carl’s Golf Swing Camera Wall Mounts here.
- Ball Heads: Allow for precise camera angle adjustments atop tripods.
- Sliders: Deliver dynamic, smooth horizontal camera movements.
Together, these tools ensure comprehensive coverage of a golfer’s swing from multiple perspectives.
Golf simulator swing camera alternatives (eg mirrors, live streaming to a screen)
There are of course alternatives to the option of a golf simulator camera, for those wishing to analyze their own swing.
The simplest option is to set up a large mirror behind or in front of your address position. This allows live adjustment of your address position, stance, posture, alignment and other fundamentals. You can also see your takeaway and practice motions in your swing in slow motion.
It’s very difficult to get good feedback from a mirror when swinging properly, though, as you just can’t keep your eyes on it as you swing.
An option that fits somewhere between a swing video recording camera and a mirror is a live stream to a screen just in front of you. The display could be a phone, iPad, or monitor. I like the option of LiveView Pro.
This system streams a live picture from a camera device set up behind you to the screen positioned near the ball. This allows you to better practice positions in your swing visually.
What to look for in a golf simulator camera?
When you first come to browse the range of high-speed cameras available, many of which are recommended on golf simulator Facebook groups, it is easy to become bamboozled with specifications.
You will need to choose between a camera system that is designed specifically for recording the golf swing and for golf simulator use (which is likely to be more expensive but more reliable) and a camera system that is marketed for all purposes (often cheaper, but particular attention needs to be placed on specifications with this option).
I have tried to break these features down into the most important, though there is still a list of ten! Some are fairly self-explanatory (eg resolution and portability) and some have less obvious meaning (eg wide dynamic range). You will find a list of definitions and explanations below:
Key Features Important in a Golf Swing Camera:
- High Frame Rate
- Fast Shutter Speed
- High Resolution
- Wide Dynamic Range
- Slow Motion Playback
- Wide-angle Lens
- Portability and Mounting Options
- Low-light Performance
- Weatherproofing
- Sufficient Storage Capacity

Breakdown of Each Feature:
- High Frame Rate: A higher frame rate, typically measured in frames per second (fps), captures more images in a short time span. For golf swings, a high frame rate provides smoother playback and allows for detailed analysis of fast motion, helping to identify subtle nuances in a swing.
- Fast Shutter Speed: Shutter speed refers to how long the camera’s sensor is exposed to light. A fast shutter speed can freeze the rapid motion of a golf swing, reducing motion blur. This clarity is essential for detailed swing analysis.
- High Resolution: A camera with high resolution captures images with more pixels, resulting in sharper and clearer footage. For golf instructors and players, this means a more precise evaluation of the swing mechanics.
- Wide Dynamic Range: Wide Dynamic Range (WDR) ensures that both bright and dark areas of a scene are captured clearly. For outdoor golf scenarios, where sunlight and shadows interplay, WDR helps maintain clear visibility of the golfer against varied backgrounds.
- Slow Motion Playback: This feature allows users to play back footage at reduced speeds, highlighting specific moments in the swing. It’s crucial for dissecting and understanding each phase of the swing, from backswing to follow-through.
- Wide-angle Lens: A wide-angle lens captures a broader view of the scene. This is essential for golf as it ensures the entire swing, from the golfer’s stance to the club’s trajectory, is recorded within the frame.
- Portability and Mounting Options: Given the various environments where golf is played, a camera that’s easy to transport and mount is beneficial. It provides flexibility in capturing different angles and perspectives of the swing.
- Low-light Performance: Golf isn’t always played in perfect sunlight. Cameras with good low-light performance can capture clear footage during cloudy days or during dawn/dusk, ensuring consistent swing analysis.
- Weatherproofing: As golf can be played in various weather conditions, a camera that’s resistant to elements like rain or humidity can be incredibly valuable, ensuring durability and uninterrupted recording.
- Sufficient Storage Capacity: Recording high-resolution, high-frame-rate videos can consume significant storage. A camera with ample storage ensures that extended recording sessions don’t require frequent data transfers or deletions.
You need a high enough frame rate so that you can view your golf swing in slow motion without flickering, blur and jumps. The shutter speed then needs to be fast enough to allow enough light into the camera for each of these frames.
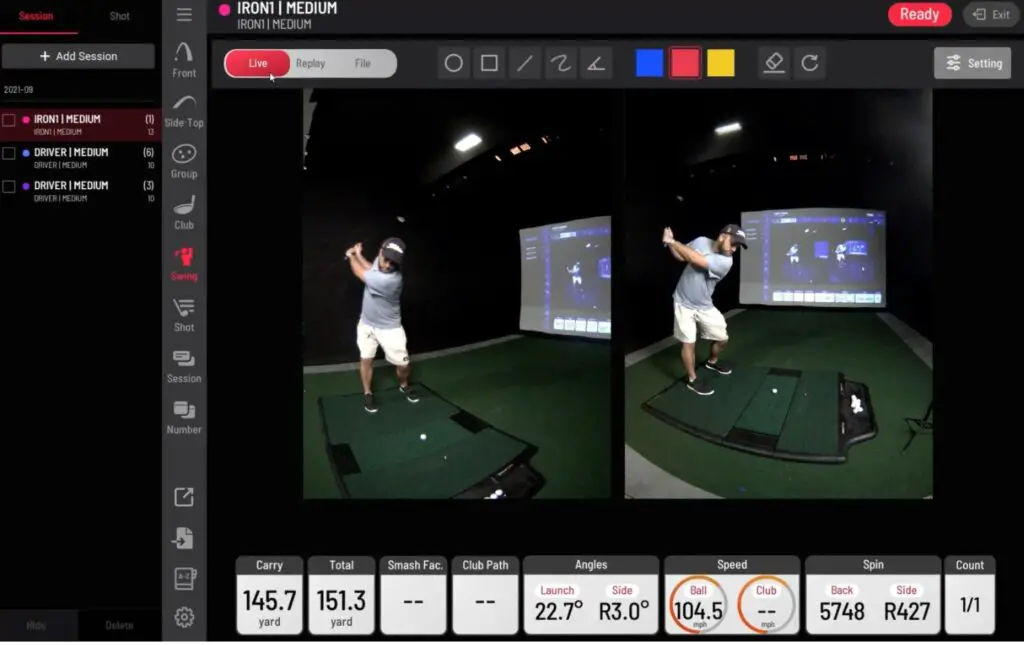
Often, with increasing frame rate, you see a trade-off in a decreasing resolution. This is because the camera is able to resolve less light (and hence detail) for each frame.
Aim for a frame rate of at least 60fps for your golf simulator camera. Higher frame rates up to 240fps are available but usually at a lower resolution or a higher cost.
Lighting and Golf Simulator Cameras – Important!
I cannot emphasize enough how important lighting is in your golf simulator setup if you wish to employ high speed cameras to analyse your swing.
To optimize the video quality and accuracy of high-speed slow-motion golf swing cameras, appropriate lighting is essential. This relationship between lighting, camera mechanics, and playback clarity ensures accurate swing analysis.
- Frame Rate and Lighting: High-speed cameras often operate at elevated frame rates to capture the rapid motion of a golf swing in granular detail. As frame rates increase, each frame’s exposure time decreases, demanding more light to generate a properly exposed image. In an indoor setup, this typically necessitates brighter lighting than what standard room illumination provides.
- Shutter Speed Considerations: Shutter speed defines the duration the camera’s sensor is exposed to light. For capturing fast-moving actions like a golf swing without blur, a fast shutter speed is required. However, faster shutter speeds also allow less light to hit the sensor. Thus, ample illumination is crucial to avoid underexposed and grainy footage, especially when combined with the demands of high frame rates.
- Light Flickering and its Impact: Most indoor lighting systems, especially fluorescent and some LED lights, produce a flicker. While typically imperceptible to the human eye, high-speed cameras can capture this flickering due to their rapid frame rates. This results in uneven lighting across frames, which can disrupt analysis.
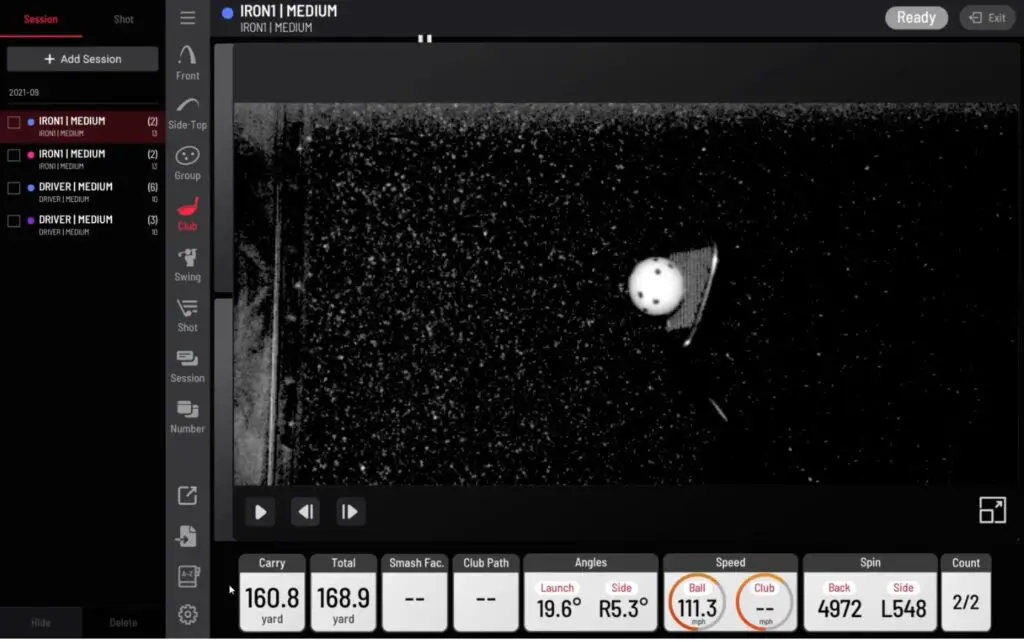
The interaction between shutter speed, frame rate, and light frequency plays a pivotal role here. For instance, in countries with a 60Hz electrical system, lights flicker 120 times per second. If a camera is recording at 240fps with a fast shutter speed, it could capture two different light intensities within those frames, causing visible flicker in the footage.
- Choosing the Right Lights: To counteract flickering and ensure consistent illumination:
- Opt for high-frequency LED lights specifically designed to reduce flicker.
- Use continuous (or ‘constant’) lighting systems, as these are designed to emit steady light suitable for video recording.
- Ensure the lighting is diffused to avoid harsh shadows and hotspots on the golfer or the ball. Softboxes or diffusing panels can be valuable in this respect.
- Positioning of Lights: Position lights overhead and on the sides to illuminate the golfer from multiple angles. This setup minimizes shadows and ensures the golfer and ball are uniformly lit, vital for clear slow-motion playback.
When installing an indoor golf simulator with a high-speed camera, both the technology and its surroundings are crucial. The interplay of frame rate, shutter speed, and lighting greatly influences video quality. Adequate lighting enhances clarity, offering better insights into swing techniques, thus aiding in effective learning.
My Recommended Golf Simulator Cameras
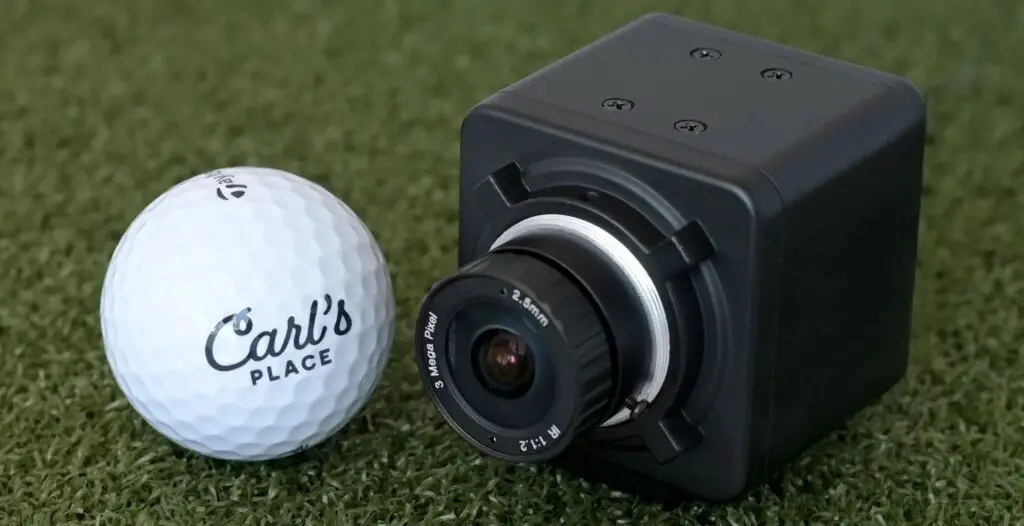
Carl’s Golf Swing Cameras
Carl’s Golf Swing Cameras offer a fantastic, affordable introduction to golf swing analysis, making it easy to assess and refine your golf game. By recording your golf swing during practice sessions, you can gain valuable insights to enhance your performance
With the inclusion of a 1.2 – 12mm zoom lens, our swing cameras provide versatility in positioning. You can place the camera further away from your hitting area, choosing between a tripod or wall mount setup. This flexibility empowers you to closely analyze your swings and work on perfecting them for improved results.
Carl’s Swing Camera Features
- Easy Assembly: Simply plug the 10-foot USB cable into your computer, set up or mount the camera, and gain immediate access to your video replays.
- FPS and HD: Carl’s Swing Cameras provide up to 300 frames per second at 360p resolution, 120fps at 720p, and 60fps at 1080p HD. This slow-motion capability aids in identifying areas of your game that require adjustment.
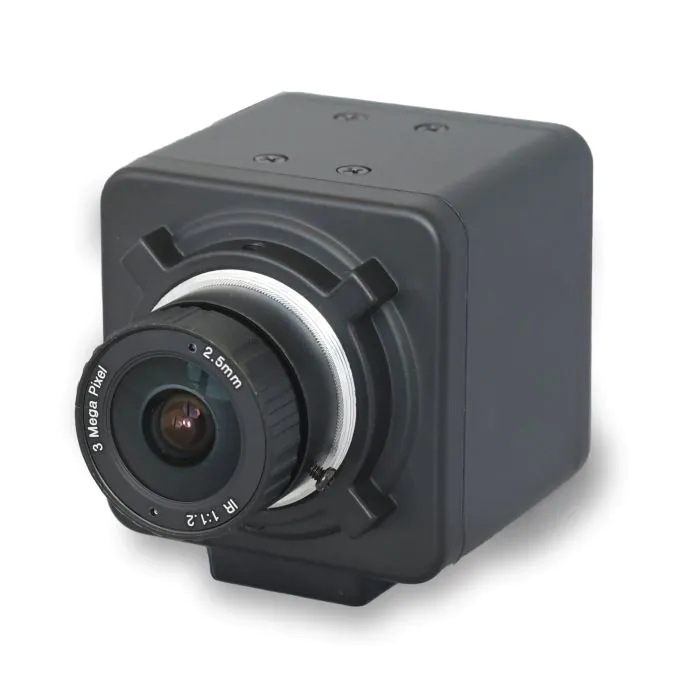
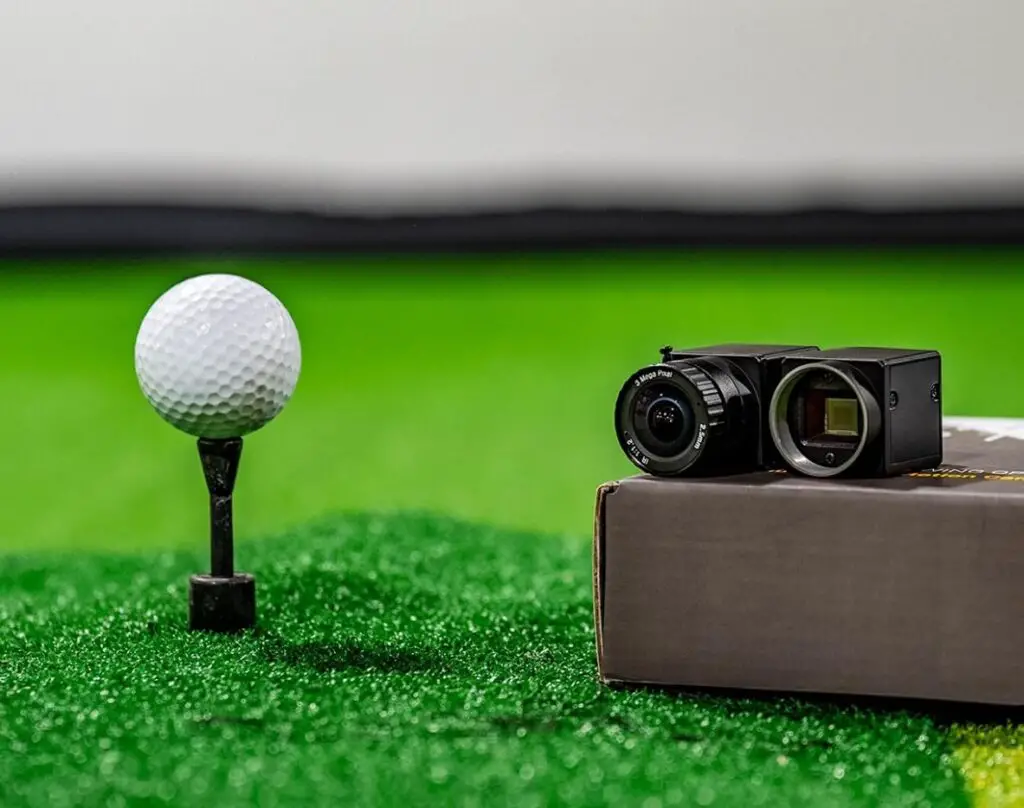
- Wide-Angle Camera Lens: The 2.5 millimeter wide-angle lenses included with the camera capture all aspects of your swing, even in tight spaces. These lenses also feature a 1.2 aperture, ensuring ample light capture in darker conditions.
- What’s included: Two 2-megapixel camera bodies with 10-foot USB cables attached with two 2.5 millimeter, 1.2 aperture wide-angle lenses.
Optional Add-Ons
Enhance your setup with optional add-ons, such as:
- Zoom lens: A 1.2 – 12mm zoom lens for added flexibility.
- Tripod: Ideal for easy repositioning of your swing camera.
- Wall mount with ball joint: Enables pivoting and capturing the best angle for analysis.
Uneekor Optix Cameras
The Uneekor Premium Swing Optix Cameras are made specifically for the QED and EYE XO launch monitors. These cameras offer very high-quality images that let you closely examine your swings in slow motion, and you can even draw on the screen to analyze them better.
The swing video quality you’ll receive with these cameras matches well with the premium launch monitor technology offered by Uneekor.
Minimum PC Specifications for Uneekor Optix:
- Intel i5 8400 or AMD: 3rd gen Ryzen or higher and AMD Ryzen 3600 or higher (AMD 2700 is not compatible)
- 16 GB RAM
- GeForce GTX 1060
- Windows 10 (64 bit) Version 1803 or higher – Not Compatible with Mac iOS.
These specifications should not represent a problem as they are far beneath the benchmarks required for a golf simulator PC to run simulator software programs smoothly.
An Alternative Option
Here is an option I’ve heard a lot of golfers on Facebook groups using. I’ve not used this one myself but it appears to be a solid camera for any golf simulator.
This Spinel Camera boasts impressive features that make it a versatile imaging solution at an excellent price. The camera offers a 720P resolution, thanks to its 1/4″ CMOS OV9281 image sensor. Its USB 2.0 compliance and plug-and-play functionality ensure ease of use.
The Spinel camera achieves resolutions of up to 1280×720 at a remarkable 120 frames per second. The 1.76mm lens with a wide horizontal field of view at 136 degrees captures a broad perspective. It is housed in a compact and sturdy box enclosure measuring 36mm x 36mm x 11mm.
Extra Golf Simulator Camera Setup Considerations
Power and Charging
Consider the power requirements of your swing video camera. It is likely that your camera will be battery powered and hence will need to be charged, rather than a mains source of electricity.
I recommend a dedicated charging station in your simulator (or elsewhere in your home). Here you can organize and protect your high-value equipment, keeping items out of the reach of pets, children, and other hazards.
You may wish to add extra sockets to your simulator room in the design stage. Remember the number of electrical products that you’ll have running (projector, lighting, computer, monitors, either mains or charging for your launch monitor). Always ask a registered electrician to do this for you.
Storing and Protecting the Camera
Storing and protecting a golf swing camera is important, particularly for high-end models, non-permanent positions within the simulator and setups that may have kids or pets running around.
Proper storage safeguards the camera from physical damage, moisture, and dust, ensuring its longevity and performance. Investment in protective cases and controlled environments is useful to maintain the camera’s precision and protect its monetary and functional value.
Golf Swing Analysis Programs
There are a range of golf swing analysis programs, used both within and outside of indoor golf simulators. Golf coaches have been using these programs for decades. Some are specific to an individual launch monitor or golf simulation program and some are external applications.
Examples include Swing Catalyst, Kinovea, V1 Sports and many more.
I will be bringing you a deep dive into these programs in the coming weeks.
Are Slow-motion, High-resolution Cameras Affordable?
As with many golf simulator components, the relative price of a solid, workable golf simulator camera has fallen steadily over the last few years. There was once a time when a camera system with the requisite shutter speed and frame rate was just not available to the average golfer. This has thankfully changed!
Carl’s Golf Swing Camera set features two solid cameras with very respectable specifications and is an excellent first golf swing camera option for any simulator space.
Additionally, remember you can spend even less on a solid golf simulator camera setup if you opt for cameras not specifically designed for indoor golf. You need to pay close attention to the specifications on offer. I have seen many good reviews about this camera from Spinel Electronics though I’ve not used it myself.
Summary
I hope you have found this guide to golf simulator cameras useful! The addition of a solid golf simulator camera and swing analysis setup to your space can elevate your golf improvement to new levels.
There are a wide range of options here, from non-camera options like mirrors, to entry-level golf simulator cameras to high-frame-rate, high-resolution premium cameras.
Remember the importance of lighting in your setup and that this might take some trial and error depending on the camera choices you do make.
Mevo Gen 2 Space Requirements
Gray Impact Screens – Pros and Cons
ABOUT THE AUTHOR
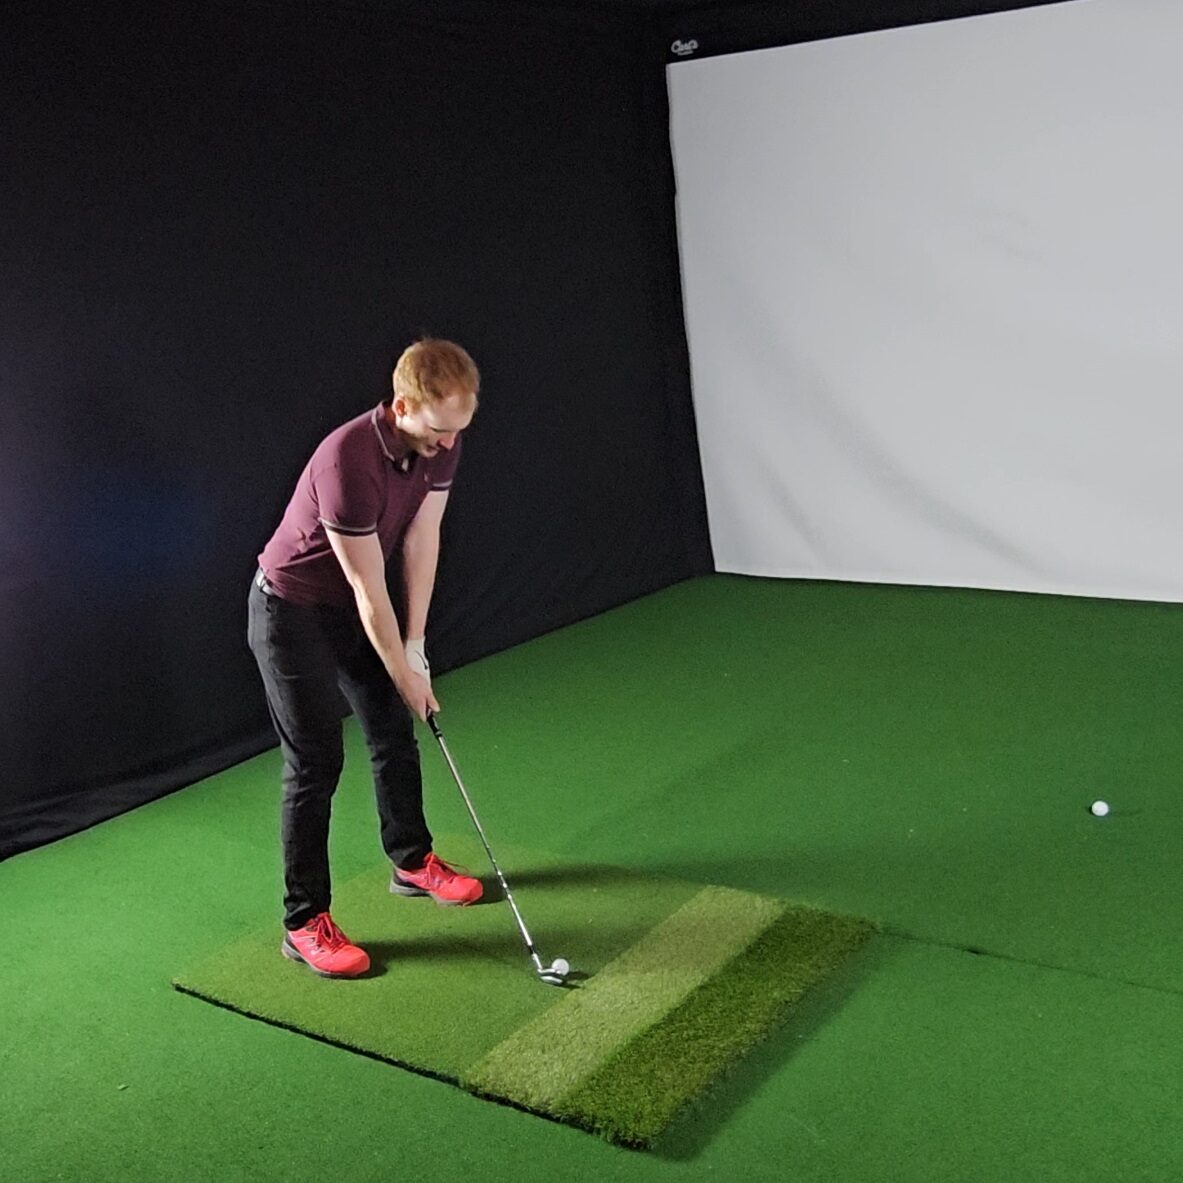
Hello! My name is Alex and it is my mission to bring you all the information you need to build your own home golf simulator! I hope mygolfsimulator.com helps you on your journey to better golf at home!
LEGAL INFORMATION
On this site, you'll find articles on all aspects of building a golf simulator. I will also link to other sites where you can buy some of the simulator components. Some of these links may be affiliate links, which means if you click them I gain a small commission at no extra cost to you. This really helps out me and my site so thank you in advance! mygolfsimulator.com and all related social media accounts are property of Awonline LTD.
